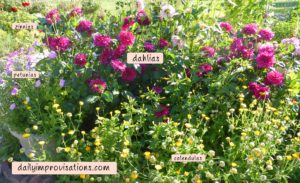
Last year I stored my dahlia tubers over the winter in my garage. I followed the directions in the information received when I purchased last year’s dahlia tubers and seeds from Swan Island Dahlias. Upon unpacking and re-planting them this past week, I learned a few things. (click on any photo to enlarge)
- There was some mold that grew amongst the stored dahlia tubers, but it didn’t seem to affect most of them. I had been unsure if the amount of water I sprinkled over the peat moss would be enough, especially in our dry climate and because the peat moss was so dry, too. It was apparently sufficient, and even though there was some mold, I don’t think it would have been good for the tubers to have less moisture. It is hard to describe just how much I did or didn’t sprinkle, but I certainly came no where near saturating things and the peat moss in general still seemed dry when I covered the boxes for the winter.
- Some of the tubers were not covered deeply enough with peat moss. I had about an 85% success rate for keeping the tubers from dying or freezing. The top layer in the boxes was where I suffered the greatest losses. The tubers in that layer were completely covered with peat moss, but not more than a couple of inches over the very top. It seems I need to cover them more deeply next time, even though they were also covered by a blanket and bubble wrap.
- It was not too hard to determine which dahlia tubers were worth planting. Some were clearly mushy or disintegrating. Most of the firm ones had at least one small sprout somewhere showing signs of life.
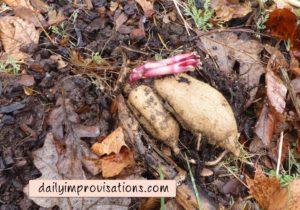
A firm dahlia tuber that is sprouting after winter storage. - The beginning of April was none too soon for getting the dahlia tubers out of storage. Many of them were already sprouting. This was encouraging and helpful, because it assured me that they were viable. However, it also created some trouble with planting them out, as the longer sprouts had to be protected from our still occasionally freezing nighttime temperatures.
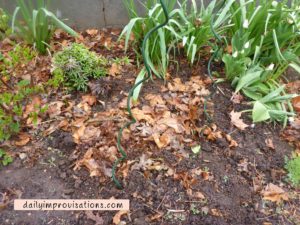
I put a stake just in front of where I planted each dahlia tuber, being careful not to skewer it. - The peat moss from the boxes was in good enough shape to help add some temporary insulation over the spots where I planted the dahlias outdoors. I also used some dead leaves that had collected in that flower bed last fall. It was all light enough in weight not to compact around the sprouting dahlia tuber, but heavy and slightly damp enough to stay in place with the brisk spring breezes.
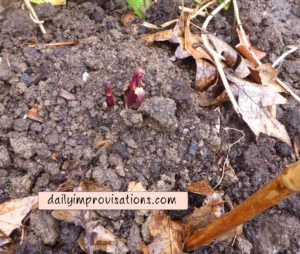
This dahlia tuber hadn’t grown this much when I planted it, but I will cover it up now some for frost protection. 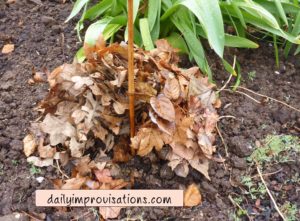
Frost protection added. - There were mice living around my stored dahlia tubers. I know this because there were obvious holes and diggings in the garage closet walls when I removed the boxed; plus, there was a mouse dining in the chicken grain bin right next to that. Happily, there were no mice in the dahlia boxes when I unpacked them AND no sign of mice having bothered my tubers at all.
- I did not notice any spike in the electric bill from the heater. The peat moss was relatively inexpensive. The cardboard boxes were free. Since the dahlia tubers themselves can be on the expensive side, storing them over winter should be easier on the budget.
I was pressed for time, so did not experiment with dividing the tubers this year. I also neglected to label them before the flowers died last fall, so I have no idea which flowers survived or how I arranged them in their flower bed.
All except a couple of the tubers were far too large to plant in the one gallon pots like I have done for the past few years. I did find one stray tuber when I went out to check on them, so I will probably plant that one in a pot.
I am interested to see how the size and vigor of these dahlias compares to when I have planted them from newly obtained, but smaller tubers. Those I just planted are already trying to grow out of the frost protection of peat moss and leaves, so I am hopeful that it will be a grand display.
