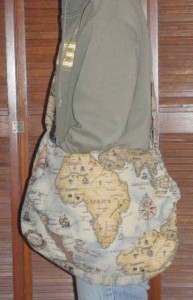
My niece, Ally, is a college student who expressed interest in a large bag for her birthday. I was interested in the style of Lisa Lam’s Fashionista Bag (in The Bag Making Bible), but, again, I didn’t want to deal with the metal in the design. Since the metal and chains were an important part of the original handles, I needed to change that part of the construction in order to attach more basic handles. I determined that adding a gusset was a simple solution, and it would make the bag a better shape for carrying books.
This was my first attempt at making a gusset, but it was not at all difficult. It did change how I needed to sew the bag together, but I think it was easier than the instructions for using the metal pieces. All I did was sew the gusset piece between the two outer main body pieces before proceeding. And, I remembered that the lining also needed a gusset of the same size. Of course, I say this from the perspective of not needing to buy new equipment or learn how to put in rivets. I do think the stress points for the handle will be stronger. I used the Urban Carryall bag as a guide for making the handle.
I decided to use 1/8 inch quilt batting to pad the main body of the purse (including the gusset) and the flap. Even though the outer fabric is a decorator fabric (similar to a medium-heavy weight denim), this made a difference in the bag keeping its shape. Since I was skipping the making of the fold at the top of the flap (which was a design feature for the rivets), I did not have issues with bulk there.
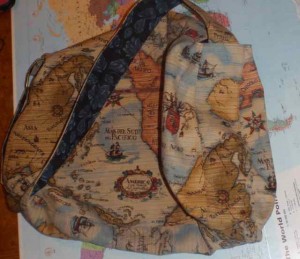
I chose the width of the gusset based on making it a just a little wider than the handle. I wanted the handle wide enough to be comfortable on the shoulder, and the gusset not so wide that the body of the bag was loose and floppy. I kept the darts that were part of the design at the bottom corners of the bag. As suggested in Lisa Lam’s book, I cut the gusset extra long, so that I would have leeway for adjustments when sewing it in place. It was easy to cut off the excess to match the edges of the bag when I was done.
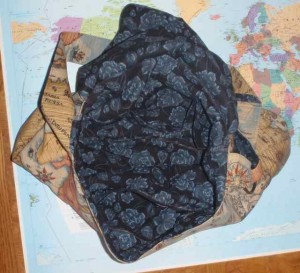
Pockets added to the design included a row of simple, open top pockets on the inside; an inset zipper pocket in the lining on the opposite side from that; and an inset zipper on the outside of the bag, on the side of the bag that will be against the body. I was tempted to add a divider to one side of the gusset, much like I did for Heidi’s computer book bag, but didn’t this time around. It would be a perfect place to stash an iPad!
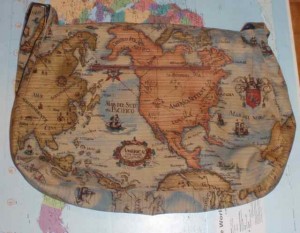
It seemed like a good time to try the drop in method of sewing in a lining. This ended up being a challenge. I had a hard time keeping the top edges of the lining and the main bag even. The small, corduroy-like ridges on the outer fabric probably didn’t help… It wasn’t hopeless, however, if I sew this bag design again, I will try the method of of sewing them wrong sides together, then pulling through and turning right side out. That is what I have done with all the others so far. If I try the drop in method again, I might consider sewing that upper edge by hand, with an invisible or decorative slip-stitch.
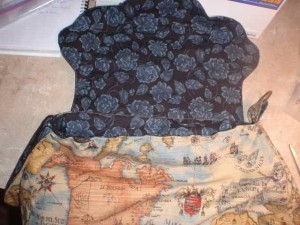
The flap was straightforward, especially since I didn’t put in the fold at the top of it. I did use the large metal washers in the bottom corners of the flap, to weight it down, as explained in the making of the Annemarie bag for Isabelle. The extra width from the gusset used up the extra length of the flap without the top fold.
I suppose it is a good sign that I want one of each of these bags for myself when I’m done making them! I am having more fun, and able to be more creative with them, than I had imagined when I started this line of projects in January. I am a bit behind with the birthday gift schedule, but as long as the recipient knows they are getting one, all is good. Sometimes, they join me in the fun of choosing a basic design, and then I take it from there. The next one will be a variation of the pleated wristlet purse.
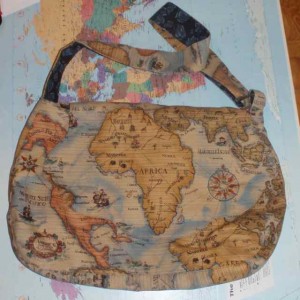

I love it! Thanks! xoxo
That fabric is fantastic!
so glad!
I’m glad I have a bit left still. 🙂