(pattern available for sale at the bottom of the post)
First, I was contemplating running in frigid temperatures while training for the YMCA Christmas Fun Run, then I was deciding to make polar fleece ear warming headbands, and the next thing I knew I was making convertible mittens.
Now, I’ve finished two pair and am started on the third. Here is what the process looks like:
Taking care to note where pieces should be placed on the fold and which way the most stretch should go, cut the fleece using the patterns below. I made one of my pairs for extra large men’s hands simply by adding 1/4 inch of fabric at the fold line (keeping the pattern 1/4 or so inch away from the fold) and adding a leetle bit of length to both the cuff side and the finger side. The thumb didn’t seem to need an adjustment, even for my big gorilla’s hands (6’3′ son, size 15 quadruple wide feet….).
(I am updating how I deliver my pdfs. This pattern will be for sale in the near future. In the future there may be the option of a video. )
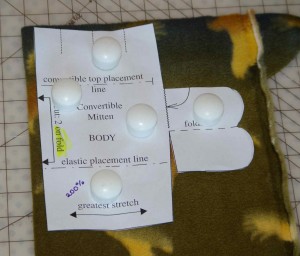
(Any of the photos should enlarge if you click on them.)
The lower thumb portion IS supposed to be cut away from the main body of the mitten.
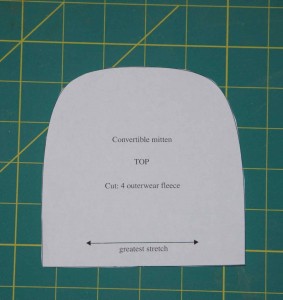
All seam allowances are 1/4 inch.
In order to make sure the wearer can use his or her opposing thumbs to full advantage, I kept the mittens laid opposite each other as much as possible.
The first step is to cut off ONLY one of the thumb sections from each mitten, as indicated by the wavy line on the pattern piece:
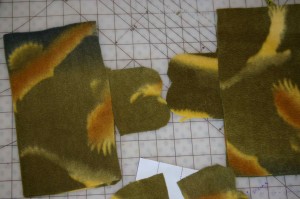
Next, fold up the lower portion of each remaining thumb flap, right sides together (if you can’t tell which is which, then probably no one else can either), and stitch only from the fold, around the curve, and end at the mitten body. Keep the main body of the mitten free:
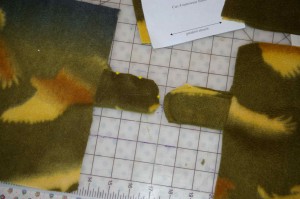
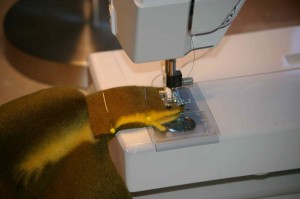
The unseamed part of the thumb will be the top side of the mitten, and the side of the thumb to be seamed will be on the palm side of the mitten.
There should be four pieces cut from the “mitten top” pattern piece. Do your best to sew two pieces right sides together (because sometimes it can be hard to tell with polar fleece which is the right side…) to end up with two mitten “finger pockets.”
Turn them right side out.
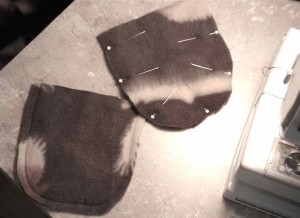
Place raw edge of each mitten top (or pocket) (right sides together) on the placement line with the closed, round end toward the wrist end of a main mitten body. Keeping upper layer free, stitch 1/4 inch from raw edge.
Then zigzag along edge.
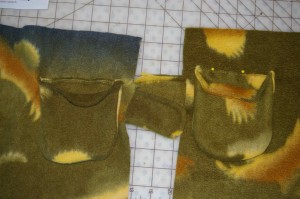
To finish the wrist cuff and finger edges, you can use pinking shears or another edge shaping pair of scissors. I didn’t have those options, but found I like the look of zig zagging across both edges either now or after the side seams have been sewn.
If you do zig zag stitch, I recommend that the upper presser foot pressure be significantly decreased unless you want a ruffly effect…
BEFORE joining the side seams, however, the elastic should be sewn in place. The 3/8 inch wide elastic is easy, but wider pieces can work, too. No need to run out and buy the exact width.
For elastic length, I measured the wrist of the person or model, then added about 3/4 inch to that measurement. No need to have it tight, but do want it to stay on.
Next, I anchored both ends of the elastic where the elastic placement line would meet the edge of the mitten body. I like the added strength of having the elastic sewn into the side seam and didn’t notice any uncomfortable bulk from that.
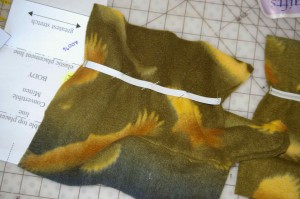
By dividing both the remaining elastic length and the mitten wrist into fourths, pin the elastic in place.
Sew a couple of stitches at the beginning of the seam, then, continue to sew while being careful to apply equal tension to both the front and back of the seam so that the machine needle won’t break. You will probably have to hold the starter threads very firmly to get this going.
Pin raw side edges of each mitten body right sides together, leaving thumb and opposite section free.
Sew, again, keeping thumb free. Also take care that mitten top stays free of stitching.
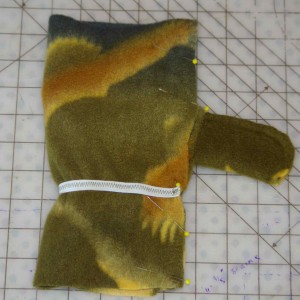
Now, whip stitch the thumb raw edge to the mitten raw edge:
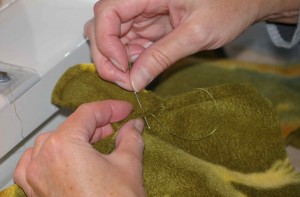
Turn the mittens right side out, including the thumbs and verify that you have a right and a left mitten with opposing thumbs!
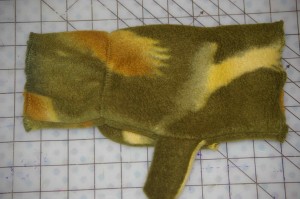
This is when I chose to zig zag the wrist and finger edges, followed by top stitching the finger separation lines. You may be tempted to sew the finger slot lines longer than the pattern indicates, but if it is sewn very much more it ends up pushing down between the fingers.
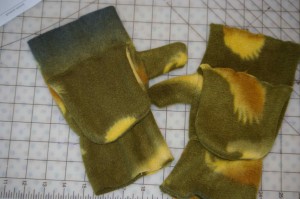
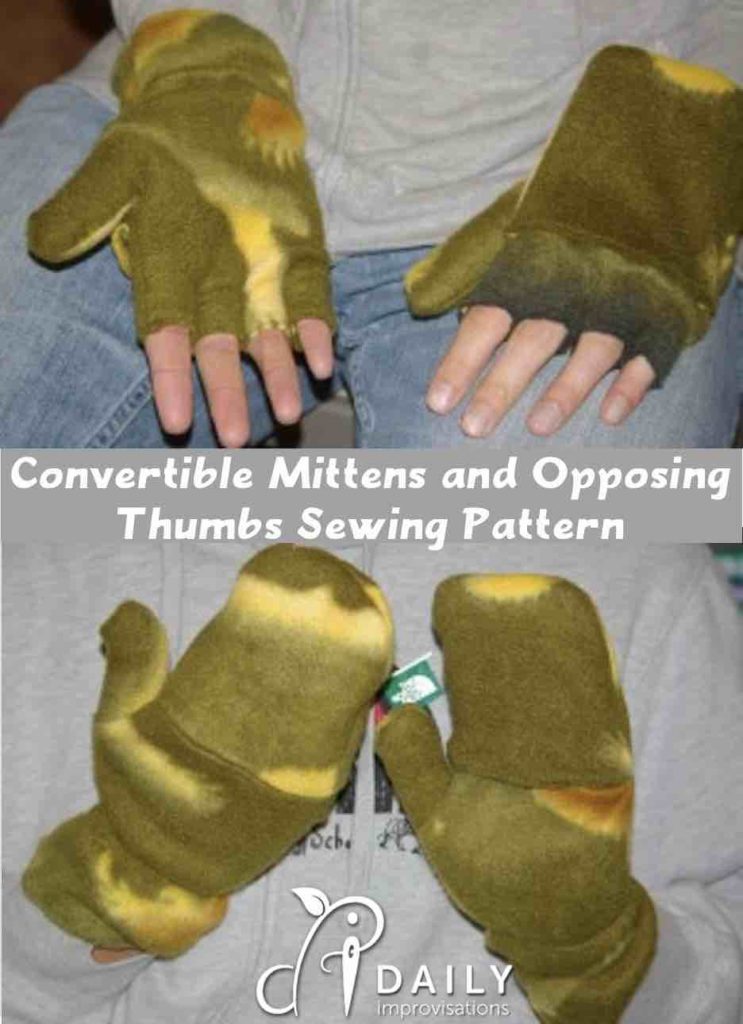
So, here they are in all their cozy softness and memories of the original polar fleece project. See them below on model’s hands:
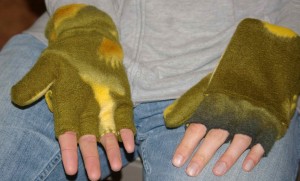
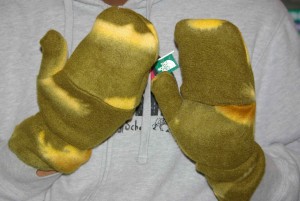
An unexpected happy project. Sometimes life just happens even better than I’ve planned!
Use the link below to purchase the pattern as a printable pdf. The pdf includes sewing instructions and pattern pieces. Transaction secured through ConverKit.

Thanks for sharing, Laura,
those look very comfy and soft, I think I’ll make a pair.
I’ve been using kid-size legwarmers from the dollar store as elbow-length mittens. I stick my fingers out the end when warm and pull the extra fabric down over my entire hand when cold. It has been working pretty well. But these look really fun, and I love that they are convertible!
Mary
Dear Laura, just a note to say I have personally tried the convertible mittens and head band and they work wonderfully. I unloaded 250 lbs. of frozen beef with the gloves on and my fingers stayed warm and cozy. The temperature in the garage was around 20 degrees and my ears stayed warm as well due to the nice head band. When I went to move the Suburban into the garage I flipped the ends of the mittens up and was able to dig into my pocket and find my keys. Thanks for remembering my bday too.
I want some! And I’d make them for myself, but I have to make brownies….
Those look great! I want to make some! 😀
Love the title!
You know, I looked at the pattern, and I think it’s from one of the Christmas handouts that Hancock Fabrics used to give away! I suppose it’s possible that other fabric stores might have similar ones, also. *nostalgia*
interesting and definitely possible.
just found this tutorial whilst searching google and want to say a huge thank you been trying to figure out how to make some all day x
Holly – glad to help! I’d be interested in hearing how it works for you.