I had three main considerations when designing my new garden beds:
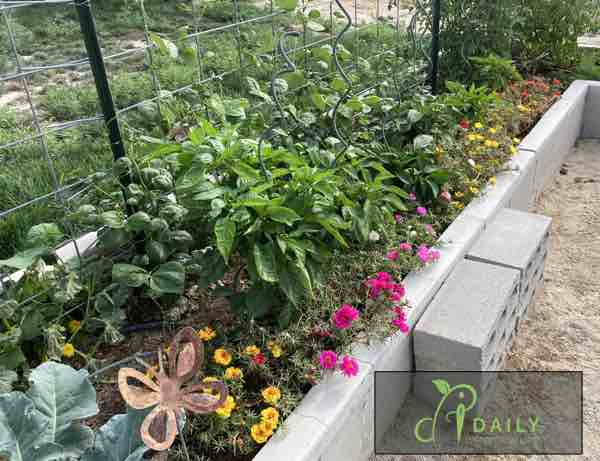
- They needed to give me as much growing area as possible in my smaller yard.
- They needed to be easy to care for around their edges.
- They needed to be sturdy.
I think we achieved both with this design.
I think point 1. is fairly self-explanatory, but just in case, let me elaborate. In my past gardens I had the standard long rectangular beds. This design requires a navigable path between every raised bed, so the space needed basically needs to be multiplied by two. So I brainstormed ideas that would need less space dedicated to pathways.

Point 2. was on my mind because trimming the edges of lawn is the most labor intensive part of lawn care. I am not good at handling the string trimmers lately, so that puts the burden on my dear husband. Because it is so much harder to maintain such edges, the grass tends to be left long to the point of going to seed.
This results in lots of little grass seedlings/weeds in my garden beds. Weeding is inevitable and I don’t mind most weeding, but grass weeds are some of the most obnoxious. If they can be avoided, they should be.
Sturdiness, as in point 3., was on my mind because the wood of my previous raised beds had been falling apart. It was decent for a few years, but I was looking for more longevity at our new home.

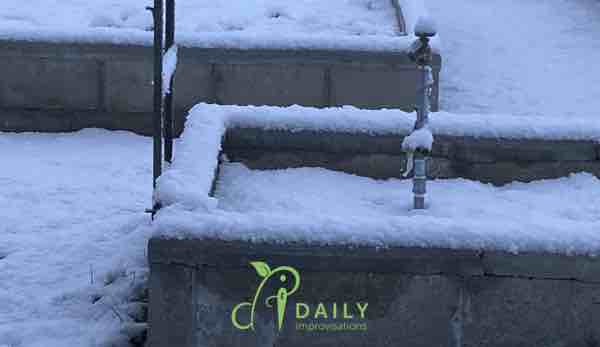
There were a couple of other things that we were able to do maximize this new set up. First, the new raised beds were positioned to maintain our no-watering zone right next to the house. Also, we were able to plan our new sprinkler system to include faucets strategically placed in the raised beds.

At our previous home, my husband had kindly put in faucets at the end of 8 of my raised beds. It was four faucets directly at the end of four raised beds, but just across the pathway from another four raised beds. There were four more raised beds farther away, but those faucets were still quite helpful for them, as well.
But what I learned was that I didn’t like the faucets in the path area outside of the raised beds. Any dripping at the faucets led to weedy spots in the path, which was then harder to weed because of narrow spaces between the pathway bricks and raised bed walls. The pipes and faucets were in the way of wheelbarrow and such. And having the pipes raised to make them work with the height of the raised beds made them prone to leaning over.
After using my faucets positioned inside of my new raised beds for one year, I am very happy with this placement.

The other nifty detail to the faucets in the new raised beds is that a couple of them have two faucets on the pipe, so one can be used permanently for my irrigation lines and there are still places for me to hook up hoses. That will save me a lot of time and struggle.
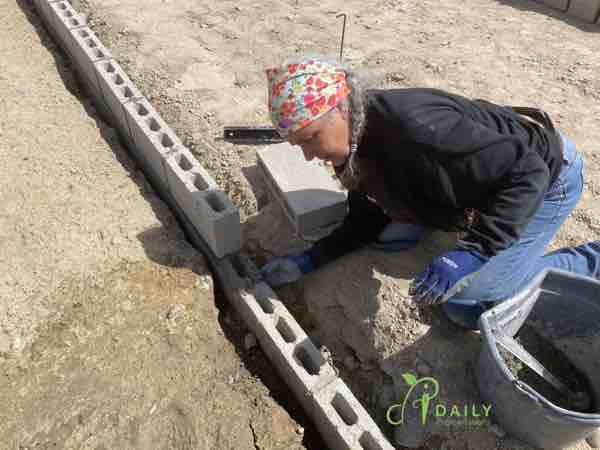
While the shape and sprinkler aspects of my new custom designed raised beds was all from our brainstorming, the basic idea of using the concrete blocks to build the walls came from the book 40 Projects for Building Your Backyard Homestead.

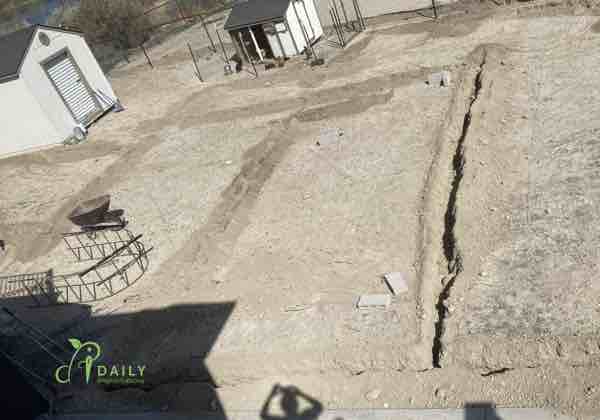
We have a sloped backyard, so that had to be adjusted for. Also, we used more concrete.
I will be working on an ebook and some complimentary videos to show exactly how we made our raised beds. If you want to be notified of when that is available for purchase, you might want to sign up for my Daily Improvisations Improvise This newsletter (sign up form in the upper left sidebar). In the newsletter, I write about all the things going on here at my modern homestead, from sewing to gardening to raising chickens.

Leave a Reply