I thought I wanted a cold frame for my birthday, to help me with hardening off my seedlings started in my greenhouse. I have an old one that I’ve been using (that my engineer made me years ago), along with the picnic table, the patio furniture, and the patio cement. He was quite willing to make me a new cold frame, and went to work reviewing the angles of the sunlight in southwest Idaho in the spring, as well as calculating how large the cold frame would have to be to hold very many plants. In essence, it would take up half of the patio. Plus, he has seen how I move trays of seedlings around to get them in the sun. So, he came up with the idea of an outdoor plant shelf that I could use as part of my system. He taught me how to make it as he went along. (click on any photo to enlarge)
You may find his research on angles of sunlight interesting. If not, skip to below. But for those of you who want to know the train of thought, here is his diagram that he showed me:

We have two books about greenhouses that he read when he was building me my greenhouse that is attached to the kitchen, Greenhouse Gardener’s Companion and The Complete Book of the Greenhouse
. He used these books to get a better understanding of how light is affected by the angles of surfaces. He looked up the angles for our locality on the internet. He also measured the angles of the shadows cast by the picnic table at 1:00 PM to compare. It wasn’t exactly what was listed, but it was very close. March, April, and May would be the months that I would use something for hardening off seedlings.
He showed me that I would really be limited to one layer in the cold frame. We discussed how I rarely closed the cold frame. He suggested a set of shelves to “put the plants to bed,” instead of having to carry them all back into the greenhouse every night (they never all fit in the old cold frame). We would design a cover to keep them warm at night, maybe even use a heater. (More on that in another article) It made sense to me!
He went shopping on the internet and around town for ready-made shelves, only to find that they were not made to dimensions that utilized our space well AND they weren’t shaped to hold the plant trays that I use. He also knew that he wanted something that could stand up to the elements, as well as all the moisture associated with trays of seedlings. So he came home with these supplies:
- 16 lengths of pressure treated 8 foot long, 2 x 4’s (he says regular pine would probably last pretty long, but he went all out for me)
- 4 steel wheels, graded to bear the weight he estimated from the trays of moist pots
- 3 inch screws
- 1.5 inch screws
- 20 pieces of 10 foot long, 1/2 inch metal conduit (like electrical wires are encased in for the ‘warehouse’ look)
- a 3/4 inch Forstner drill bit
 and a Forstner drill bit (inserted in the drill press)")
Tools or equipment that he already had, or had given to me for Christmas:
- table saw
- chop saw
- drill press
- a regular drill
- grinder
- pencil
- safety glasses
- bits of wire or nails
- regular drill bits
- clamps and scraps of wood to make a ‘jig‘, to guide the 2 x 4’s more easily and exactly through the drill press sights.
- rubber mallet (that’s the tool that is mine)
- wife, to hold long boards and keep him entertained (which is, of course, me)


The shelves were going to be made to be just under 7 feet tall, so that they would fit under the eaves of the house and give me room to fit a nighttime cover attached from the top. The wheels themselves were almost 3 inches, so 4 pieces of pressured treated wood were cut (using the table saw) to about 6 feet 7 inches, to become the corners of the structure. It worked well to mark the length and the hole placement of 3 of these boards at one time, using the first one for a guide. Another important step was to mark one end of each piece with a ‘B’, to designate it as the bottom, to make it easier to keep track of when drilling and putting things together.

After getting a jig set up out of wood scraps and clamps, the Forstner bit was used to drill holes completely through these corner supports (that is the 1.5 inch thickness) at a spacing of every 6 inches (measuring from ground level, because I will be using the space under the shelves also) for 6 levels, then every 12 inches for 3 more holes. The ends of the shelves would be attached through these holes.

To make the horizontal shelves, 10 pieces of pressure treated 2 x 4 were cut to 5 feet long. The left over ends were all very close to 30 inches and a few would be used for the bracing the short ends between the corner posts. We marked one end of each 5 foot long shelf piece of lumber with an ‘S’, to make sure the spacing lined up when we were all done drilling. The holes all the way through on each end of each horizontal shelf board were measured to be 3 ¼ inches from the end, but the partial holes/slots along the rest of the length, in between those end holes, were supposed to be evenly spaced between them at a distance of 4 and 15/16ths of an inch. However, by the time we drilled the slots in between (partial holes only going 1 inch into the 2 x 4) the spacing was not as exact at the other end of each board.


Okay, so to reiterate: the ends of each shelf piece of lumber had one hole per end drilled all the way through. All drilling was done with a Forstner drill bit in a drill press. My engineer did most of the drilling, but he took a photo of me doing it, and that’s what you get to see. All along the middle section of each shelf side board, holes were only drilled to a depth of 1 inch, thus not going all the way through the lumber. Two of the “left-over”30 inch pieces of lumber were squared with 2 of the corner posts, one near the top and one near the bottom, then screwed in place with the 3 inch screws and a regular drill.

The metal conduit was cut using the chop saw. I have done this before, but he didn’t make me do it this time. However, my 20 year old daughter did it, so you probably can, too. Oh, how the sparks do fly, though! We needed 10 pieces of conduit cut to 32.5 inches, and 55 pieces cut to 25.5 inches. Holes were drilled in the ends of each of the longer pieces of conduit, about 1 inch from the end. When everything was attached, a piece of wire or a nail would be threaded through this as protection against the metal getting knocked out and subsequent collapse of the shelves with all my plants on them.

The shorter pieces of metal conduit were twisted into the partial holes of one piece of horizontal shelf lumber. Then, another piece was put on top, aligning the ‘S’, and the conduit was partly twisted into the top piece of lumber, beginning from one end. My engineer did most of this, but then he let me have turns pounding on it with the rubber mallet to get it all set together more firmly. Possibly you wonder why the open bars? It is much nicer to have plant shelves that do NOT collect water and dirt. The metal conduit should be rust resistant, too.

Now, the shelf was slipped into place between the corner posts, lining up the through holes. One of the 32.5 inch pieces of conduit was pushed and rubber malleted through all the holes. This held the shelf in place, once both ends were done. Soon, we had 5 horizontal shelves looking very sturdy, except…
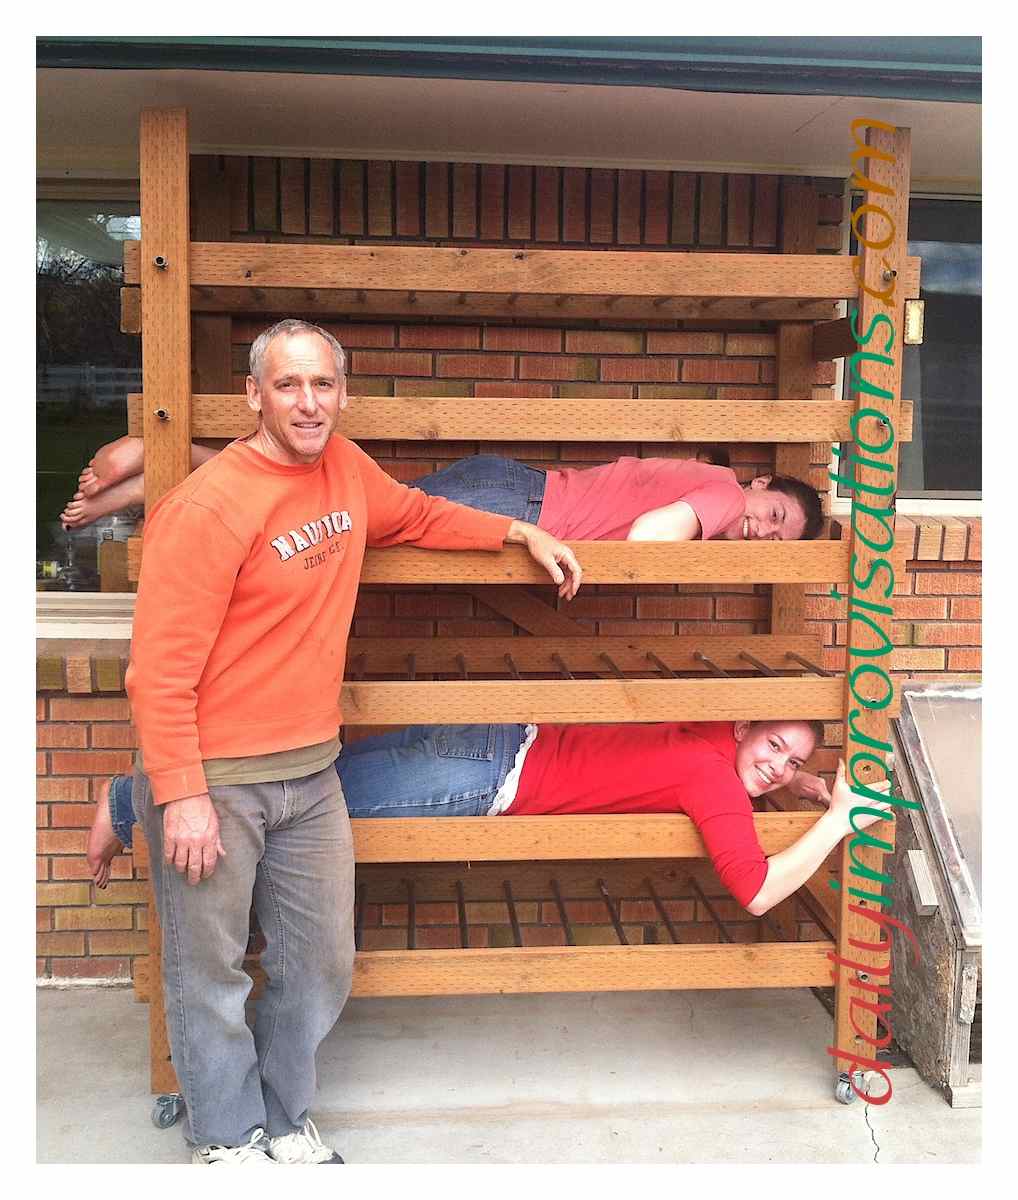
It looked like the whole structure would benefit greatly from a piece of 2 x 4 cut to fit as a diagonal across the back. This made it feel much stronger. You can see that it holds two girls quite nicely. They are considering a campout with sleeping bags, if they can find air mattresses.
 and wires (to keep the bars from accidentally slipping out) have been put in it.")
Here is what it looks like with my plant trays, both from the front and from the end. With the ability to hold 6 trays per shelf, I will have plenty of room!


We ordered the fabric for covering it and already received notice that it has shipped. My engineer is working hard to make this functional for me this year!

Leave a Reply