For this DIY t-shirt neck baby bib I had these unique goals:
- Make my own custom t-shirt neck ribbing from t-shirt scraps.
- Make the bib completely reversible.
- Have a pocket on each side of the bib.
I also intended to:
- Use PUL (polyurethane laminate) between the layers as a drip guard.
- Use the simple edging method of sewing the two sides of the bib together around the outside without making it too thick, especially with all the pocket fabric there.
- Make an applique’ using cookie cutter outlines.
- Make simple lined pockets, using a thinner, basic cotton, to help keep bulk down in the seams and provide some fun contrast. (click on any photo to enlarge)
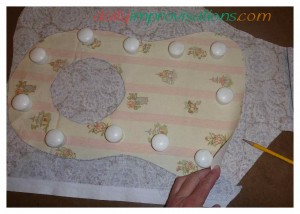
1. I used my pattern that I made in the beginning to cut out one of the bib “fronts.” Then, I used this piece as the guide for the other front. I traced it with regular pencil and cut it out. Total, 2 “main fabric” bib pieces cut. Note: all seams are 1/4 inch unless otherwise stated.
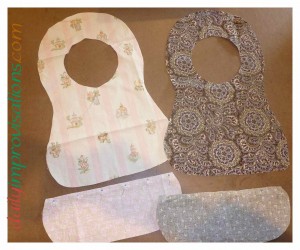
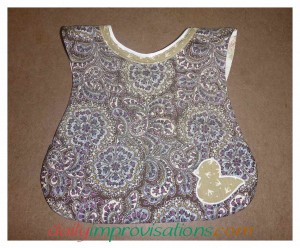
2. The pockets were cut out, 2 pieces for each pocket, so 4 pocket pieces total. Each pocket had one piece of the main fabric for that side of the bib, plus a thinner cotton for lining. This is the time to notice if you want to line up any particular stripes or patterns of the pocket with how the main part of the bib is cut out. I searched high and low through a scrap bin to finally find a lining that I thought would coordinate decently with the paisley fabric.
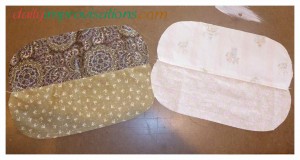
3. Only the top edge of the pockets needs to be finished, because the side and bottom edges will be caught up when the whole bib is sewn together around the outside. To finish the top edge, the lining was sewn to the main fabric, right sides together. I understitched the seam to the lining, to help it lay flatter. Then, I folded the lining and main fabric wrong sides together right at the top edge seam line and pressed it all down.
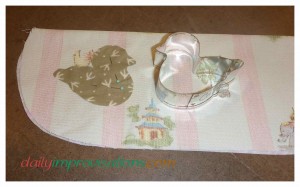
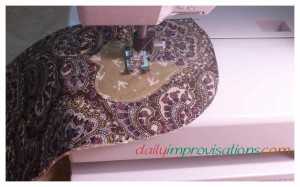
4. An applique was on the agenda for each pocket. I chose a little birdie cookie cutter to trace for both sides, something to unite both sides of the bib. It seems to work best to trace around the outside of the cookie cutter, leaving more of an edge to work with for the stitching around the edge. For sewing, as before, I went around with a regular straight stitch, to secure the applique’ shape and provide a better visual guideline when going around with the narrow zigzag stitch next. A clue about forming the inner corners with the zigzag, is to sew into the corner, stopping the needle at the inside aspect of a zigzag, then lifting the presser foot, turning the fabric, and continuing the zigzag down the other side. For going around an outward facing curve, just go slowly, giving the stitching time to fill in around the outer portion. For an outward facing corner, stitch past the corner, stopping the needle at the outside part of the zigzag, then turn the fabric and continue. All of this should give you good overlap in those transitions, to make the zigzag look complete.
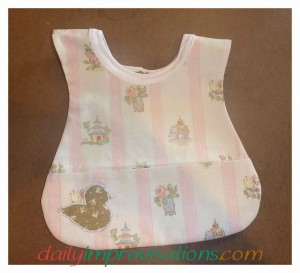
5. The PUL drip panel was going to be hidden between the two layers of the bib, but I had two things to work around. One, I had to piece some scrap PUL together again to get a large enough piece to use. I made straight edges on two scraps that were a good size to cover most of the front of the bib, overlapped them 1/4 inch. I stitched that flat fell seam. This PUL could now be put under the front of one of the bibs and have an outline traced on it (I used pencil again). It did not fill up the whole bib front, but it was close enough. I cut out that shape, only to put it on top of the bib and use a marker to draw a line about 1/2 inch inside from the outer edge of the bib. The idea was to not have to deal with the PUL in the seam allowance. I trimmed the PUL down to this size. The second issue was that the bright pattern on the PUL would should show through one of my main bib fabrics, but not the other. Thus, I made sure to pin it design side down to the darker bib front. I stitched around the edge of the PUL to hold it in place. This outline is fairly well obscured by the paisley of that bib front.
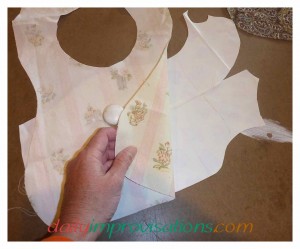
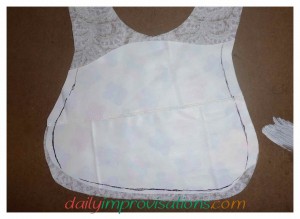
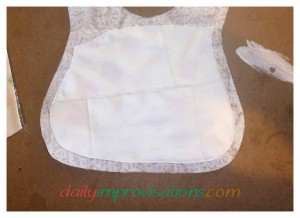
6. With the appliques in place and the PUL lining secure, it is time to baste the raw edges of the pockets to the lower part of the bib. After I had done that, I trimmed any excess from the pocket that might make the edge seam too bulky.
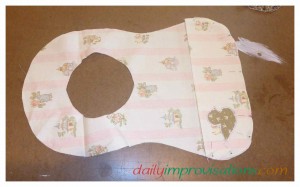
7. Pinning the two fronts of the bib wrong sides together and sewing them with a regular straight stitch around the outer edges was basic. No need to stretch anything for this seam on this version of the bib, since both fabrics I chose were woven. When the sewing was done, I clipped the major curves, to help the seam be able to lay flatter when I turned the bib right sides out. Next, I turned it all right side out, finger pressed the seam a bit, then used an iron to press it all into shape with the seam being the outer most edge all the way around.
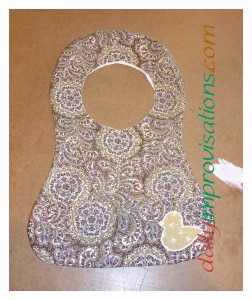
8. The t-shirt that I had cut up to make my re-fashioned race t-shirt was a good color to make neck ribbing that would coordinate with both of my bib fabrics. I cut a 2 inch strip on the bias, just to make sure I got as much stretch as possible.
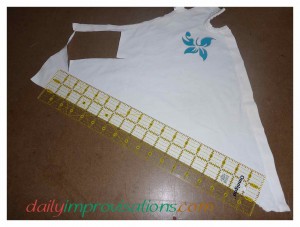
9. I remembered how slightly shortening the knit ribbing had worked for making the armholes of my t-shirt mentioned above, so I cut tested the stretch of the ribbing, to see how it would stretch to accommodate the 18 inch neck hole I was going to insert it into. Then, I cut the bias knit strip to 15 inches. You might want to adjust that measurement depending on how stretchy your knit is.
10. The short ends of the bias strip were sewn together, then the resulting circle folded wrong sides together lengthwise all the way around and pinned at points dividing the custom neck ribbing in equal fourths.
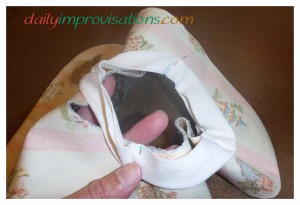
11. I also pinned the main neck hole in equal fourths, then matched those points to the points on my new neck ribbing. You have to decide which of the sides of the bib to use as your “right side” for this step. The seam on the other side will be taken care of later with some bias trim, so it might help to know which fabric you want to use for that before you proceed. I wanted to use the beige bird foot print fabric for my bias strip on the paisley side, so I used the pink striped side of the bib as my right side to sew the neck ribbing on.
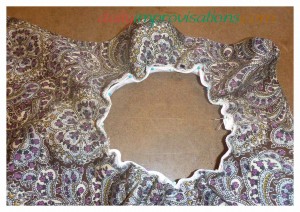
12. Now I could pin the rest of the neck hole to the ribbing, stretching the neck ribbing to fit the neck hole opening.
13. The neck hole seam was sewn with a narrow zigzag stitch to preserve as much stretchability in the neck opening as possible.
14. All that was left was to make the single fold bias strip to cover the neck hole seam on the paisley side of the bib. I cut a one inch strip of the fabric for this, actually not exactly on the bias, because my scrap was too narrow. After it was cut, using a straight edge and a rotary cutter, I pressed the edges of the strip over, creating a fold on each edge that would let me sew it in place with only the right side of the fabric showing. It was easier to press both edges at once, just positioning the fabric with my fingers, just out of reach of the hot iron, as I went along.
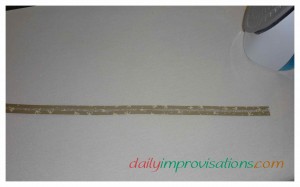
15. It seemed best to sew the outer edge of the bias strip to the outer edge of the neck hole seam first. I did not pin anything, as it was too think right there and I would be manipulating the fabric as I sewed anyway. This stitch, also a narrow zigzag, was done to just cover the stitching from sewing the neck ribbing to the main bib fabric. The first end was left raw and flat, but the finishing end was folded under about 1/4 inch and sewn over that raw end when the circle was completed.
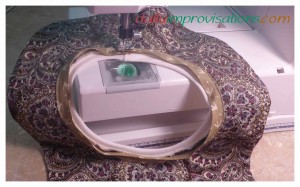
16. To sew the inner edge of the bias strip over the seam allowance, I stretched the ribbing as I sewed with a narrow zigzag stitch. The thread color was the same as the ribbing, so it really cannot be seen from the other side. The bias strip puckered ever so slightly when I was done as it adjusted to the pull of the knit around the neck hole. You can see from the photo that you have to look for it to see it.
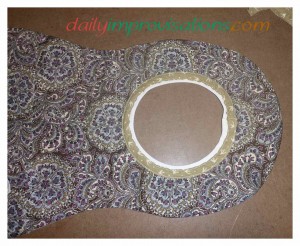
The double pocket reversible DIY baby bib was now finished. The photos below show what it will look like from each side.
Coming soon, Ascher’s big boy bib with t-shirt strips used to bind the edges and a wrap around the back.

Leave a Reply