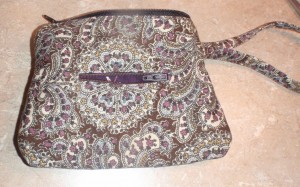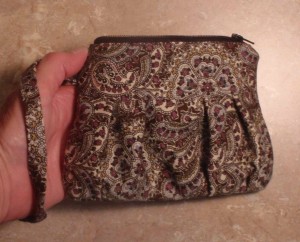
What is the perfect size bag for mother’s of young children? Most mom’s have a plethora of large bags. Magic, bottomless pit bags. Sometimes so bottomless that items are never seen again. Sometimes with large pockets wherein there is an ongoing shell game for small, important articles.
Possibly that is why Amanda requested a miniature, almost wallet size purse for her birthday bag. She wanted something that could just contain basic let’s-run-out-the-door necessities. Keys, mobile phone, a couple of pieces of card plastic, and not much else. She chose the petite version of the pleated wristlet purse.
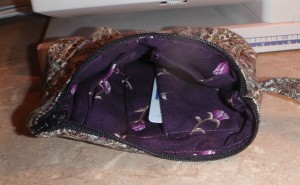
The original pattern in Sue Kim’s book, Bags – The Modern Classics, does not have pockets. The little purse I sewed for Amanda has 6 pockets:
- one outer insert zipper pocket
- one square corner mobile phone pocket
- 3 sideways pocket slots for credit card shaped cards
- one extra, but upright, open top slip in pocket
- and, of course, there is the inside of the purse, which is basically pocket sized
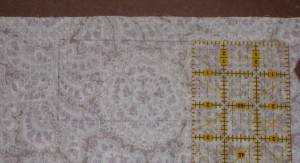
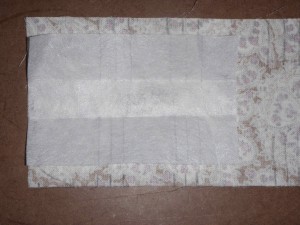
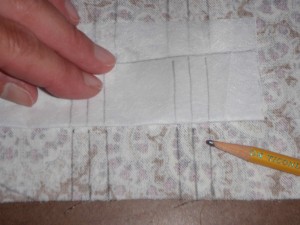
To make the zipper insert pocket, I measured the flat back outer piece of the purse. The front has the pleats, so would be unsuitable for any pocket. I made sure that the finished pocket would be sufficiently out of the way of future seams and zippers at the top of the purse. Since it was such a small pocket, I had to trim the zipper. The finished zipper opening would be a scant 3 inches. The pocket is possibly large enough to hold a key or an important receipt.
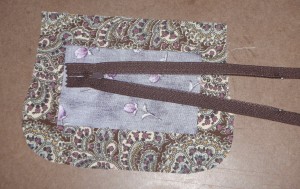
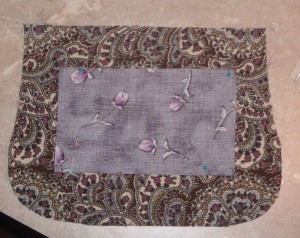
(click on any photo to enlarge and see a slide show of all photos)
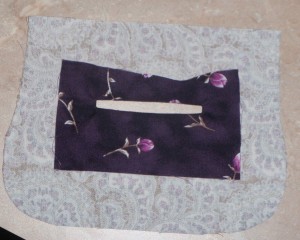
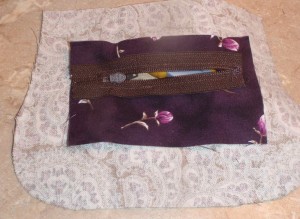
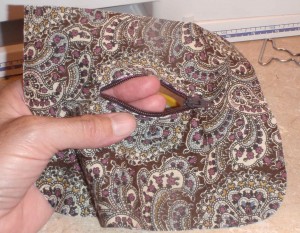
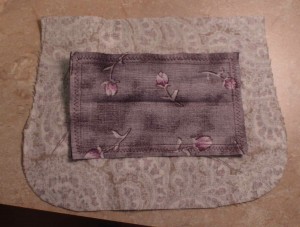
All of the inside pockets were made fully lined. That is, I decided what I wanted their final dimensions to be, added ¼ inch around for seam allowances, and cut 2 pieces that size. They were so small that I just sewed them pillowcase style, right sides together on 3 sides. After the corners were trimmed, I turned them right side out and pressed the seams flat some (only as much as I could up into the corners). Then, I pressed a hem to the inside on the edges of the open end and edge stitched the two pieces together there. This was followed by pressing the whole pocket flat.
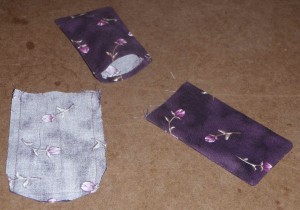
For the credit card size pockets, I first traced my driver’s license on the back side of the fabric using a pencil. I wanted there to be just enough room for the cards to slip in, but not slip around, so I added a scant ¼ inch for ease on 3 sides. Then, I followed the procedure in the above paragraph to make the lined pocket front that would be sewn onto the purse lining.
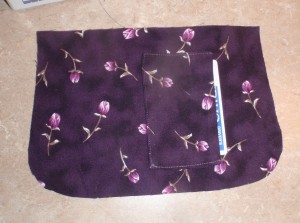
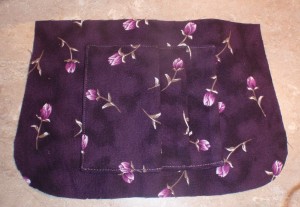
These pockets were sewn on in a stacked, sideways manner. I went with sideways because I could fit 3 slots with that orientation, but only 2 if I did it upright. The top, or right, slot pocket was sewn on first by edge stitching the 2 sides and the bottom, but leaving the right/top edge free. Then, the next slot pocket was layered part way over it and sewed the same way. And a third slot pocket, leaving it indeed looking like card holders!
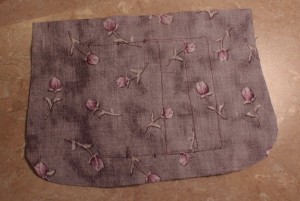
I thought the mobile phone pocket should be more 3-D. To do this, I folded each of the bottom corners down the center, forming a triangle. About ⅝ inches from the tip, I sewed a seam straight down, producing a nice box corner. To attach it to the purse lining, I pinned the bottom corners first, making sure to keep it’s boxy shape. The sides were kept going straight up from that, so they, too, ended up having some 3-D to them. Edge stitching in this shape was pretty easy, other than needing to stop to lift the presser foot and turn the whole thing at the point of the corners.
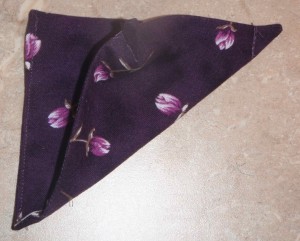

There was just room for one more open top, slip in pocket next to the mobile phone pocket. It was made the same size as the credit card pockets, but left open at the top of the purse lining.
The directions for sewing the lining, as spelled out in the book, were a little confusing to me. I have added some extra photos and comments below that might help you visualize what is going on.
5 key things to remember:
- all pockets need to be sewn onto the lining or into the sides of the outer purse fabric before the pieces are sewn together; this is not mentioned in the book since it doesn’t deal with pockets for this purse (bag).
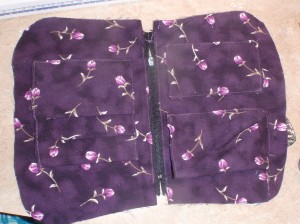
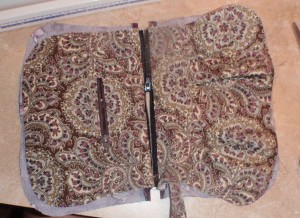
- pay attention to the instructions about leaving ½ inch unsewn at the end of the stitching when putting in the top zipper
- make sure the zipper is open before you sew the outer edges of the purse and lining together
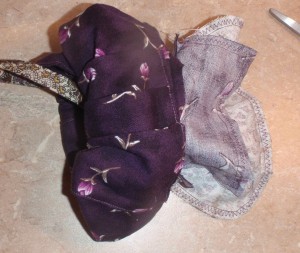
pulling the whole purse right side out through the opening in the bottom of the lining - make sure to roll the top zipper out of the way, or basically folded into the lining, when sewing the outer purse pieces together around the edges
- DO sew over the zipper when sewing the lining pieces together
