I needed hoagie buns, or deli sandwich rolls, for French dip sandwiches for dinner on Friday last week. I didn’t want to buy them. That just sounded bland. I didn’t want to use a regular bread recipe. That bread would already be fairly moist, and thus get soggy quickly when dipped in au jus. So I began looking for recipes. I looked in all my baking cookbooks. I did an online search. It seemed like everyone had been buying their sandwich buns, or making them from an average bread recipe.
One clue I ran across, was that the sandwich rolls were being referred to as Italian bread. I happened to have an old Italian cookbook on my kitchen bookshelf, that I may have opened once in 20 years. I bought it for a great $8.50 at a used book store because it looked interesting, but that was as far as it went. Until Friday.
It’s a good thing I was looking early in the morning, because the recipe called for at least 5 hours of rising time. But, other than that, it was a straightforward recipe promising special flavor. I got my ingredients together, then warmed my large metal bowl under hot water.
The recipe is given in proportions suitable for using for several varieties of Italian bread, but when I multiplied it for the amount that I thought I would need for dinner, I ended up with figures like 1.87 teaspoons of salt. SO, I rounded and adjusted to even numbers, trying to keep it all in proportion still. For eight sandwich rolls:
- 2 cups warm water, warm like comfortable on the wrist
- 4 teaspoons of yeast – I use Saf Instant Yeast
, which I keep in a jar in the freezer
- 2 teaspoons of salt
- 1.5 cups freshly ground flour from hard red wheat berries
- 3 cups unbleached white flour
- just enough flour to keep it from sticking unmanageably to the counter top during kneading
The directions in the book include a variety of process options, confirming the idea that bread making is a creative affair. It doesn’t have to be done perfectly or exactly to yield yummy results. Even if there are things that can be “done better” the next time, it is a rare mistake that ruins the batch. I have been making homemade bread, almost weekly, for 20 plus years, but this was my first attempt at Italian bread.
- Sprinkle the yeast over the warm water and let it sit 3 – 4 minutes; then gently whisk to mix.
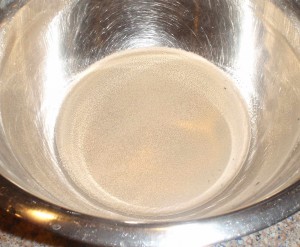
- Stir the salt in.
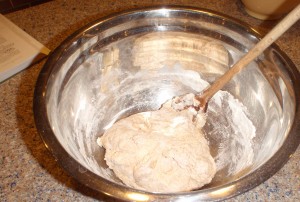
- Add all the flour at once, which is different from my regular bread making. I used a wooden spoon to combine until it formed a nice lump that pulled away from the bowl. This did not take very long.
- Knead the dough for a full 12 minutes, until it is elastic and smooth, and a finger hole poked into it quickly fills in. ONLY add flour when necessary to keep it from being too sticky to knead. Keep it as moist as possible. The kneading time is the part that I didn’t do as well as I should have for this first trial. I am used to kneading a 4 loaf batch of bread for 8 – 10 minutes. I was concerned I would be over-kneading this one-loaf-lump and make the bread tough; but after the the bread was wimpy about rising, my chef-daughter helped me to understand that this recipe had a higher ratio of water to flour, and thus required more kneading.
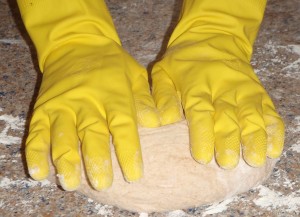
I always knead bread with rubber gloves, because the yeast makes my hands itch!
- After removing any larger pieces of dough from the mixing bowl, dust the bottom of the bowl with flour and put the dough inside. Cover the bowl with a damp, clean kitchen towel. Then, get a thick towel damp and put it over the top of that.
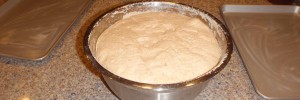
- Place it all in the Excalibur dehydrator and turn on the machine to about 80 degrees. (or just put it in a warmish, draft-free location) Let is rise for a solid two hours, or until double or more in volume. I neglected to get the towels damp, at first, and found that the dough formed a skin. I just broke the skin up and pushed it into the rest of the dough when I punched it down after the first rising.

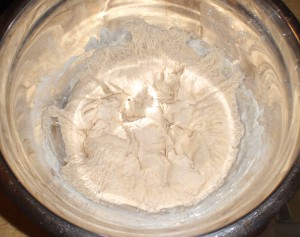
- Let it rise again for 2 – 3 hours, again until it has about doubled. It will develop it’s flavor with the longer rising.
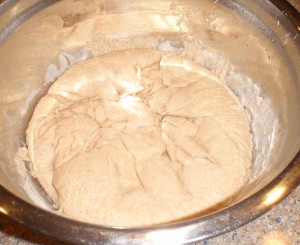
- Grease two half sheet pans or cookie sheets, then divide the dough into eight equal pieces. I cut through it with a rubber spatula. Form the pieces into the shape you would like for your sandwiches. I chose rectangles this first time.
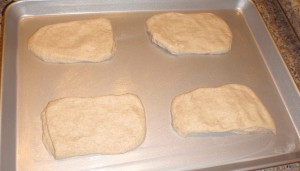
- About this time, I was getting a little depressed. We were having company for dinner and those hoagie rolls looked awfully flat, flat, flat. However, working with the premise that I might as well see it through to the end, I let these rise for about 30 minutes while the oven heated up to 475 degrees. The rolls stayed flat. 🙁 In my melancholy, I skipped slashing the tops to allow for expansion while baking.
- I put a glass bowl full of water in the bottom of the oven, then baked the rolls for 5 minutes.
- Per recipe in the book, I then turned the oven down to 400 degrees.

- Check the rolls every 5 minutes for doneness. They didn’t turn brown like other bread and they sounded hard when tapped quite early, so I decided that about 25 minutes was a standard amount of time for that size of bread. I took them out after 25 minutes.
- It was recommended that they be allowed to cool completely, so I put them on a wire rack and worked on the rest of dinner, including going to pick more late fall volunteers from summer lettuce gone to seed, in the near dark and rain.

cooling on the rack keeps the bottom of the bread from getting gooey
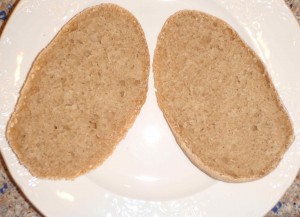
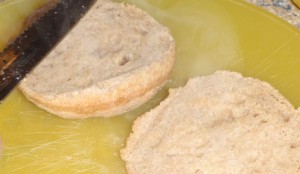
Slicing the rolls in half WAS a challenge, but the inside actually looked good, even though a bit crumbly. I decided to serve them for dinner. They tasted very good, everyone agreed!

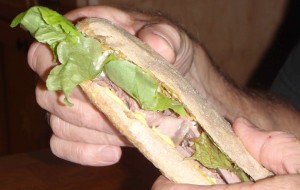

I was inspired to try the whole thing again two days later, because we had so much left over roast. This time, I tripled my recipe, so I guess I was optimistic. 🙂 It all worked out very well, except I forgot those slashes, again…
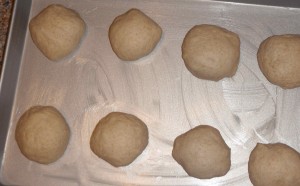

The buns were definitely thicker. Might make them thinner next time 😉

The flavor of this Italian bread reminds me of sourdough, but not as strong. It seems like it is a good substitute that doesn’t require the same planning and tending as a sourdough starter. It is also a candidate for trying in the brick oven, to get that extra special touch that only the brick oven can give!
