Problem solving my crochet pattern needs
Sleeves are forever getting in my way. This is especially true when I am in the house and doing chores where I need to wash my hands more regularly. Plus, my constantly changing internal temperature makes ‘dressing for the day’ nearly impossible.
What I needed was an easy off and on sweater vest. No sleeves to speak of. Nothing over the head and minimal closure. I saw some crochet designs, but when I sewed up shape in polar fleece to test the design, I knew I was going to not be happy with it crocheted. I still wear the polar fleece wrap some, but only when sitting still.
How I made my crochet vest the right size for me
Sewing up the model also helped me get a better idea of finished dimensions, such as how long I wanted my vest, how much ease would be comfortable without being bulky, and how it would drape. I decided to ad-lib a vest design without worrying about rounding out any shapes for shoulders or bust. It was a gamble, but sometimes one just has to experiment.
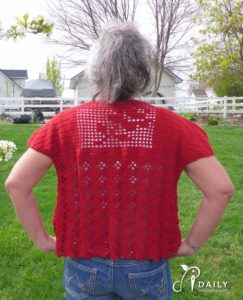
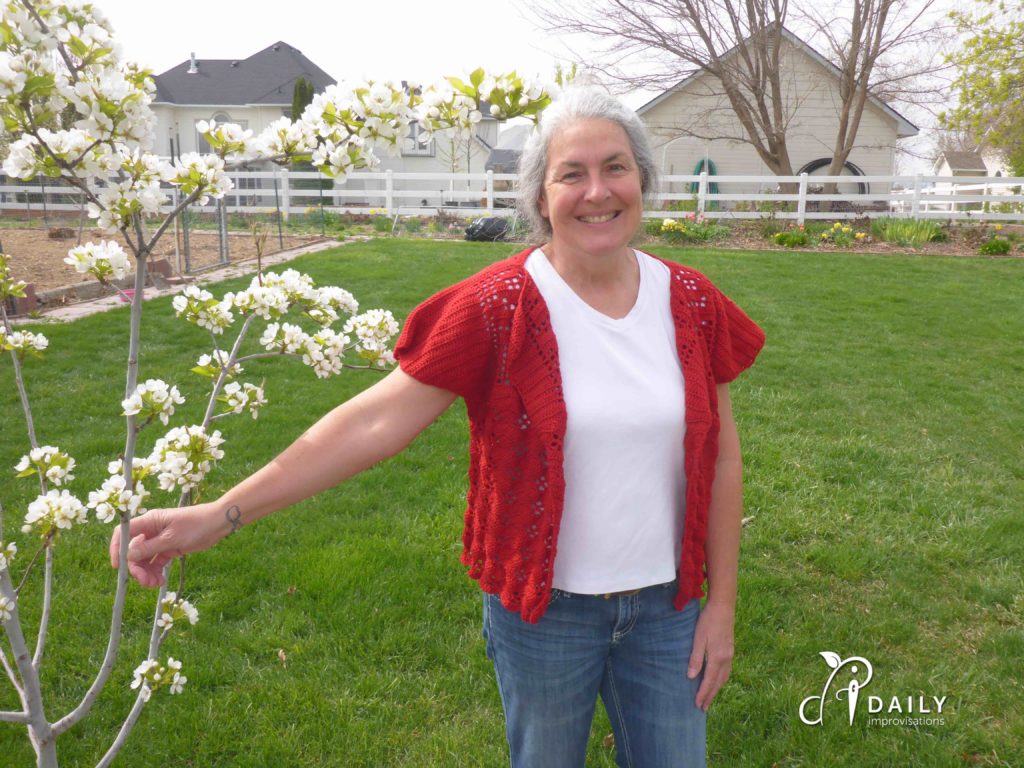
Now, I present to you my new red crochet vest! The flat pieces make it simple to make, though of course you may have to make adjustments for your own size. For comparison, I am about 5 foot 8 inches tall. I wear a size 8 or 10 jeans, depending on the style and brand. For tops, I usually have to buy a medium or large, as I have broader than average shoulders, although I have a smaller than average bust.
Links to stitch patterns I used
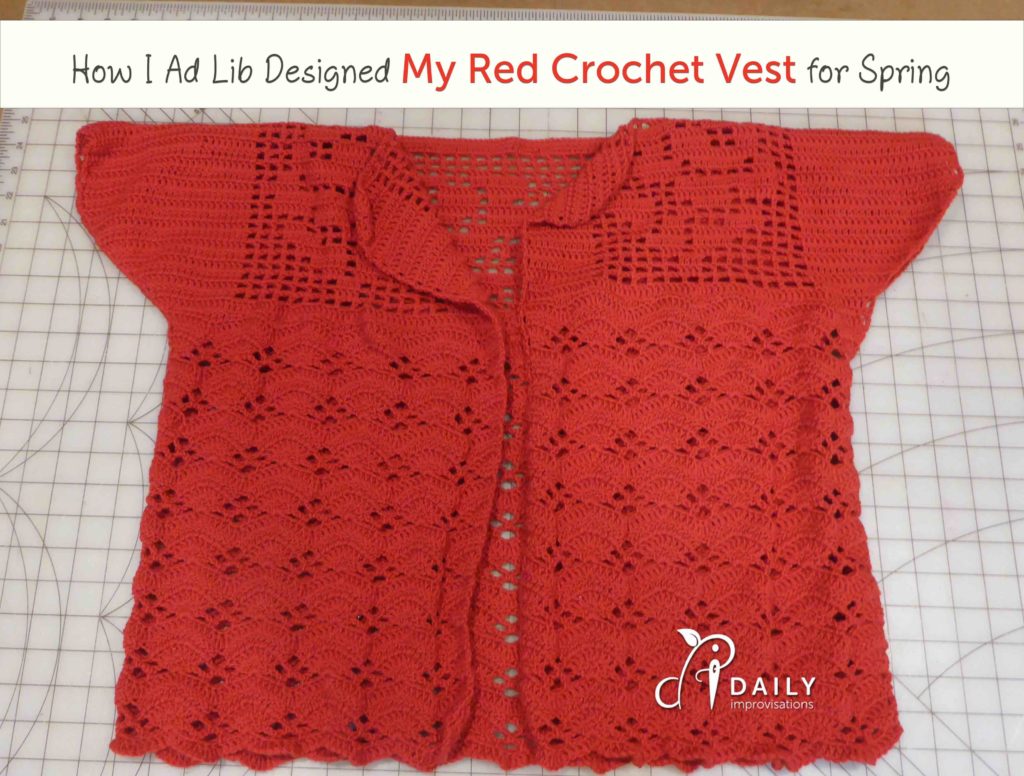
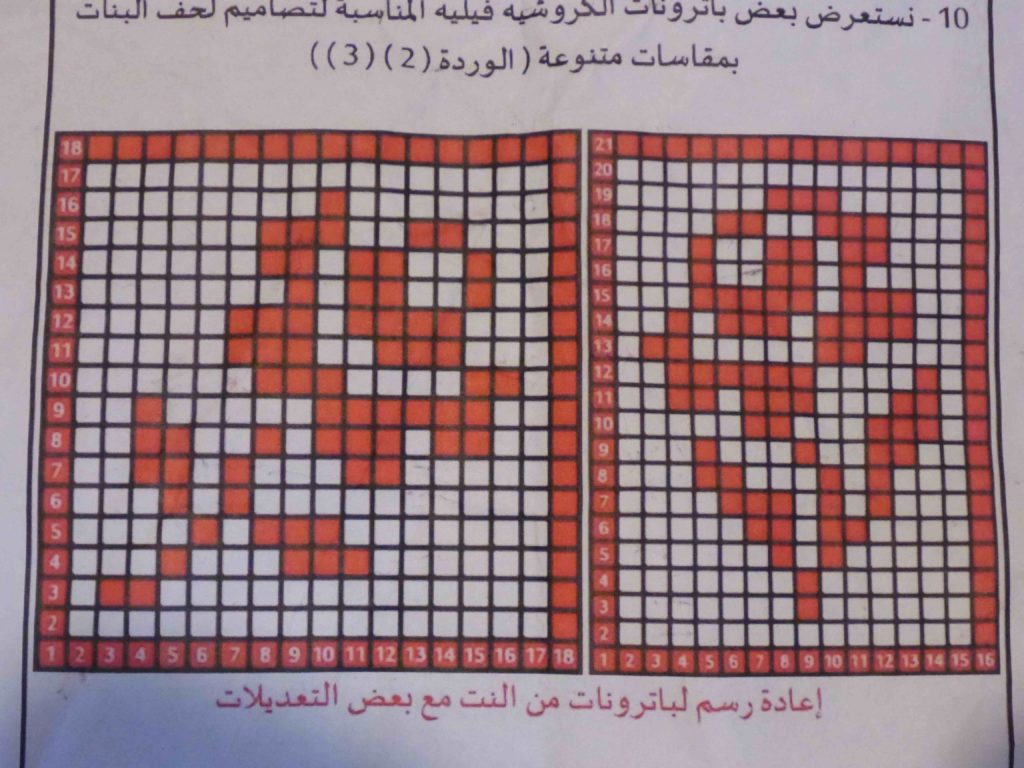
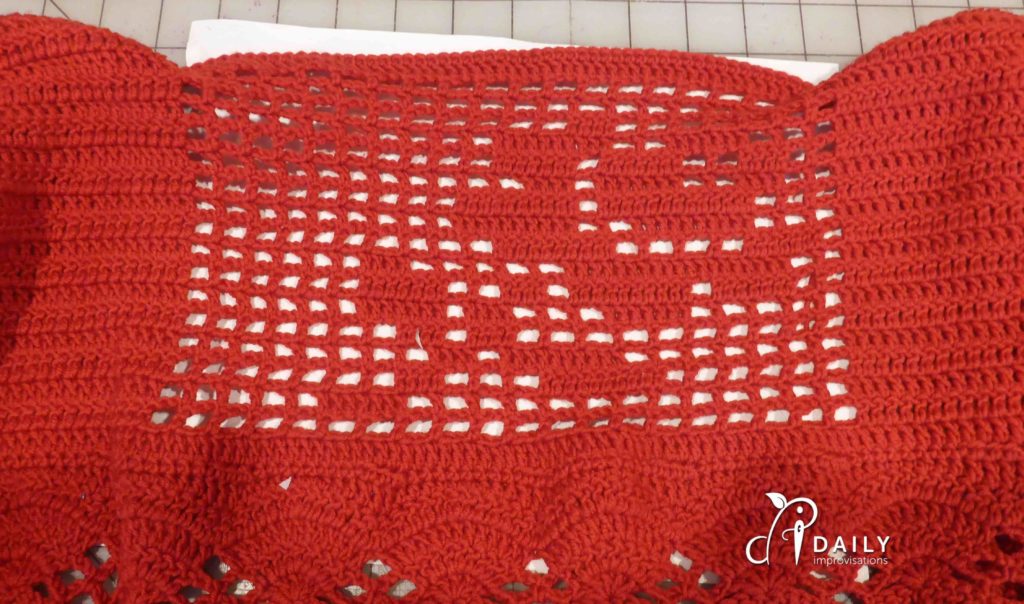
Here are links to the stitches I used. The bottom of the vest is worked in this large fan/shell stitch (without the back loop only option), here are the filet crochet rose panels on the upper back and front, and the other stitches around the panels are double crochet. I will explain in the next section how I transitioned from the shell pattern to the double crochet.
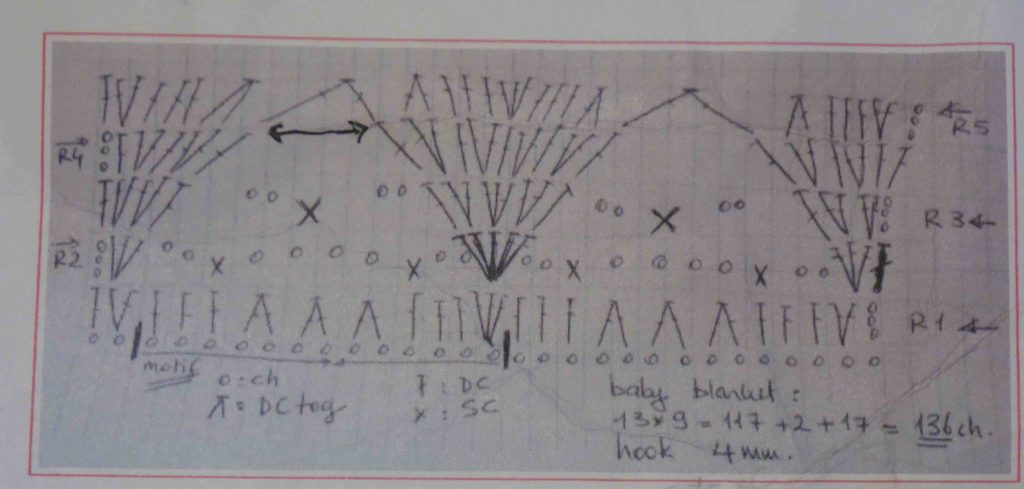
I used the diagram (not the written) pattern to make the shell stitch. It is a little confusing when it gets to the second to the last row from the top. I am adding a photo of the pattern I printed and where I made arrows to show that those stitches were actually directly adjacent. It gets to be more obvious when you actually get to that part. I’m sure it was just because she started the diagram from the bottom and things ended up a bit too far apart when she got to diagramming the top two rows of the shell.
My versions of the pattern for the vest
The shell stitch pattern gives a repetition factor of 13 for the basic pattern. She was making a baby blanket and I didn’t use the rest of her math.
My front pieces of the vest ended up being 67 stitches plus 3 more for the first double crochet on the next row. That ends up to be 4 full shells + a half shell at each end wide. I remind you again that I did NOT do any of the front or back loop only stitches.
The back vest piece is 8 full shells wide, plus a half shell at each end. So you could say 9 shells total. The half shells at each end happen naturally with the pattern.
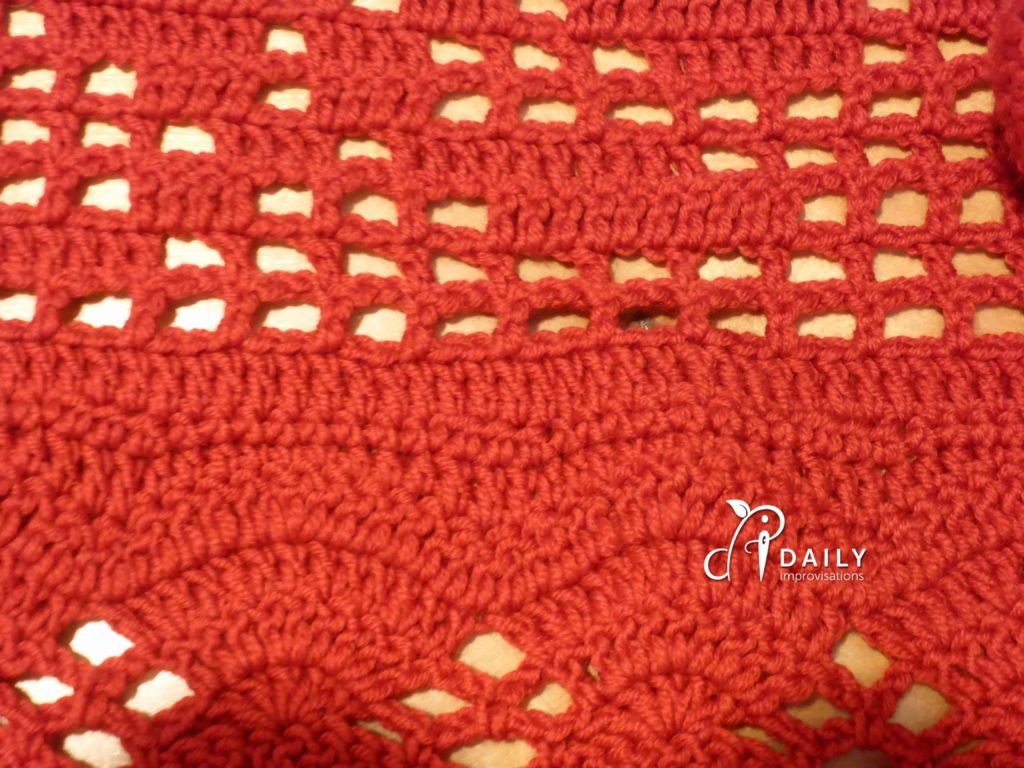
The shell pattern was continued up for a stack of 8 full shells tall on both back and front panels. Then I transitioned to the basic double crochet needed for filet crochet by using a pattern of 3 single crochet – 3 half double crochet – 3 double crochet repeating along the top of the final row of shells. This evened out the top to more of a straight line.
Next, I made one full row of double crochet as a foundation for the filet crochet. At that point, I also began increasing on each edge to form the cap sleeves. I increased by an extra double crochet in EACH of the last 2 stitches for 6 rows. For the next 6 rows, I only increased by one double crochet in the last stitch on each end.
The last 8 rows were kept even on the edges. No more increasing. Also, I crocheted one final row of solid double crochet at the top to give a good frame to the filet crochet.
As for centering the filet crochet, it was half eye-balling it and half trying to count stitches and dividing in 2. This involves figuring out where the center of the filet crochet pattern is, too. Another issue was trying to make the front panel filet roses to be mirror images of each other. This and trying to be sure I actually made a right and a left front panel just took a lot of double checking as I progressed.
Start at the bottom
I began my crocheting from the bottom of the vest for all 3 panels. My yarn is a wonderfully soft merino wool that I purchased from lovecrochet.com. It is listed with the aran or worsted weight yarns, but seems thinner and lighter than the average worsted weight that I am familiar with. It is the first expensive yarn that I have used for a project, so I was kind of nervous.
I used a size D crochet hook for this project through. The one good thing that has come out of the Mexican version of the TSA confiscating ALL of my crochet hooks is that I purchased these Clover Takumi Getaway Soft Touch Crochet Hooks. They really have made crocheting much more comfortable and relaxing.
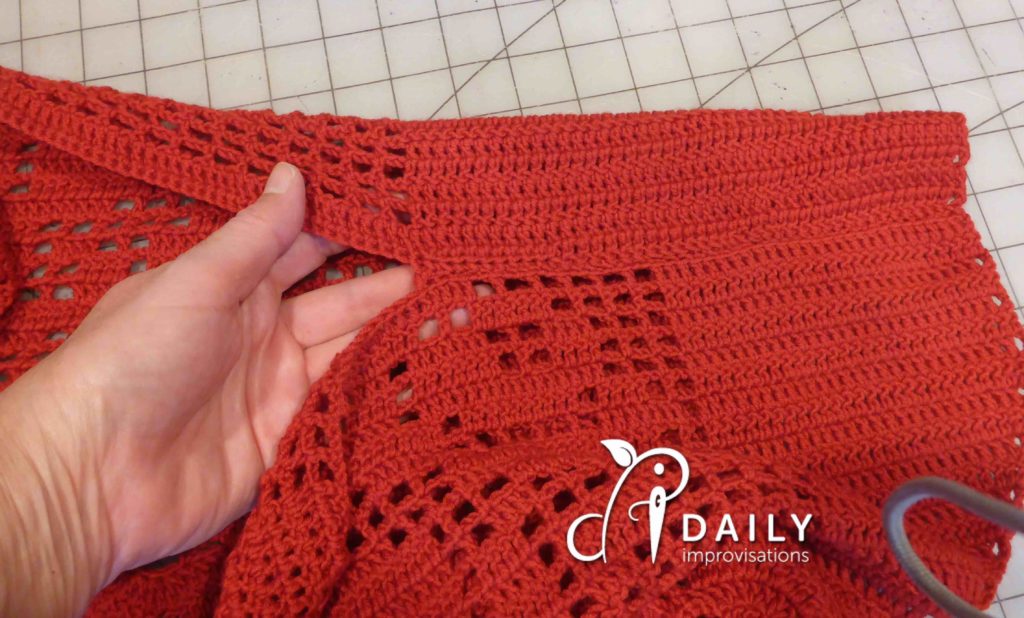
The panels were attached with what I have seen called a ‘mattress stitch.’ It is a way to flat weave the pieces together. While it avoids bulky seams, it does add a smidgen to the overall dimensions. Here is what a search on pinterest shows for tutorials of this stitch.
Forming the neck opening and arm holes
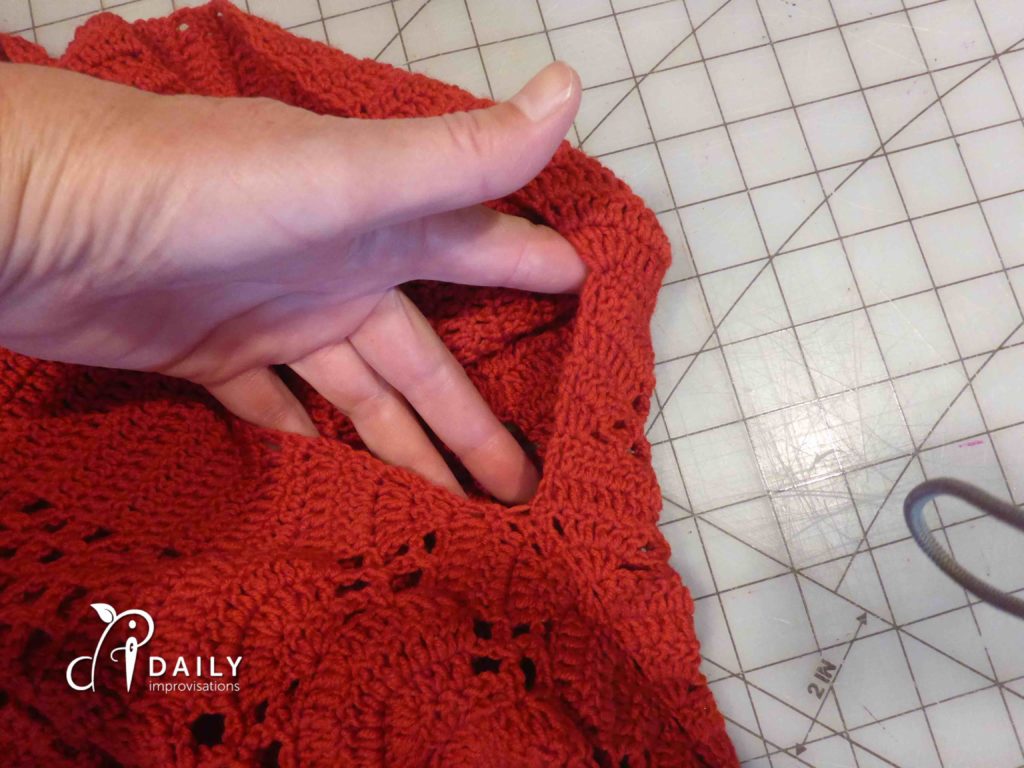
I stitched the shoulders together from the edge of the cap sleeve to just where the filet crochet pattern started on the BACK panel.
The side were stitched together from the bottom edge to about 6.5 shells. This is very comfortable for me without feeling baggy.
Further options
 I may yet add some sort of simple button or tie to the front, just to keep the vest in place or to keep me a little extra warm. I will probably sew in one of my personalized labels from The Dutch Label Shop, too.
Now I can see how I can use this basic shape for any stitches that I want to try. I think it would be fun to use up some scrapes and make some colorful vests for my girls. Probably without the cap sleeves for them. It will be easy to make something without having to worry too much about sizing.
Another reason I like this project is because of it’s size as a project. It is not so large in my lap, plus it was easy to transport. Who wants a vest!?
Edit June 12, 2018:
I had some yarn left and I decided to just add to the length. I made the transition to plain double crochets basically like I did when transitioning to the filet crochet panels in front. It ended up with a slight gather, so I am calling it a peplum. 🙂



Leave a Reply