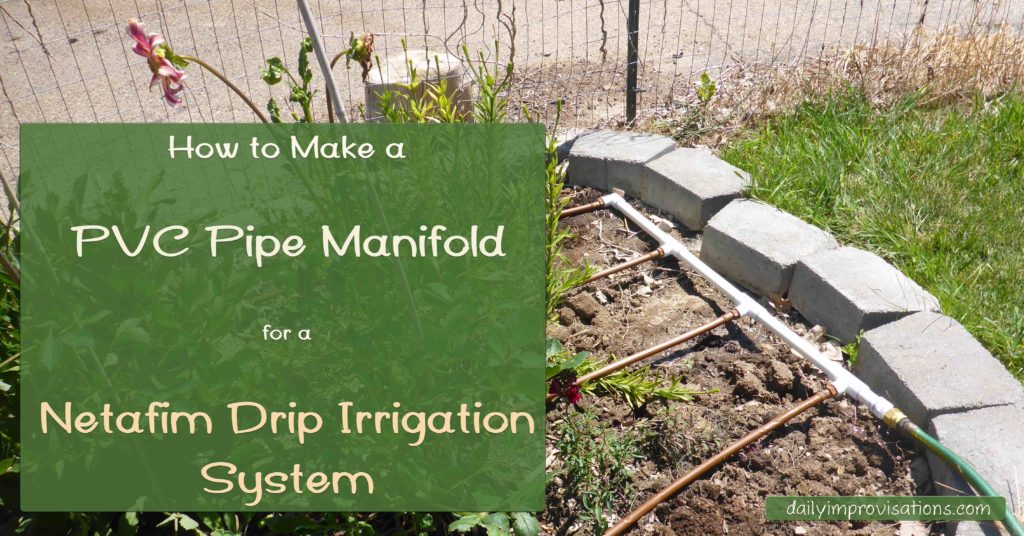
What is a manifold and what is Netafim?
Honestly, I had to look up the word manifold. I have heard it off and on my whole life, but pretty much thought of it as “part of a car.” But when I was at the sprinkler parts store (Pipeco in Nampa), explaining how I thought I wanted to design a Netafim network for my flower bed, someone used the word manifold. In case you also aren’t sure here is the relevant definition of manifold:
a pipe or chamber branching into several openings
Netafim is a specific brand and type of drip irrigation tubing. Although there are components to design it to fit various garden sizes and shapes, the tubing is super simple. It was designed so that no other parts are needed. You just lay the tubing where you want the water and it drips from the sturdy built in emitters.
How to use a PVC pipe manifold with Netafim
You can be very creative with how you set up Netafim systems for your garden beds. Before I made this particular set-up, I had already put in three other types, and one other was done for me in a square planter box. However, the area I needed to get water to this time was larger and of a more varied shape.
A PVC pipe manifold was one of the recommended options. Since I have worked with PVC pipe before under my husband’s tutelage, I was pretty sure I could do this. And, oddly, it sounded fun. The idea is to create a branching system of Netafim tubes that are more easily placed and can more efficiently dispense water with uniform coverage.
It requires some cutting and gluing of PVC pipe, but it isn’t expensive and isn’t a touchy process. Nothing has to be exact and none of the assembly requires great feats of strength. Even though I greatly appreciate all the very helpful pointers my husband did give me along the way, I was able to do all of the work by myself. Considering that I am a 56 year old woman with lingering tendonitis in one elbow, I am pretty sure that means most people could do this.
How to build the PVC pipe manifold
This is where video comes in handy. I made this YouTube video because I think seeing the process makes it much easier to understand. If you still have questions after you watch it, please feel free to ask in the comments.
List of supplies and tools:
- roll of Netafim emitter tubing of desired length
- scissors for cutting Netafim
- something to hold end of tubing closed, such as the clip they sell or a small piece of 1″ diameter PVC pipe
- landscape pins or u-pins to hold down irrigation tubing
- hose end connector
- Netafim pieces that connect Netafim to the PVC pipe T-connectors
- 3/4 inch schedule 40 PVC pipe
- PVC pipe T-connectors with 2 smooth openings at opposite ends that 3/4 inch PVC pipe will fit in, and threads on the middle opening to screw in Netafim connector
- PVC piece to cap off non-hose end of manifold or a PVC elbow with one screw end for the last Netafim connector.
- a measuring tape
- a pencil to mark where to cut PVC pipe
- a handheld saw
- sand paper
- PVC primer to put on before glue/cement
- PVC glue/cement
A summary of the process
- Determine the length you want the manifold
- Cut PVC pipe pieces of appropriate length
- Glue PVC pipe pieces and T-connectors/elbow connector together
- Screw Netafim connectors to the manifold
- Attach Netafim tubing of appropriate length
- Bend and secure ends of Netafim tubing
- Place Netafim tubing in garden bed, using u-pins as needed
- Turn on water to test
The possibilities of Netafim
Some of my Netafim systems are hooked up to my automatic sprinkler system. Some of them need to be hooked up to a hose. Some are in large garden beds. Some are in patio pots. Netafim is easily repaired by splicing in a new section, unlike soaker hoses which are destroyed by one wrong move with the shovel. The tubing is also more durable than soaker hoses.
I am obviously a huge fan of Netafim. Every time I decide to try to use it, there end up being possibilities that I didn’t know existed.


Leave a Reply