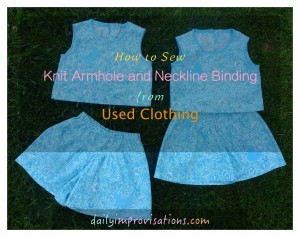
 Good used clothing can pose a dilemma. What is it worth? How hard should you try to pass it on to someone “who can use it?” I purpose that if used clothing is given to you, think of it as fabric. Either it is fabric that has already been fit and fashioned for you, or it is fabric free to be used in other projects. It isn’t a waste to cut it up for something else; it is using resources that are in your possession.
My mom had nice knit shirts in an abundance of colors. After family members kept some of her nicer clothing for their own use, I was left to decide the fate of a couple of bins of used clothing. I decided they could be used for things like grandkids outfits, pockets, linings, appliques, and neck binding. In the project I will describe here, I used it three of those ways.
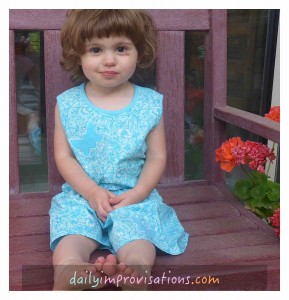
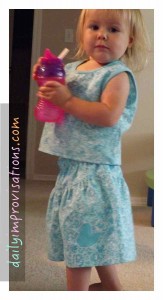
I wanted to make two of the granddaughters matching summer shorts outfits, but not so matching that there was confusion. They spend a lot of time together, plus either one of them has been known to change outfits a few times a day. It seemed a simple cookie cutter applique was a way to subtly differentiate.
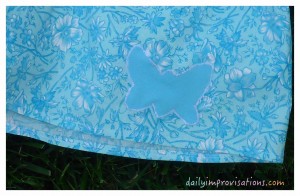
Sure enough, there was a turquoise knit shirt of my mom’s that was a perfect choice to go with the fabric of the girls’ outfits. Using a bird cookie cutter for one of them and a butterfly cookie cutter for the other, I traced (with pencil) the cookie cutters on the knit. I needed two of each shape, one for the top and one for the shorts.
These outfits were going to be for everyday play and comfort, so I didn’t take a lot of time stabilizing the knits. All I did was pin each one in place on the fabric piece, which is easiest to do before any of the main garment pieces have been sewn together. Next, I sewed it in place with a small straight stitch, about 1/8 inch from the edge of the applique.
Once that was done, not only was the applique held in place, but the stitching served as a guideline for the inner edge of the narrow zigzag stitch that I would then use around the whole edge of the applique. (click on any photo to enlarge)
The outfit pattern was for a woven fabric, so called for making facings for the top’s neck and armholes. There was going to be a slit opening in the back of the top to allow for adequate head opening. Facings, especially on young children, tend to get pulled and show through the openings. Sometimes, I have done some additional “top stitching” of a facing, to hold it down, but that leaves stitching on the front of the fabric that is not always visually pleasing.
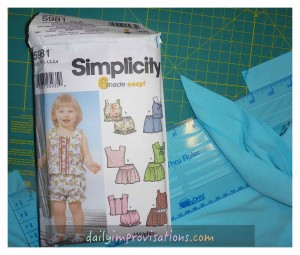
This time, I decided to make my own knit binding for the armholes and neck line. I thought it would be faster to sew and more comfortable for the girls. The knit shirt I was cutting from had a lot of stretch in all directions, meaning I did not have to care whether I cut the binding on the bias or not. The knit fabric also showed no signs of unraveling, meaning I would not have to finish edges of the binding.
Note that at this point the garment was all sewn together, except for the neck and armhole finishings. I measured those openings, added a couple inches for margin, then cut strips of the knit fabric to those lengths. I decided to go with a width of one inch for all the binding pieces, both armhole and neck line.
I wanted to keep the openings to the intended size, so I placed the knit binding pieces with the inner edge going over the stay stitching at the 5/8 inch seam line by about 3/16 of an inch. I was going to trim the inner seam edge any way, and that would leave me more of the binding piece to turn over and cover it.
I made sure to start the binding attachment at a point that would be least conspicuous when the garment was worn, such as under the arm. On the arm holes, the first end of the binding was folded under and sewed over to begin. While gently stretching the knit binding, I sewed it in place with an extremely narrow zig zag hem. At the finishing end, I trimmed excess binding as needed to leave about 3/8 inch to fold under itself and sewed in it place up against the first edge.
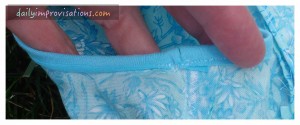
For the neck line, the obvious place to begin was the opening at the back. I had previously done a very narrow fold over hem of the edge of the back slit opening, much like is done for long, button cuff dress shirt sleeves. The knit binding would only go around the neck, not down that slit. I folded the end of the knit binding over the end of the corner of the neck opening. After trimming and turning, this covers that end.
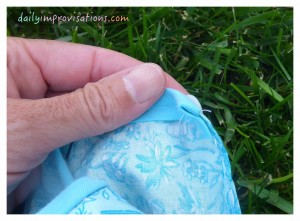
Now, I trimmed the inside seam allowance to just under 1/4 inch for both bindings (only I was doing this one binding at a time).
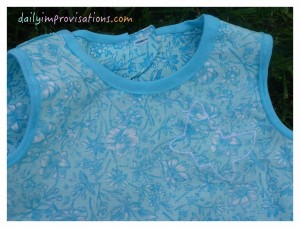
Next, the binding was folded over to cover the seam allowances, pulling it so that it went about a 1/4 inch past the stitching that was holding it to the front side. You might want to pin it in place, but it worked fine for me to just adjust it into place as I went along, stretching it enough to form the curve, but not so much that it wrinkled and distorted. I stitched over the other seam’s stitching or right next to it, trying not to worry about being too much of a perfectionist.
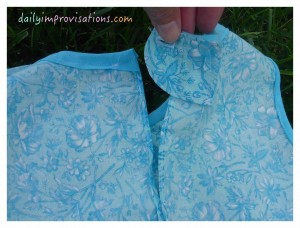
The idea of adding a fabric tab to one side of the back opening was what I finally settled on. I used the end of one of the facing pieces that were left over since I hadn’t decided on the knit binding until the front facings were already cut out. I cut off the end that you can see in the photo, sewed the two pieces right sides together, leaving one flat end open. I turned it right side out, top stitched it, made the size button hole I needed, then sewed it in place with a square and cross on the end of it.
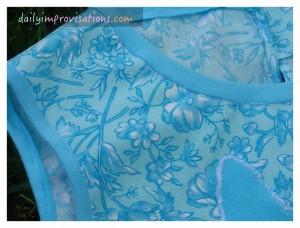
All that was left to do was sew the button on the other side!
The granddaughters like their new outfits. One of them started dancing as soon as she put it on. The other smiled really big for a long time, then posed for photos.
I am definitely inspired to use more used knit shirts for this comparatively easy, soft neck and armhole finishing. I would think thrift stores would be a good place to look for “fabric,” as well as the discount piles in fabric stores. You might even ask people to give you a few of their discarded shirts. No one will ever know it’s old shirts if you don’t tell them.

Leave a Reply