Do you struggle to get that perfect row or raised bed arrangement of vegetables from seeds planted directly outside? It’s relatively easy when transplanting things started in a pots. Space them carefully and watch for insect infestation and you usually end up with that photogenic alignment of plants. But direct seeding can be less predictable. Seeds might germinate in spotty sections, or something may eat new sprouts before they see sunlight. If things like this happen, just thinning will not solve the problem. What is a gardener to do?
I create those perfect rows and spaces by transplanting the new plants that have germinated. It is a variation on thinning. A gardener just needs to think a few things through first.
- First, determine optimum spacing for the particular plant. Check the seed packet, look it up in a trusty garden book, or try to remember how large the mature plants get. They won’t grow well if they are too close. You don’t want leaves touching until they are very near full grown.
- Now, examine the plant you have in that section. Which ones are already located at the best intervals. If there is more than one close to a good spot, choose the sturdiest, largest plant to leave there. Seriously consider marking these plants with a small stick in the ground or an easily removed colored piece of string.
- Next, figure out how many plants you would like to have fill in the row or bed to make it look “perfect.”
-

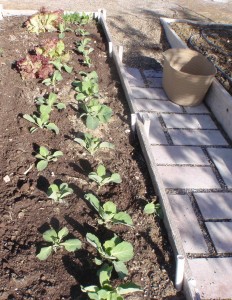
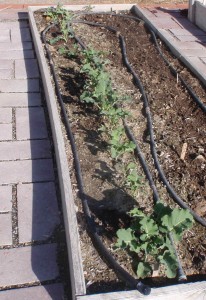
a row of adjusted broccoli: you can see the plants to the back of the row are a bit droopy soon after transplanting Evaluate the plants that are not remaining where they sprouted. Which of these look most robust, but not too big? Actually a medium-smallish plant with a couple of pair of true leaves handles the transplanting best. If a plant is too small, it won’t have enough root structure to hold onto the resident soil when it travels. Too large of a plant often loses too much root in the transplanting and ends up too stressed to survive well.
- Thin out the plants that won’t be saved. I sometimes leave a few semi-spaced understudies, just in case some of the original transplants don’t do well or have dramatic insect damage. There is a window of a couple of weeks where transplanting is optimum, but I have even done it after the plants seemed a bit big and gotten decent results. I think it is better to have backups if they are not interferring with the growth of the first choice plants. When thinning, don’t forget to avoid disturbing the roots of plants that are staying put. Pinching the toss away plant at ground level, or holding the soil down with the flat of your hand while pulling are good ways to minimize root damage of desirable plants.

leaving a few understudies for a couple of days until I see how the transplants do -

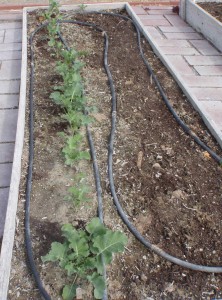
a couple of days later they all look good Make holes with a hand trowel in the places the migrating plants will reside. It is better to have a hole on the big side and have to fill it in some to make the root clump fit nicely.
- Dig out the plants that you are moving one at a time, taking a clump of dirt with the root structure that approximates the size of the plant above ground. However, if I lose most of the dirt and I have limited options, I will do a “bareroot” transplant. Put them in their new holes. Keep them at the same level they were compared to ground level, unless you know that type of plant doesn’t mind some soil up the stem (like tomatoes). Fill with other soil as necessary and tamp down.
- Fill in the holes that were abandoned, especially if they are close to a plant that is staying.
- Waterin the newly arranged vegetables.

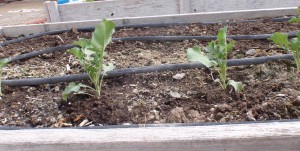
the newly transplanted broccoli look quite upright after a couple of cloudy, rainy days
Just like with transplanting in general, the plants will be less stressed by the process if it is done on a cool or cloudy day. Sometimes just waiting until late afternoon or evening helps them to take hold before dealing with the heat of the day. Pretty soon, you won’t be able to tell which plants were moved and you can enjoy a good looking and productively spaced row!

Leave a Reply