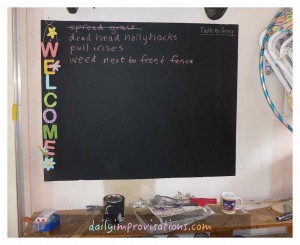
When I am in the garden, I am continually noticing things that need to be done, but trying to avoid flitting from one thing to another without getting anything done. But, too often, I can’t remember later the other things I wanted to do. This is particularly true when I am supposed to come up with a list of activities for someone working with or for me. I’m generally carrying enough other paraphernalia that I don’t want to add paper and pen added to my supplies. Plus, gardening is frequently a damp experience. Hence, my new chalk board paint wall in the garage! (click on any photo to enlarge)
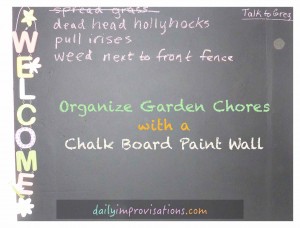 I suppose I could have just bought a chalkboard to hang there, but there is something nice about being able to paint it to a custom fit of the space I wanted. I also appreciate the flatness of the painted surface, meaning I don’t have to deal with things like more crawl spaces for spiders or new space limitations for the top shelf just below it.
Another very important advantage of the chalk board wall is time-savings. When I want to make a note, I don’t need to take off any dirty clothing or wash my feet or hands. There is only one potential (garage) door to have to open, but it is usually open. With the garage being centrally located on the property, I pass by often and will have many opportunities to write things down.
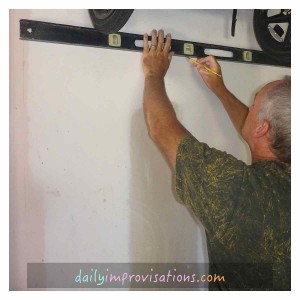
The garage wall section I chose to be painted as a chalk board consisted of sheet rock that had been randomly patched and painted. I minimally washed and sanded it, then my husband helped me use a level to draw pencil lines so it would end up with square corners. Next, I put masking tape up along those lines to the dimensions I wanted to paint. I was undecided about whether to tape off the area, considering leaving the edges more “warehouse,” which I may still do with my next project. I applied some other leftover paint as primer. I belatedly realized it would be best to fill some holes, but some (sheet rock) joint compound my husband had sitting around was reasonably pressed into them with fingers. I did not worry about re-doing any primer over those spots and all was well in the end.
Since the masking tape says not to leave it in place too long (over 24-48 hours?), I ended up removing it before painting again. I tried to help release some portions of it with a box knife, but still ended up with the paint lifting on some edges. I just pressed them back down.
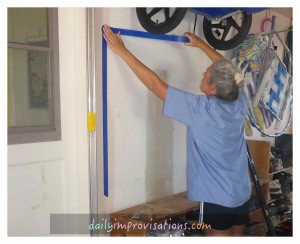
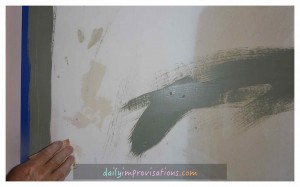
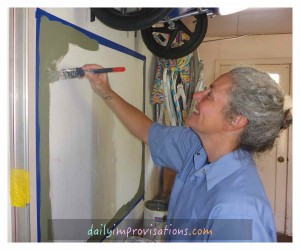
After re-taping a couple days later, I painted the first coat of chalkboard paint using the small paint roller that I had gotten for Christmas at the same time as the paint. The second coat was done the next day and I waited for it to dry sufficiently before attempting to remove tape again. Unfortunately, I still had trouble with the edges lifting some when I took the tape off, but we might find some very thin, rustic wood to make a border that will help keep that from progressing. Better light and more patience might make it possible to cut the paint away from the masking tape more thoroughly before removing it. Trying to remove it while cutting meant it ended up pulling in some places before I was ready.
The paint can said it was enough to paint a 7 by 7 foot area with the recommended 2 coats. I covered an area close to 3 feet by 4 feet and I have a solid half of the can left. I wonder how many walls my husband will approve of being covered in chalkboard paint…
I waited the prescribed week before writing on it. I tried both chunky sidewalk chalk and regular size. I definitely prefer the regular size because it is too hard to write smaller with the chunky chalk. I will be looking to buy some colored regular size chalk soon, as I always like the visual advantage of using color to organize my lists. I already had the cute “welcome” sign, a gift from my mom a couple years ago, which looks quite striking against the black now. The hanging point was above the chalk board, so no damage was done to my paint job.
I am quite satisfied with the size of my chalk board section of the wall. It was a good size to do for a first time, but it is still large enough that there is plenty of room for different lists to organize my thoughts and plans.
