Four inch diameter PVC pipe makes a sturdy, non-breakable, washable support structure, for a small fabric storage basket. Sewing a circular fabric cover for it involves only 2 seams each for outer fabric and lining, plus whatever method is chosen to finish the top end. I did have a couple of extra seams because I was experimenting with a scrap of extra thick PVC pipe that was left over from one of my husband’s projects. I learned some things along the way, so I will begin with a list of what I will do different next time:
- Cut both the outer fabric and the inner fabric lining the same diameter and circumference. Any bunching on the inside will be out of view and will make attachment at the top edge much easier. This does not include the final height of the lining, which I still wanted taller than the outer fabric cylinder for reasons you will see.
- Use thinner PVC pipe. My piece was nearly ¼ inch thick. My husband says there is much thinner 4 inch diameter pipe available. He says I might even consider the couplers for the pipe, which would mean no cutting or raw edges to deal with.
- Stay stitch both the bottom edge of the cylinder pieces and the circular bottom pieces, to be able to clip in the seam allowance and make it easier to mold the two pieces together. More on this later.

I began by measuring the outer diameter and the height of the circular piece of pipe scrap. From these measurements, I added about an inch in each direction to the rectangle to give me a tiny bit of ease and enough fabric for ⅜ inch seam allowances. I added a couple more inches to the width of the lining rectangle for folding over later, but I trimmed some of this off later when I found I needed to adjust with a flared extension. For the circle for the bottom of the basket, I only added about ½ inch all around the diameter. (click on any photo to enlarge)
To construct both the outer basket and the lining, I used to same steps up until I needed to connect the tops. That means I:
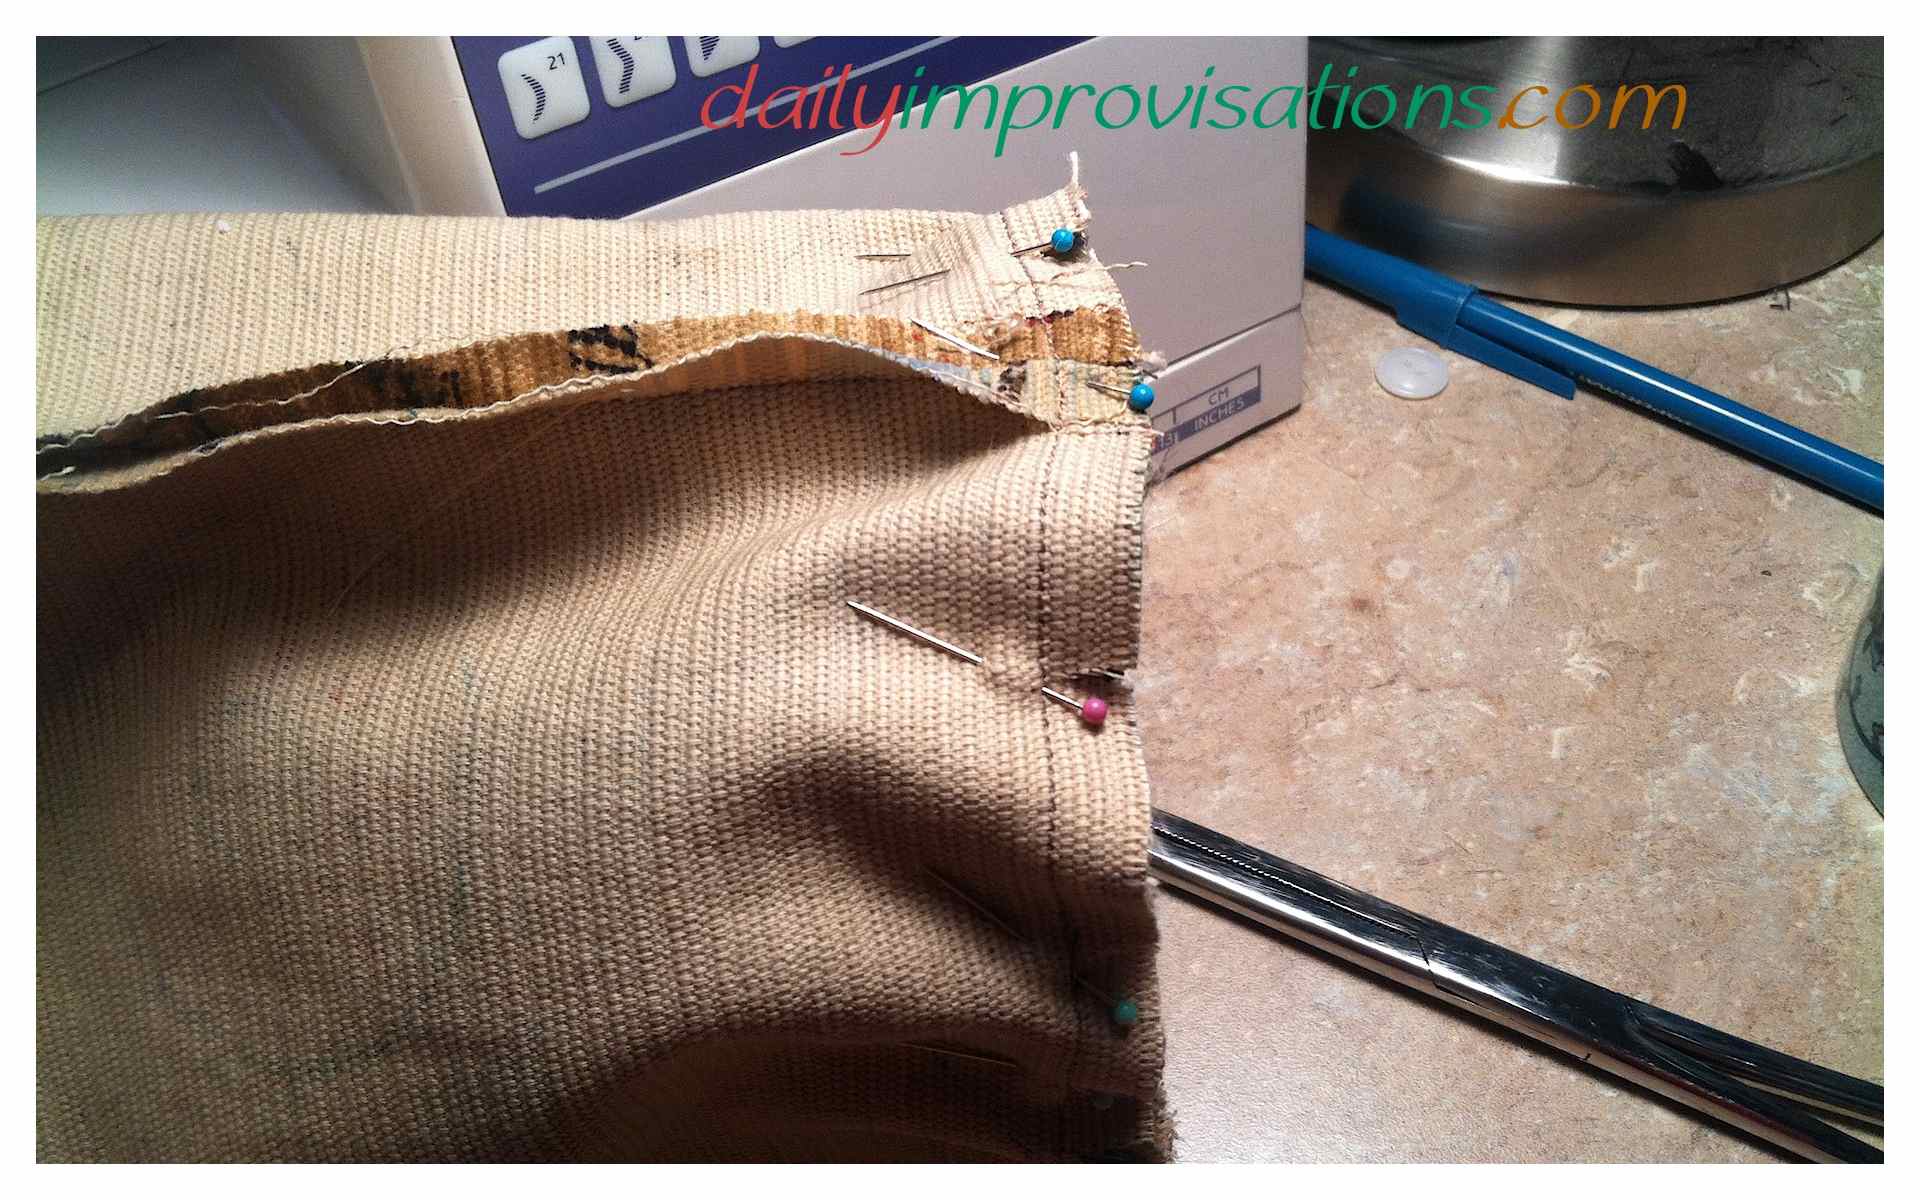
- Pinned and sewed the short ends of the rectangle together, creating a cylinder of fabric.

Showing the cylindrical piece pinned to the bottom circle, side view. -

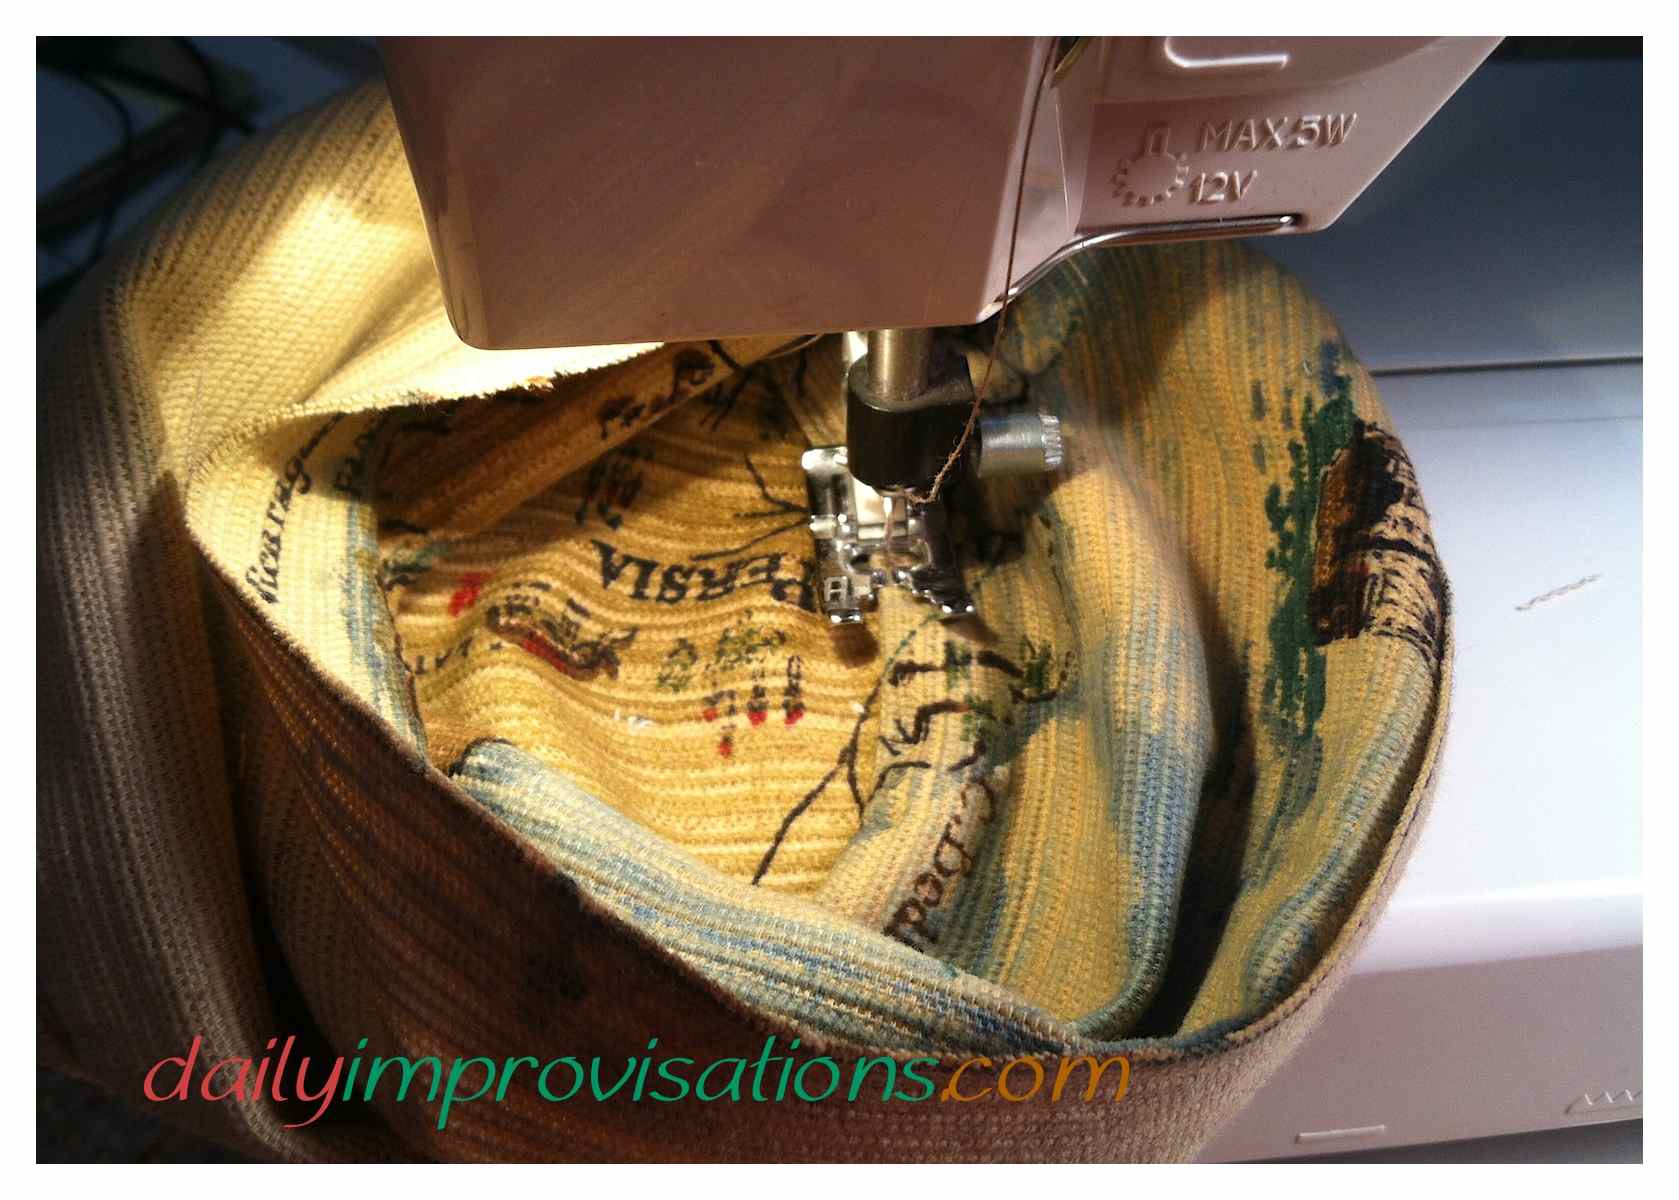
Sewing on circle, bottom view Stay stitched the edge of the circle, about ¼ from the edge. (remember, I would do this to the bottom of the cylinder next time)
- Clipped up close to the stay stitching about every inch around the circle.
- Mark ¼ sections of the circle and the cylinder, to be able to line them up for pinning.
- Pinned the circle to the bottom of the cylinder, working the fabric pieces to make them fit evenly.
- Patiently sewed the circle to the bottom of the cylinder.
- Top stitched the seam allowance of the bottom circle to the cylinder to make it lay flat.


With the outer basket turned right side out, I placed the PVC pipe inside of it, then put the still wrong side out lining inside the PVC pipe. I had realized along the way that making the basket lining smaller was going to give me trouble with hemming the top of the basket. Rather than sew a whole new liner, which may have been just as easy, I created a flounce to bridge the gap. I did this by:

- Double checking the measurements of the perimeter of both cylinders.

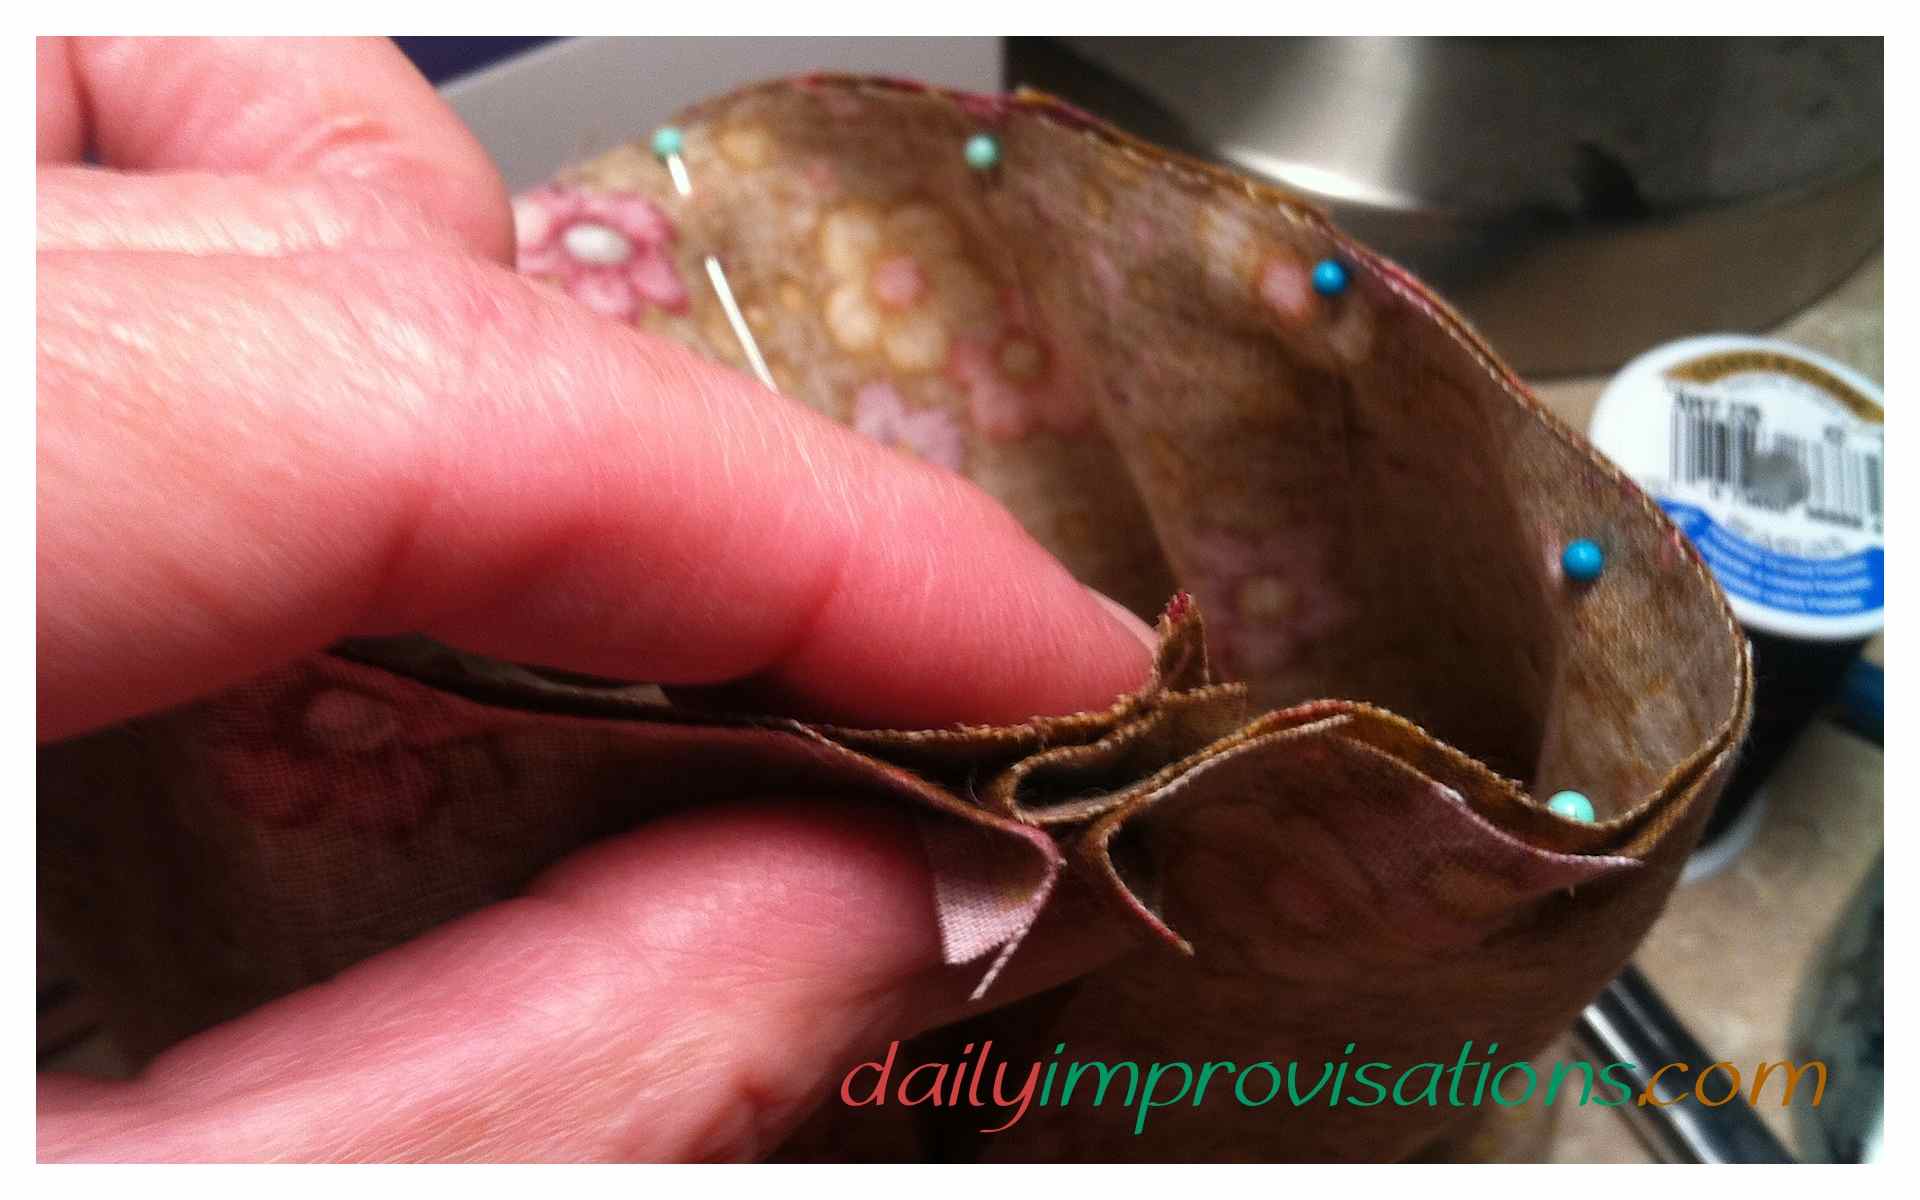
Designing a flounce extension to make the fabric basket lining and outer fabric perimeters match. - Cutting pieces of string to the lengths.
- Laying the strings out on some of the lining fabric, at a spacing that I thought gave me enough fabric to work with and enough to be able to fold it over to the outside if I wanted to.
- Tracing the strings with pencil and making lines to “attach” the ends of the strings.
- Sewing the short ends of this flounce together.
- Pinning the flounce to the lining cylinder, right sides together, and sewing with a narrow ⅜ inch seam. I had extra fabric in the flounce, which you can see I just pleated to make it fit.


This all gave me a lining which was taller than the outer fabric, like I wanted.

Now it was time to attach the top edges. I finger pressed the top edge of the lining and folded it down around the raw edge of the outer fabric. The lining fabric wanted to twist some, which I am guessing is from being cut on a curve, but I decided this would lend to a casual look… I also tucked the fabrics in a couple of places. None of this would have been a problem if I had cut the original pieces both the same size.

Fortunately, my sewing machine has a piece that can be removed to make it easier to sew around this type of circle (similar to an armhole). I was able to slip the top edge of the basket up onto the sewing arm and top stitch the lining over the outer fabric. Then, I experimented with what to do with the top edge.
I could leave it standing straight up.

Or I could fold it to the outside.

Or maybe to the inside.

Any of these choices had their appeal, but I went with folding it to the inside because that made it fit into my drawer the best. I could have just found a small cardboard box, repurposed a plastic container, or even used a short vase for a container in my drawer. However, I wanted something pretty and non-breakable. The fabric is not only nice to look at, but it keeps the basket from sliding around when the drawer is opened and closed. Using the PVC pipe for a skeleton, so-to-speak, keeps it standing up, but means I can wash it if it gets dirty or dusty. And who can pass up another unique use for PVC pipe!

Leave a Reply