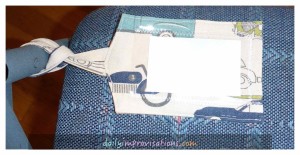
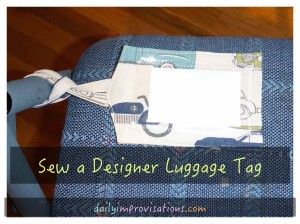
A friend loaned me one of her homemade luggage tags so that I could make a pattern from it. It all started when she saw the hats I was making (more on that soon) and we got to talking about the plastic I use for the brim shaping. She uses the very same plastic for her luggage tags and gives them as gifts.
I made my first luggage tag this morning and I think it took about an hour and a half, from pattern making to final product. I used scraps of light weight cotton duck fabric, also from my hat making. I purchased it at Hobby Lobby. The original luggage tag was made from a basic dress weight cotton/polyester. (click on any photo to enlarge)
The dimensions of the pattern pieces are as follows:
- main body – 4 inches wide by 5¼ inches long on the sides, but 5¾ inches in length to the point where the loop will attach
- loop – 12 inches long by 1½ inches wide
- plastic – 2⅝ inches wide by 4 inches long
- card stock – whatever fits snuggly in plastic pocket, mine is 1⅞ inches by 3⅛ inches
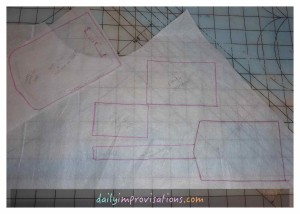
For this luggage tag, instead of cutting two separate pieces for the main body of the tag, I chose to fold under the seam allowance on the flat end of the pattern (this made it functionally 5 inches on the long outer edges) and cut one piece on a fold. I wondered if this would detract from the stiffness of the tag, but it was not noticeable.
To temporarily mark the fold, I went ahead and pressed the piece exactly in half. Then, I folded the long edges over for the ½ inch seam allowance I had chosen and pressed them down.
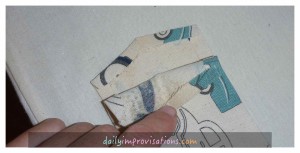
Using the same ½ inch guideline, I folded and pressed the two edges at one of the non-folded short ends, adjusting the exact alignment to center the point to satisfy my visual standards.
After folding the tag back in half, I folded and pressed the other short edges to match.
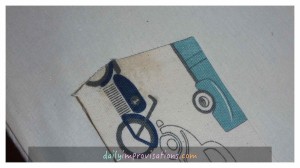
The next step was to cut a 12 inch strip, 1½ inches wide. This was going to make my tag loop narrower than the original, but I figured with the sturdier fabric this would work. I used my handy-dandy bias tape maker to quickly form the folds on the long edges of the strip. Folding that in half again lengthwise, I topstitched along the folded edges.
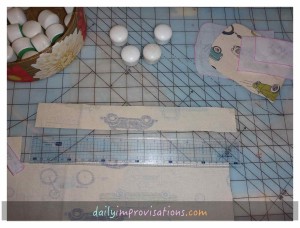
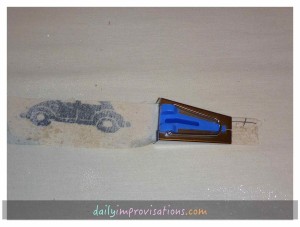
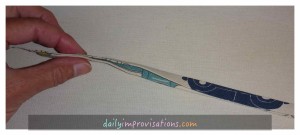
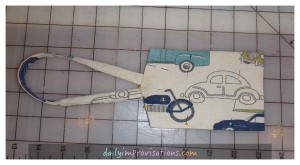
Due to the thickness of the duck fabric, I positioned the raw ends of this newly constructed loop in the main body of the tag side by side instead of all in one layer. Incidentally, this holds the loop more open, which might have advantages when trying to attach it to a luggage handle.
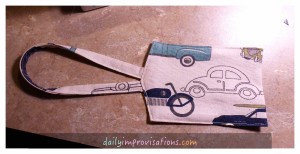
Now, I topstitched all the open edges of the folded luggage tag together, trying to keep the bottom and top layers as even as possible. I back stitched at the beginning and end, plus went back and sewed reinforcement over where the loop ends were inserted.
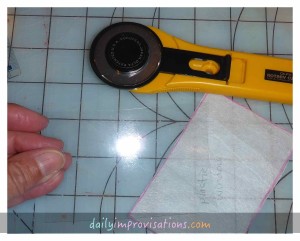
I had been warned that it was very difficult to get the plastic piece cut nicely with scissors. My friend recommend a cutting wheel, which I used. It cut through the plastic very easily. Comparing the plastic piece to the main body of the tag, I saw that it wasn’t quite straight, so I lined up corners with the lines on my cutting mat to square it off. Then, I trimmed a bit more to make the plastic fit inside the bulk of the seam allowances. Again, I didn’t want to have to unnecessarily sew through thicknesses.
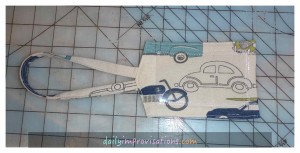
It was challenging to keep the plastic in place while sewing. I think I may try to tape it down somehow next time. Still, with very little effort, I was able to zig zag stitch it into place, centered between the long edges of the tag. I used a number 14 needle in my sewing machine for the whole project and this sewed through the plastic like cutting butter. One end of the plastic was left open, so identification can be slipped inside.
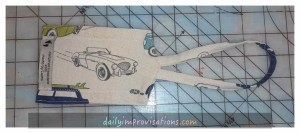
One of my dailyimprovisations.com sew-in labels was the last sewing touch. It probably would have been smarter to sew it on before I sewed on the plastic, but in this case it did line up with the stitching for the plastic, so no problem there.
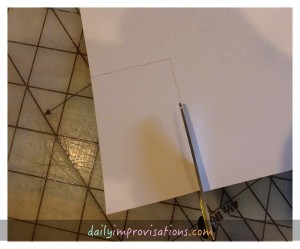
There was some card stock in my stationery drawer to make the paper insert out of. I am having my artist daughter write the name and address of the recipient on it, so it will be extra special. But, no photo of that for their privacy. I suppose I could sew a the last edge of the plastic closed, if I wanted to make extra sure the paper doesn’t slide out, but right now it seems pretty sticky.
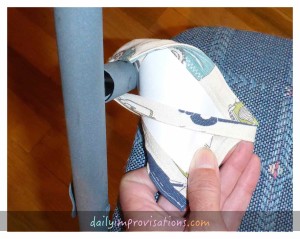
I attached the luggage tag to a folding chair so that you can see how it works. The main body of the tag slips neatly through the loop and then holds it in place. It will be fun to make a couple of these for myself, in very bright colors. They will also help with luggage identification from a distance, such as at airport baggage claim.
