Some days you wake up and you just know that it’s time to sew a new party dress, particularly one that can be danced in. That is what happened to me about a month ago. Fortunately, I keep myself well stocked with potential patterns and pieces of fabric, so I could get right to the business of sewing.
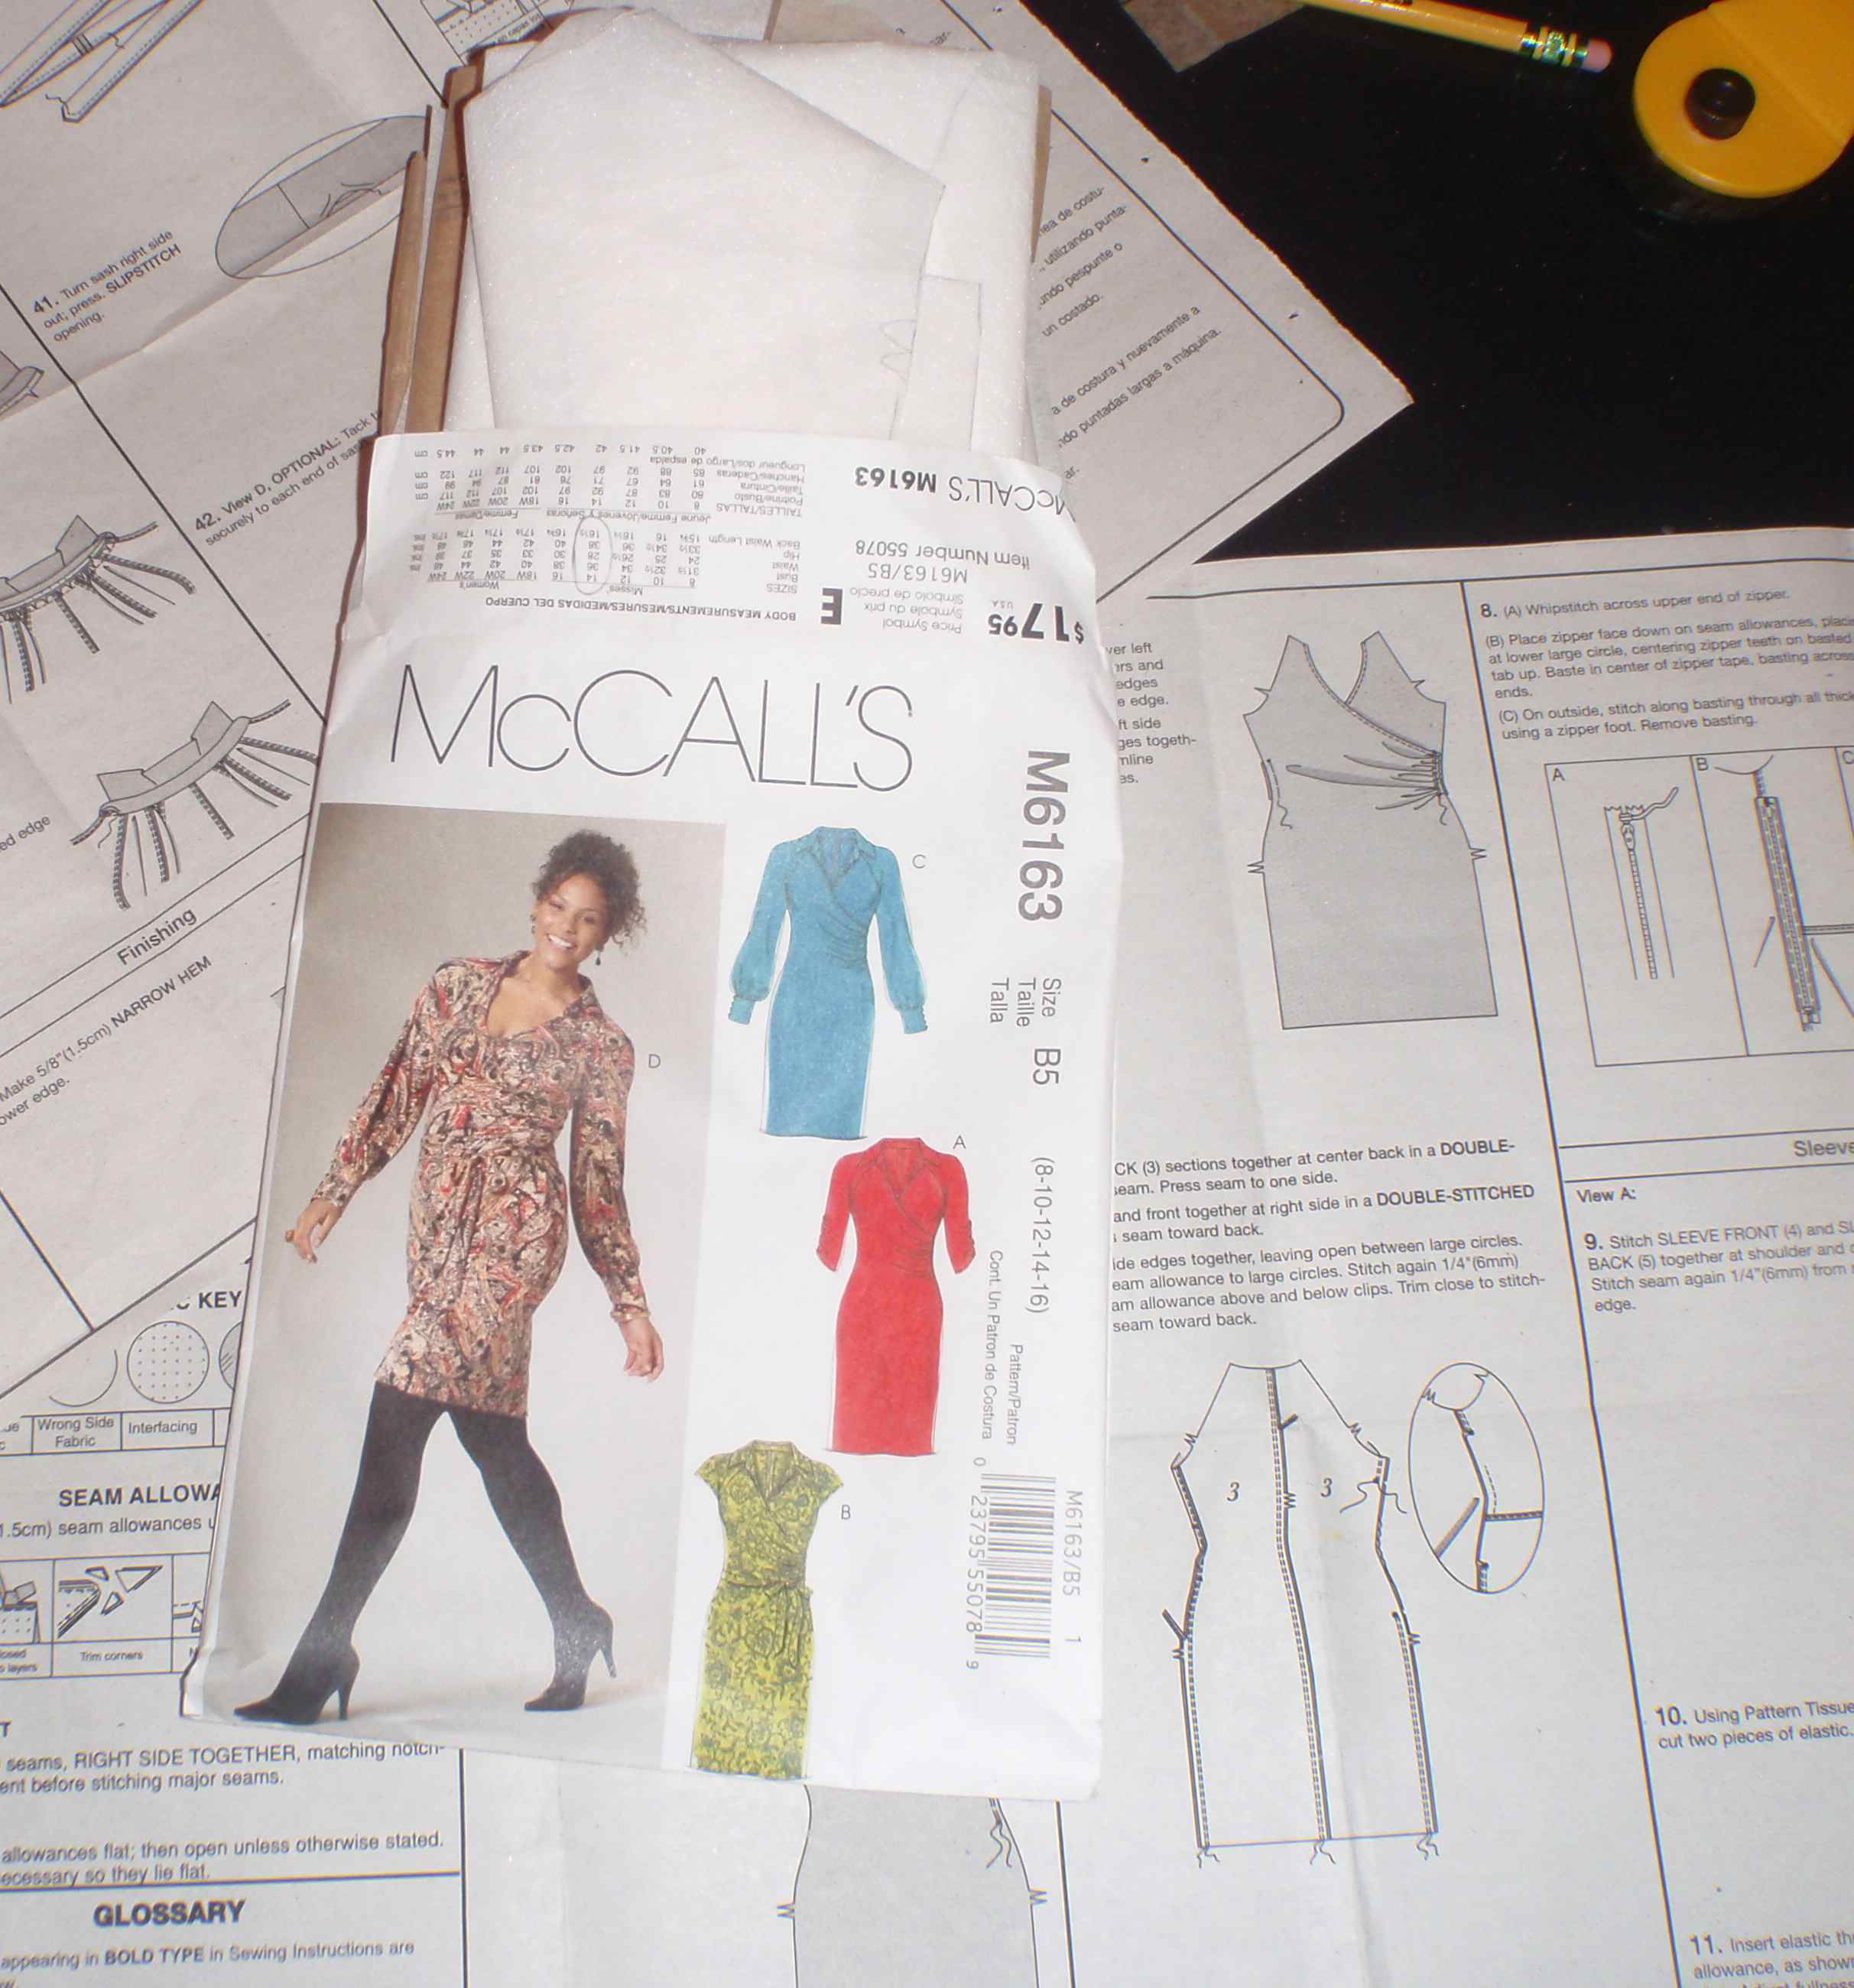
I found a left-over piece of pink crushed velvet that was just large enough to consider. It had a lot of stretch, so that told me what kind of pattern I needed to look for. Since the fabric would be heavy if there was much fabric in the dress, I also wanted a fairly simple dress pattern, without much skirt. I decided to try McCalls pattern 6163.
The first step was to lay out the pieces and make sure they would all fit on the fabric I had. I needed to remember that the crushed velvet had nap, so all the pieces would need to be cut out in the same direction. Otherwise, I could end up with different parts of the dress looking like it was different shades of pink. Also, this nap tended to lay one way. It would be best if it was laying down from neckline to hem. I didn’t have enough fabric for the sash, but wasn’t convinced I wanted one anyway.
The sewing pattern is asymmetrical, so it was a bit of a mind game to also make sure that I would have the correct side be velvety for each piece. All of this was only complicated a little bit by the fact that the pink crushed velvet had some odd shapes to it from previously cutting out something else. I did a lot of brushing it with my hand while my eyes were closed, and holding pattern pieces up to me to help visualize where they would be on the dress.
I have made it a habit to trace my pattern from the multi-size patterns onto pattern making paper (which I usually get at JoAnn Crafts and Fabrics). It is kept with the interfacing. It comes blank or with dots. The dots are useful if you are making your own patterns, but if you are just tracing, the less expensive blank pattern paper works just fine. You can see my pattern pieces sticking up out of the envelope with the original pattern.

I should mention that I highly recommend making a muslin first, especially if you are making your garment out of special fabric, but for me, this was already a left-over piece; and I didn’t have anything comparable on hand to sew up a sample with. I eye-balled the pattern and decided I would be able to make it fit along the way.
The first sewing step had to do with the neckline. Since I read Professional Sewing Techniques for Designers
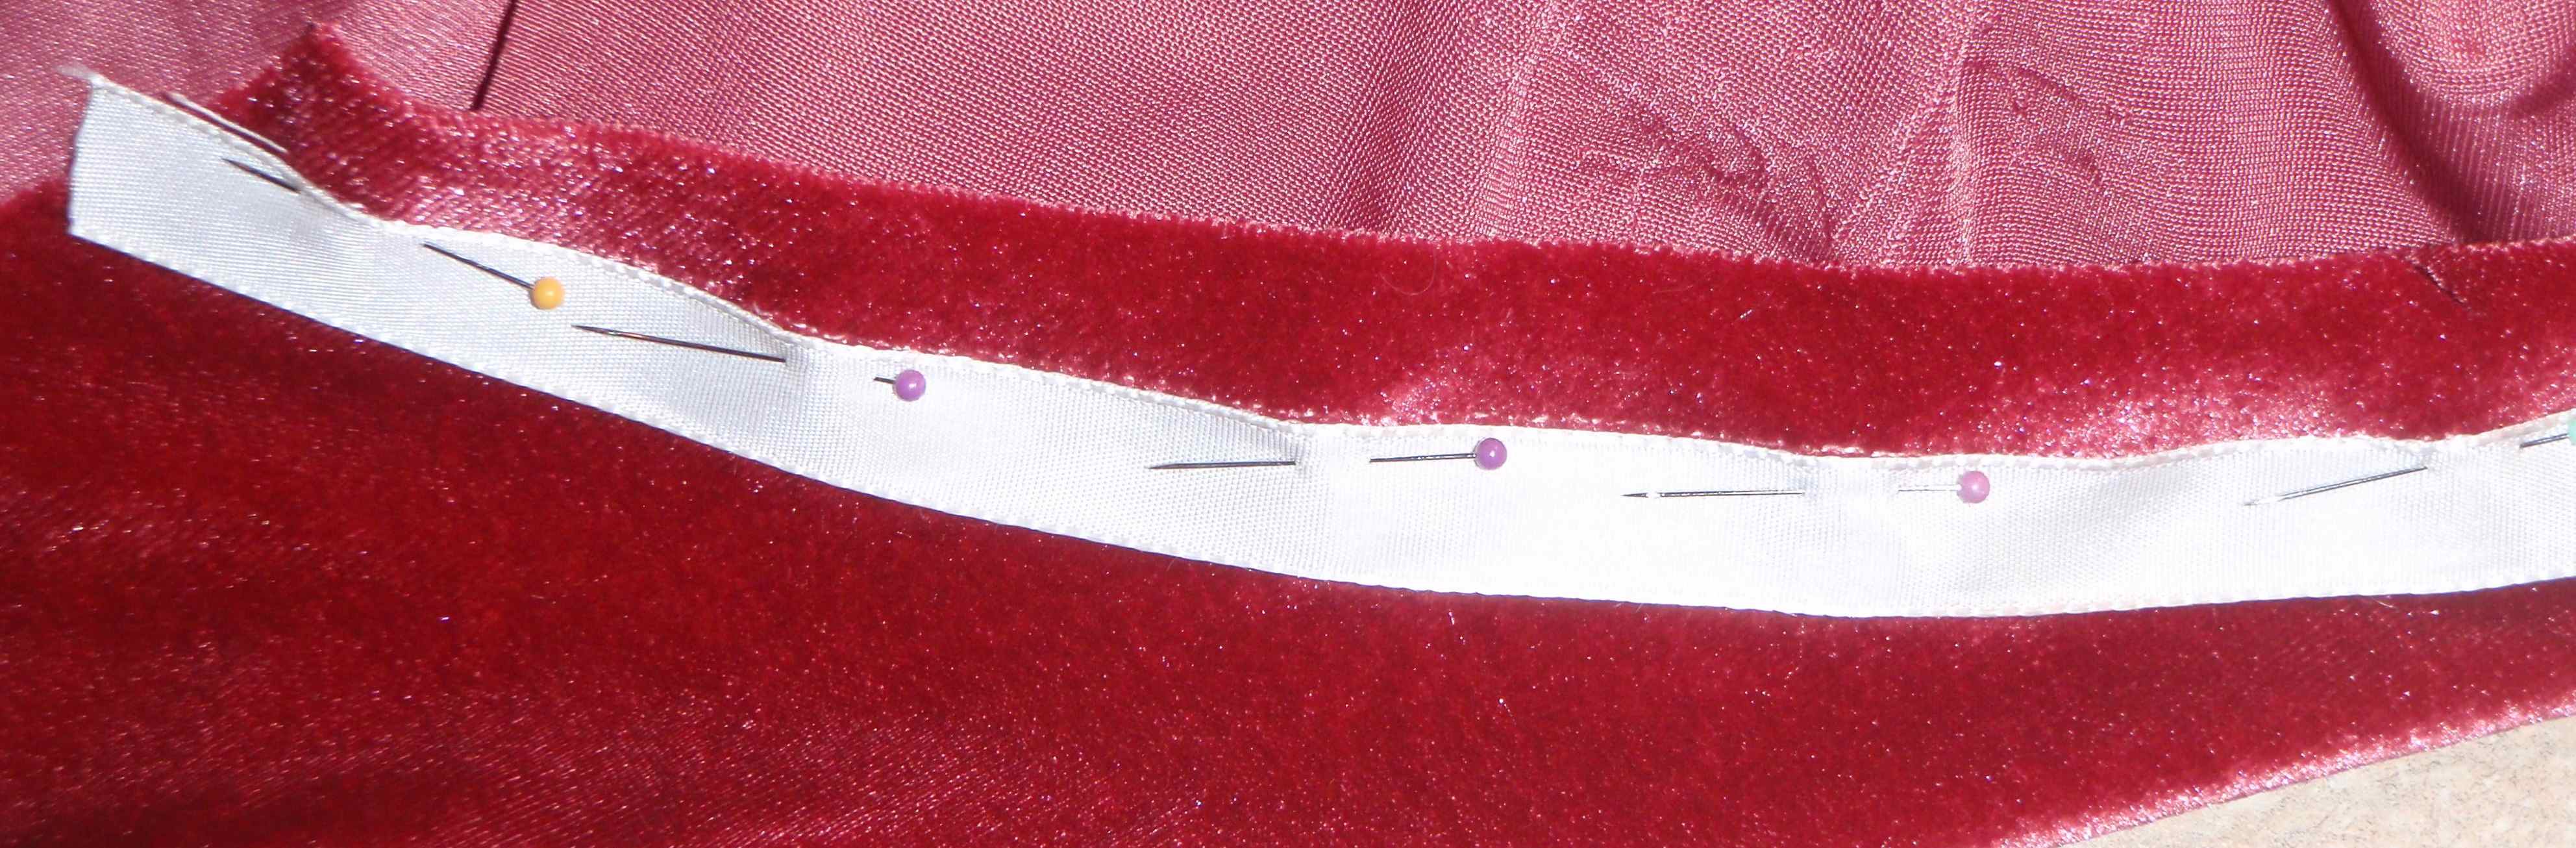
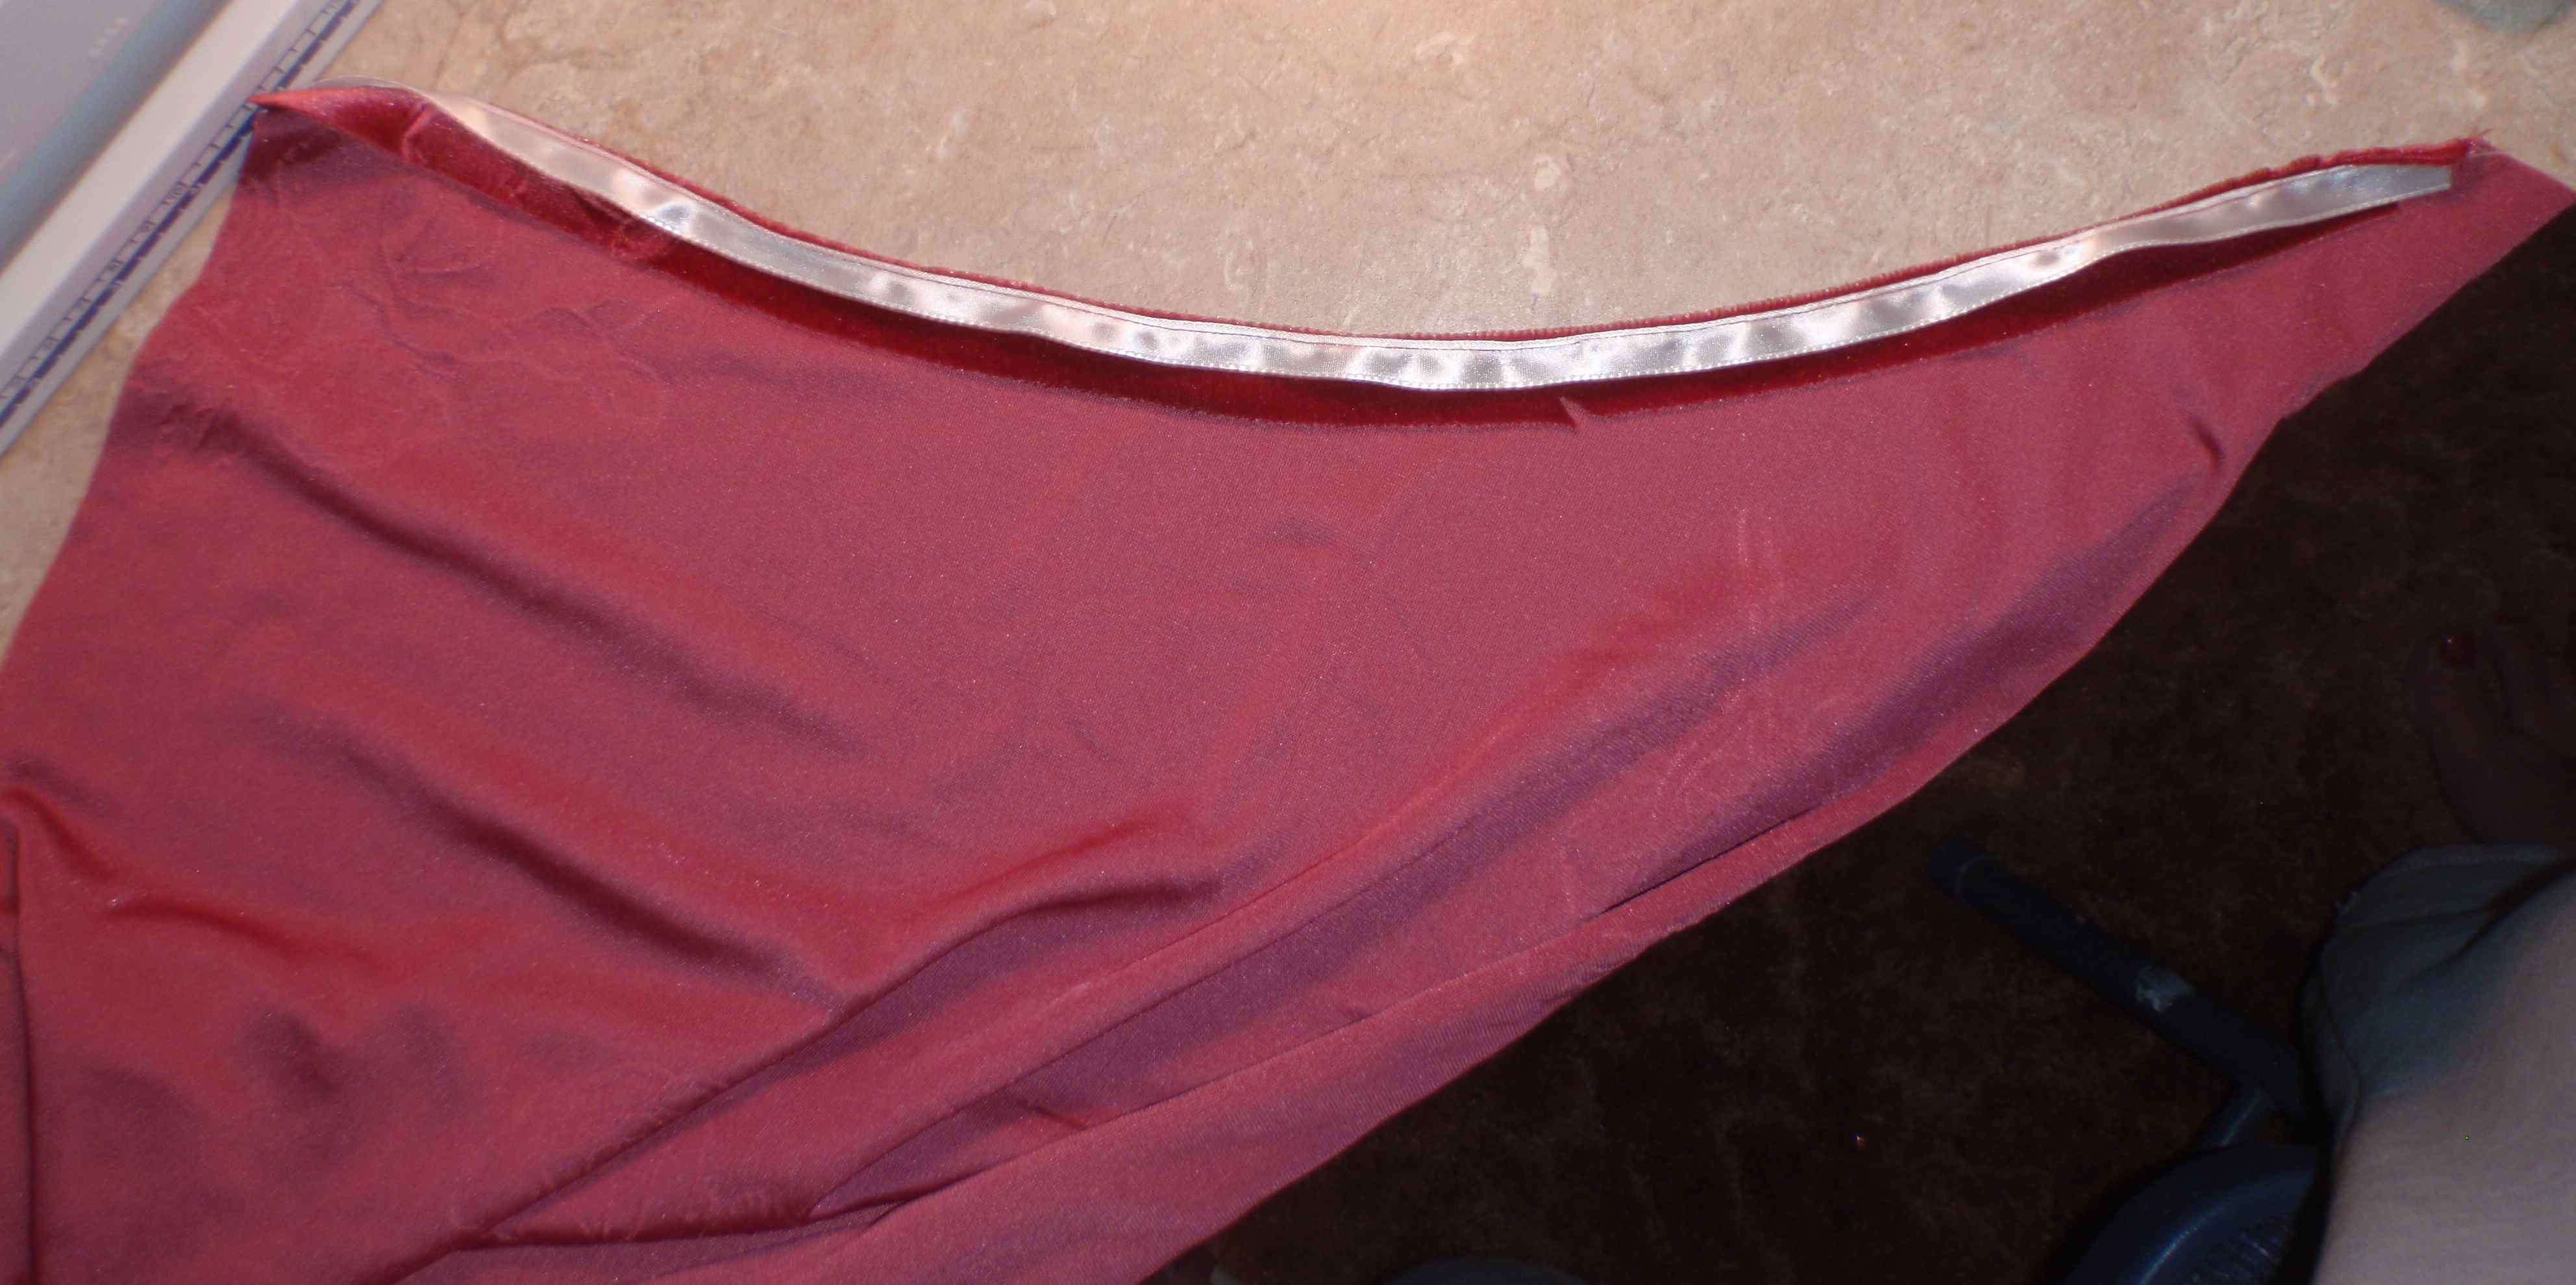
There is satin ribbon in my sewing room, left over from who-knows-what-after-sewing-for-5-little-girls for so many years, and I liked the idea of that smoothness at the neck. I realized the smoothness of the ribbon would tend to slid and walk when being sewn to the velvet, so I first stitched a guide line half an inch from the edge. This allowed me to place the edge of the ribbon along that line and sew it in place at 5/8 inch, which was what was given in the pattern for the hem. I pinned the ribbon in place, but left extra at the end, which turned out to be a good thing. By the time I got done sewing it on, it took up another couple of inches of ribbon! [hr]

[hr]
It took two lines of top stitching to keep the ribbon from turning to the outside . I sewed one row of stitching 1/8 inch from the edge and another 1/8 inch from the first. The only pressing I did was with my fingers. I stabilized both the right and left neck edges (two separate pattern pieces) using this method.
When I sewed the back and side seams of the main dress at this point, I just used the basting length on the machine. This would make it easier to alter them. I would stitch them more strongly later. And, I couldn’t try on the dress until I did something with the sleeves, since they are raglan, and therefore part of the neckline.
I completely finished the sleeves then HAND BASTED them into place. I knew I would need to partly remove them to completely stitch the sides, and it can be hard to find stitches in velvet nap.

[hr]
With this done, I slipped the dress on and held together the seam where the zipper would be sewn. In retrospect, I should have gotten someone to baste that seam in place and let the dress “hang” to get a better idea of fit. As it was, I just held it and adjusted it with my fingers. It looked like it was going to fit, to I proceeded to put in the zipper.
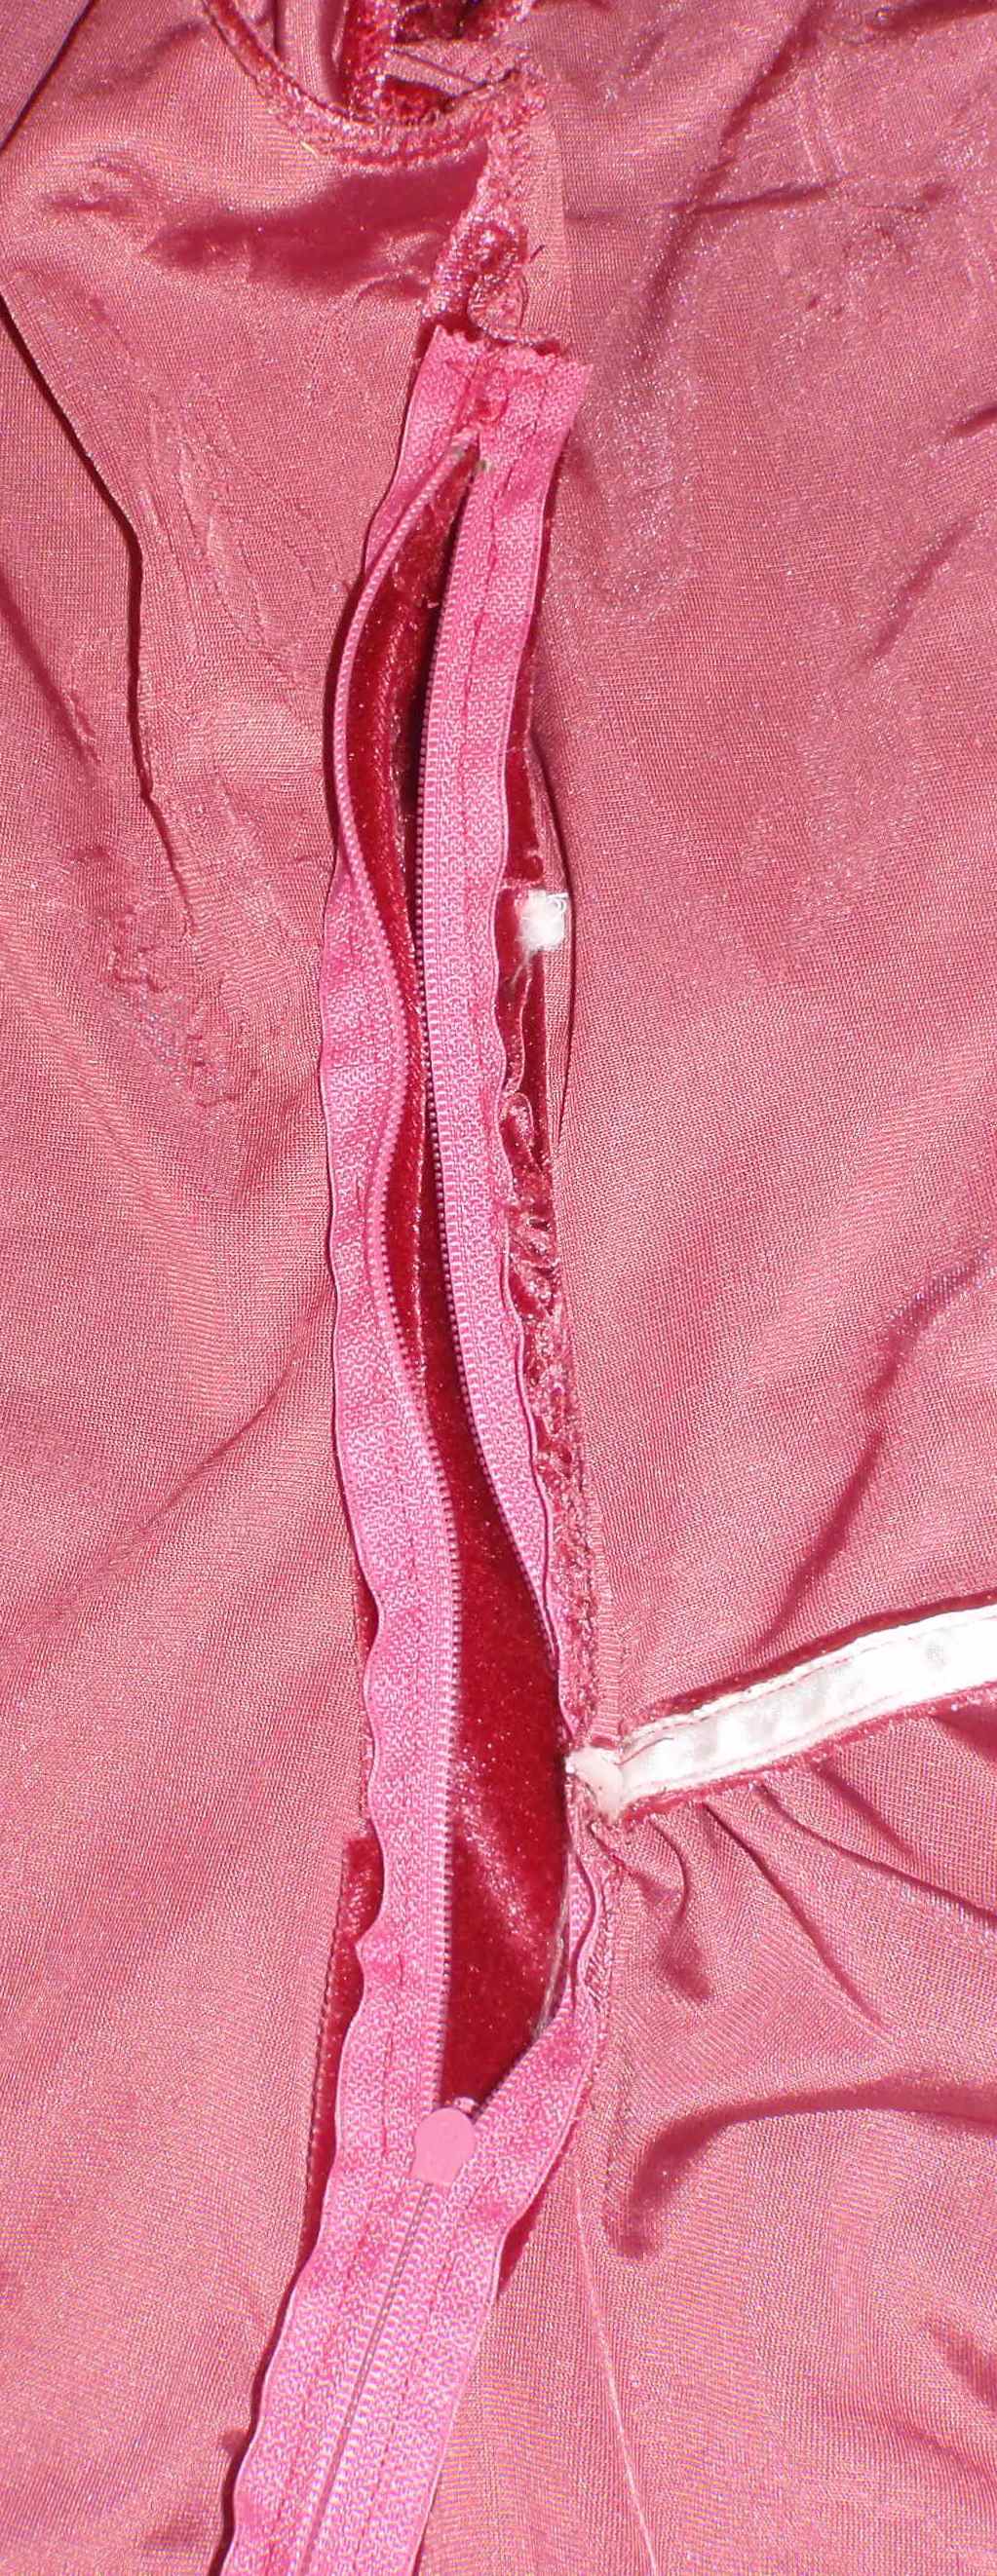
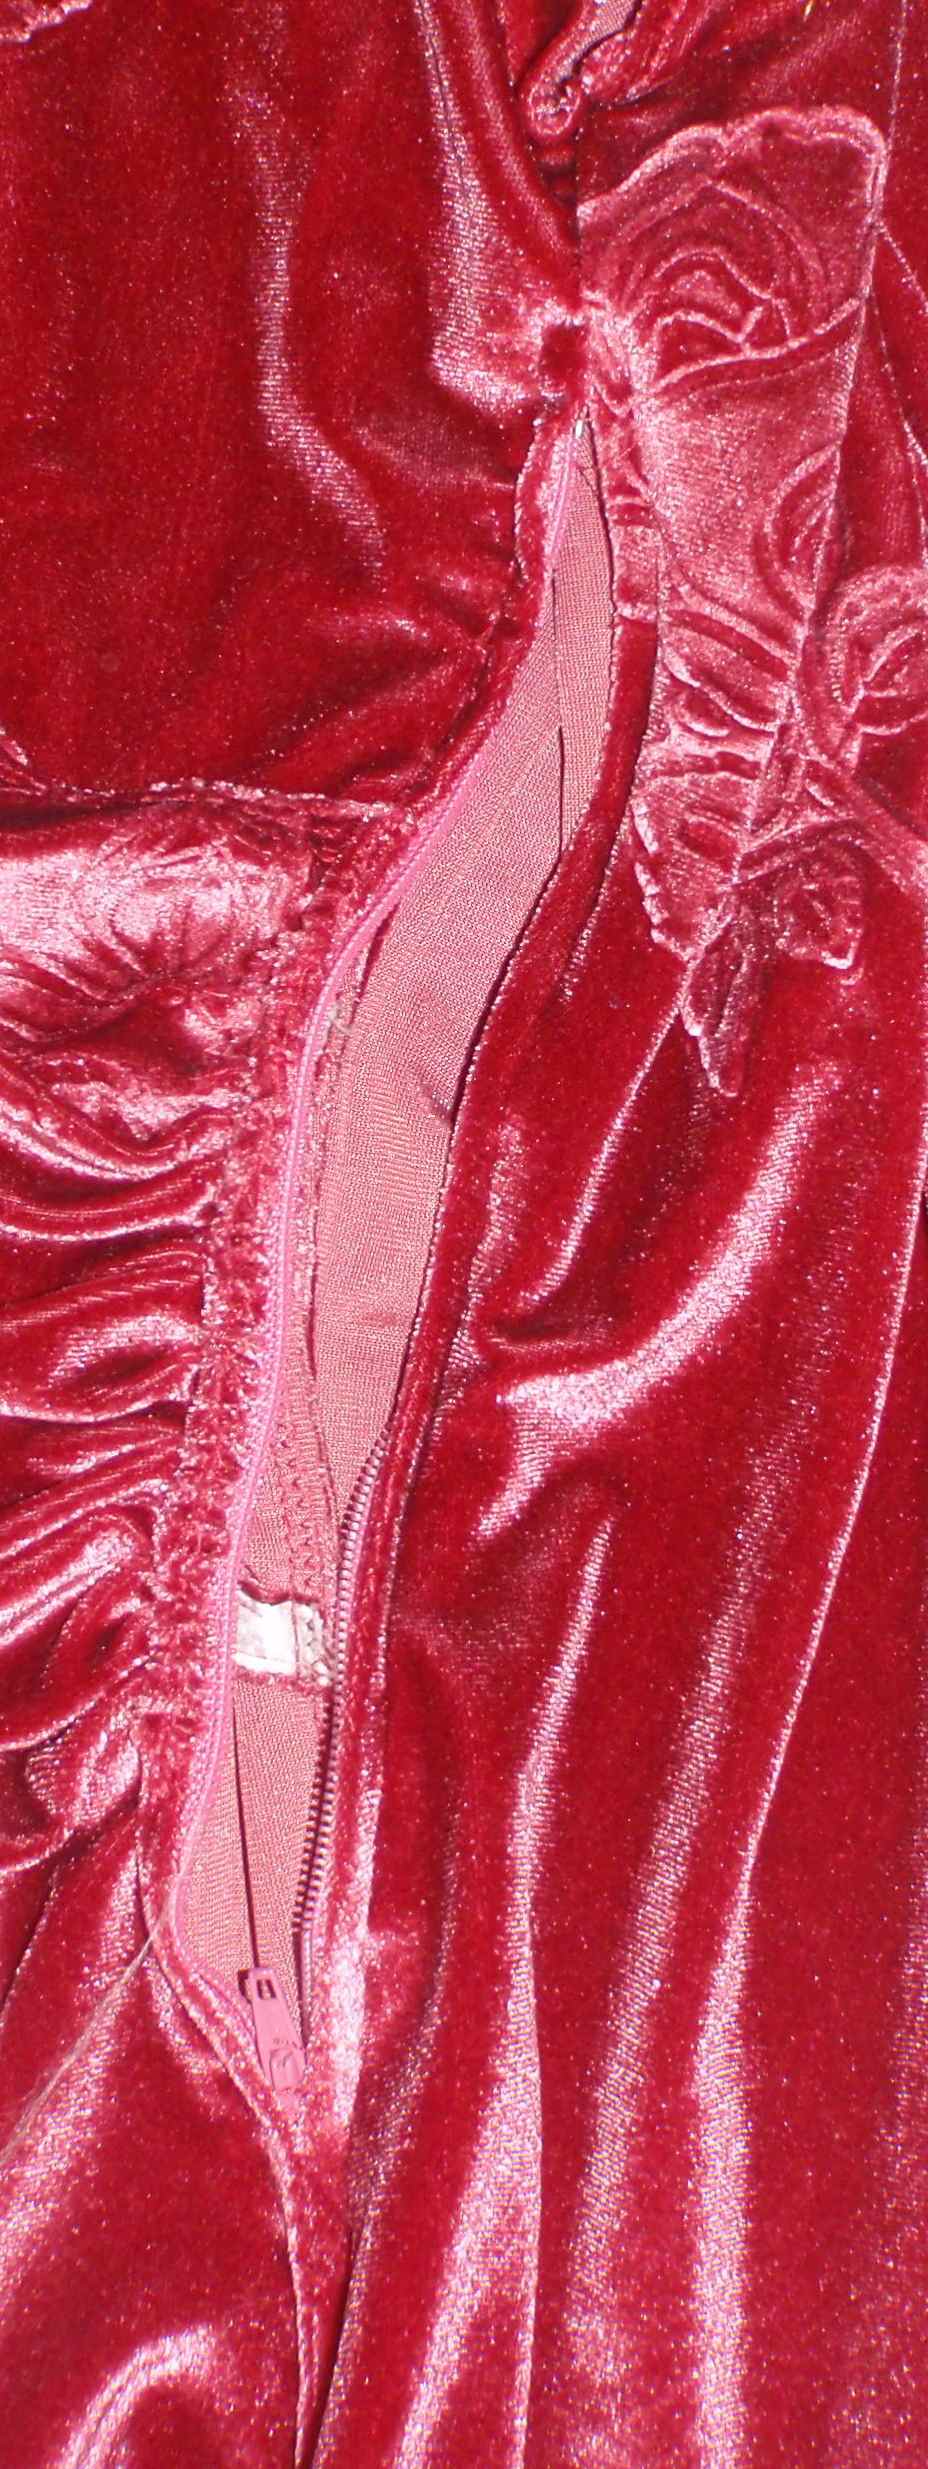
The bulk of the fabric, due to the gathering at the left side, make this dress a poor project for someone who is new at putting in zippers. Still, it was not terribly difficult for someone who has put in as many zippers as I have. It would certainly be much easier with a thinner knit. Here is a link to very detailed directions for putting in zippers. I have never done it this professionally, but can see how it would avoid the major problem of fraying edges of woven fabrics getting caught in zippers. The photos below show the zipper on my dress after the whole dress is complete:
After the zipper was in, I could see that the dress was really too big for me. The shoulders fit perfectly, but there was too much fabric across the bust and too much flare at the hips. Yep, those are my hard to fit areas when I buy ready made clothes. SO, I pulled the fabric in to fit and estimated the how much to take it in. This meant making a gradual change from under the sleeves ONLY on the side WITHOUT the zipper; and really straightening out the skirt flare FROM the WAIST on BOTH sides. A flare in a cotton fabric, or something that holds shape, works fine for me. The knit fabric needed to fit me more closely.
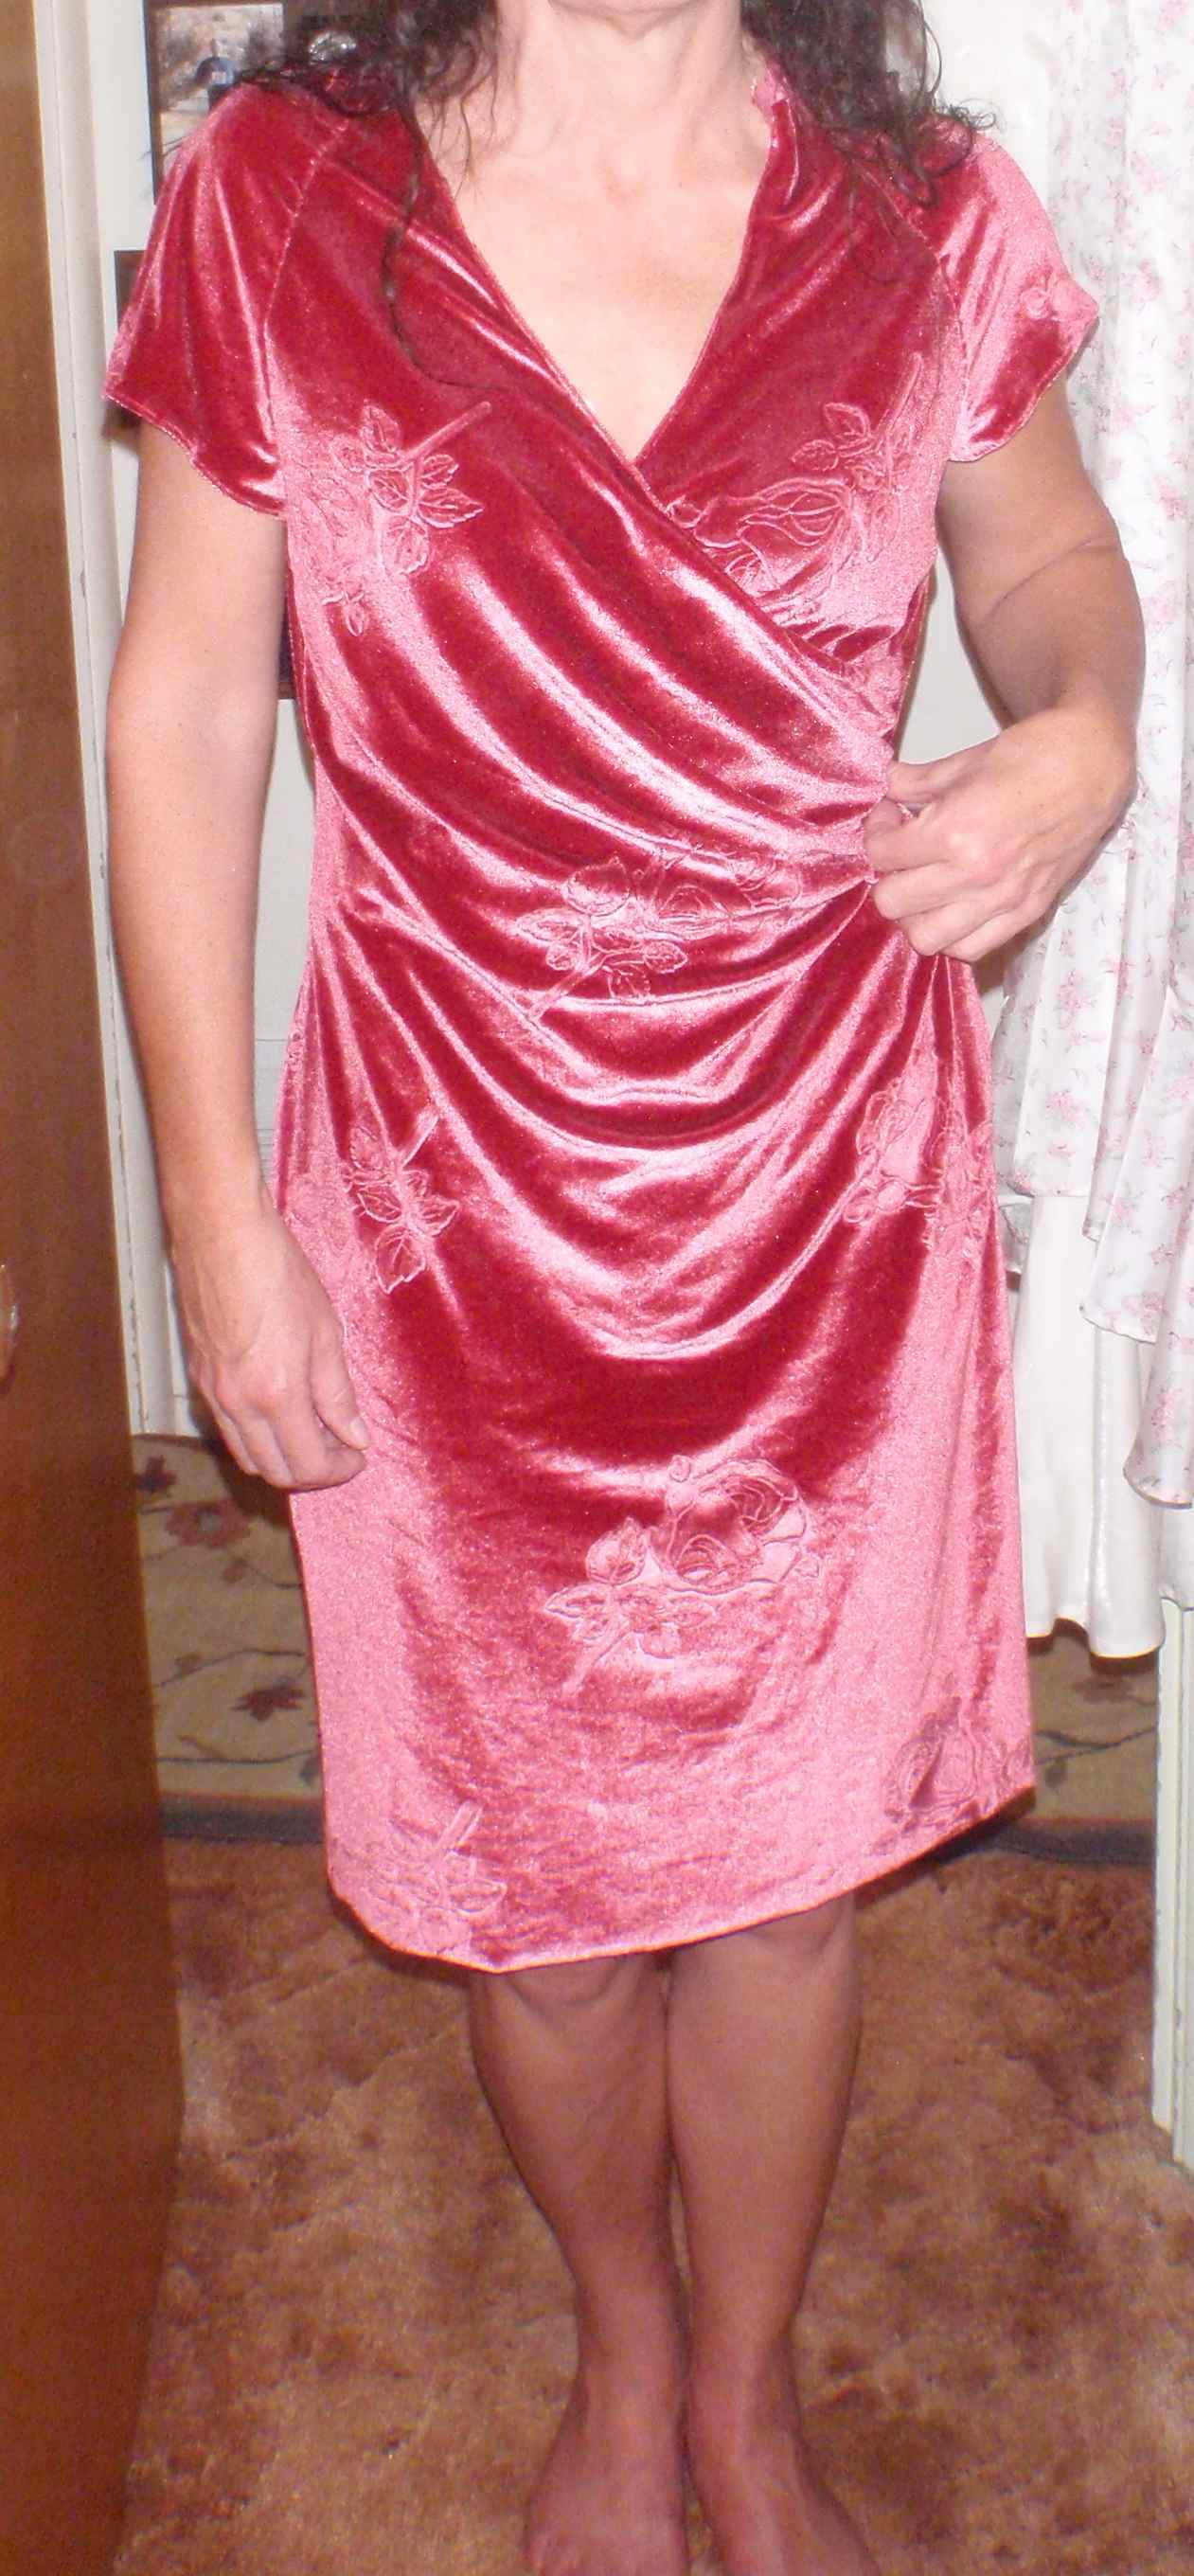
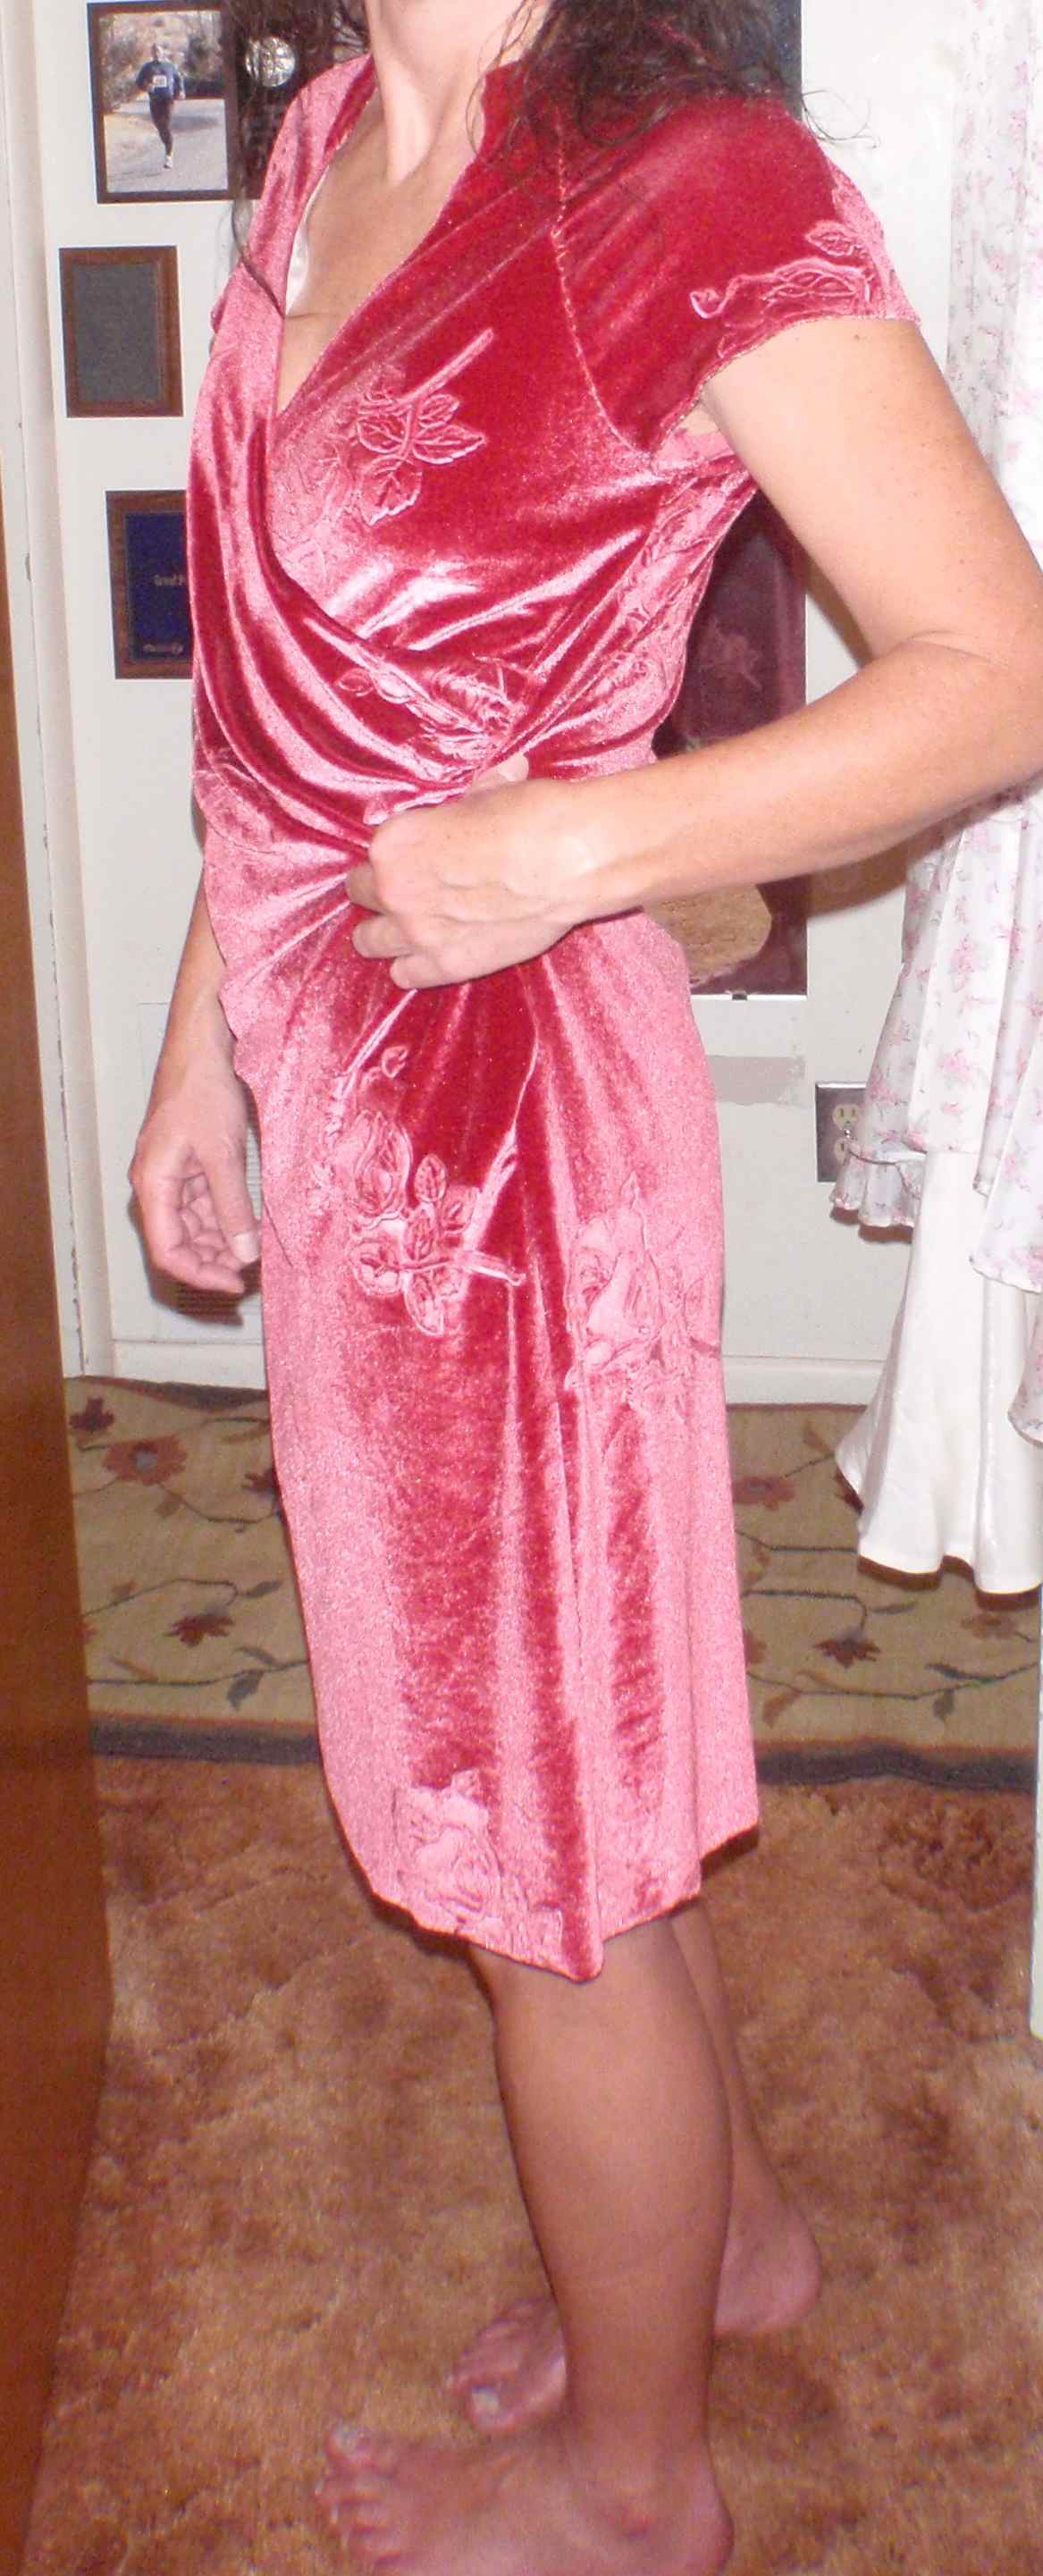
After two more fittings, I had removed about 1.5 inches from the bust and waist, plus more in the skirt area. I simply zig zagged the bottom edge of the skirt and finished the hem with one fold. This would keep it a bit ruffled and light. And here I am in my new pink party dress:


Dancing was done 99% barefoot, of course. The dress stayed in place, with only an occasional small tug at the neckline. I’m kind of wild when I dance, so it would probably not be an issue for anyone else. 🙂

The pictures are great. The boots might not be good dancing shoes, but they make for fun photos. 🙂
Oh, wow, I can’t believe I didn’t see this earlier! That is gorgeous! You look like you were dressing up to be one of Santa’s elves, or Mrs. Claus, but you were too cool for plain ‘ol red and white fur and had to put a classy spin on it. 😀 I love it!
Thanks, Heidi. 🙂