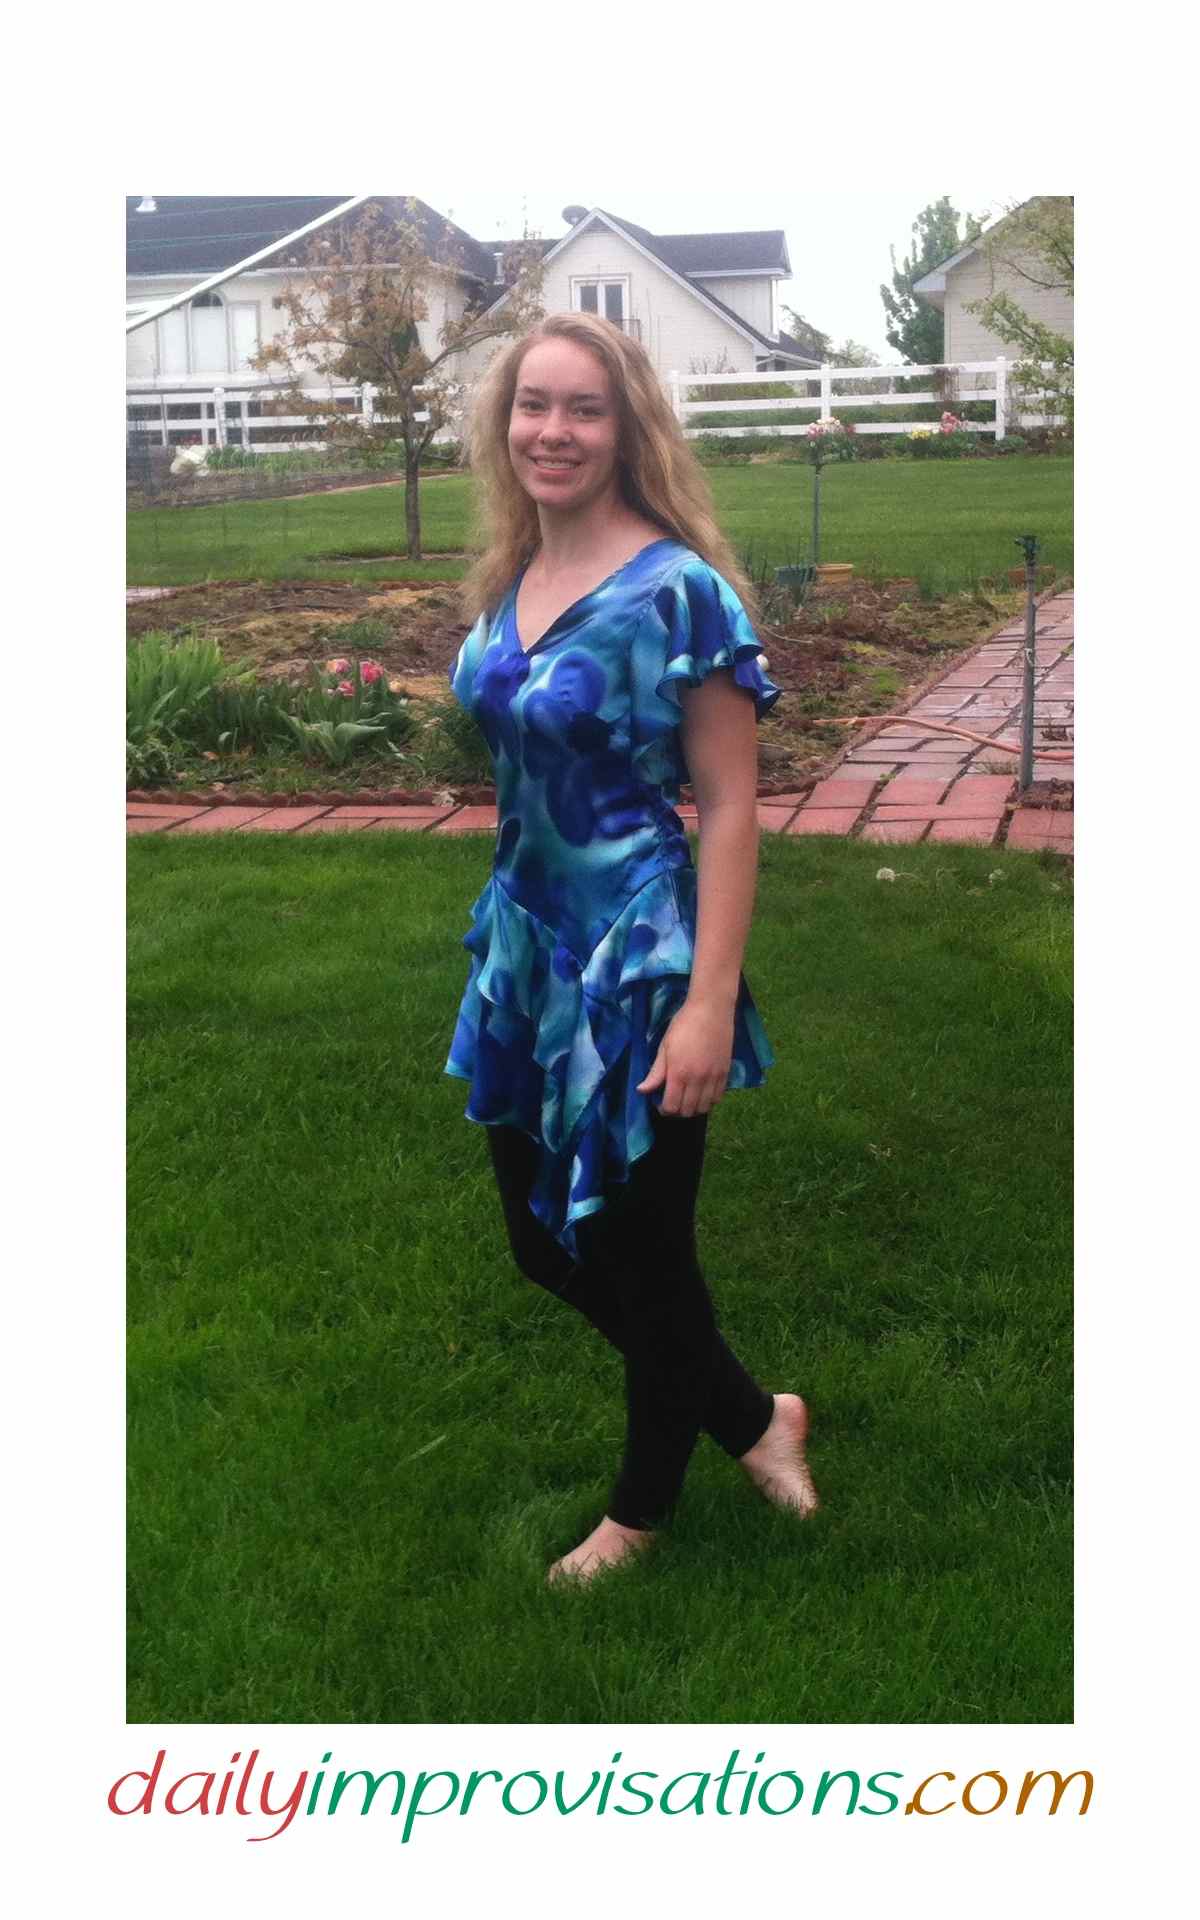
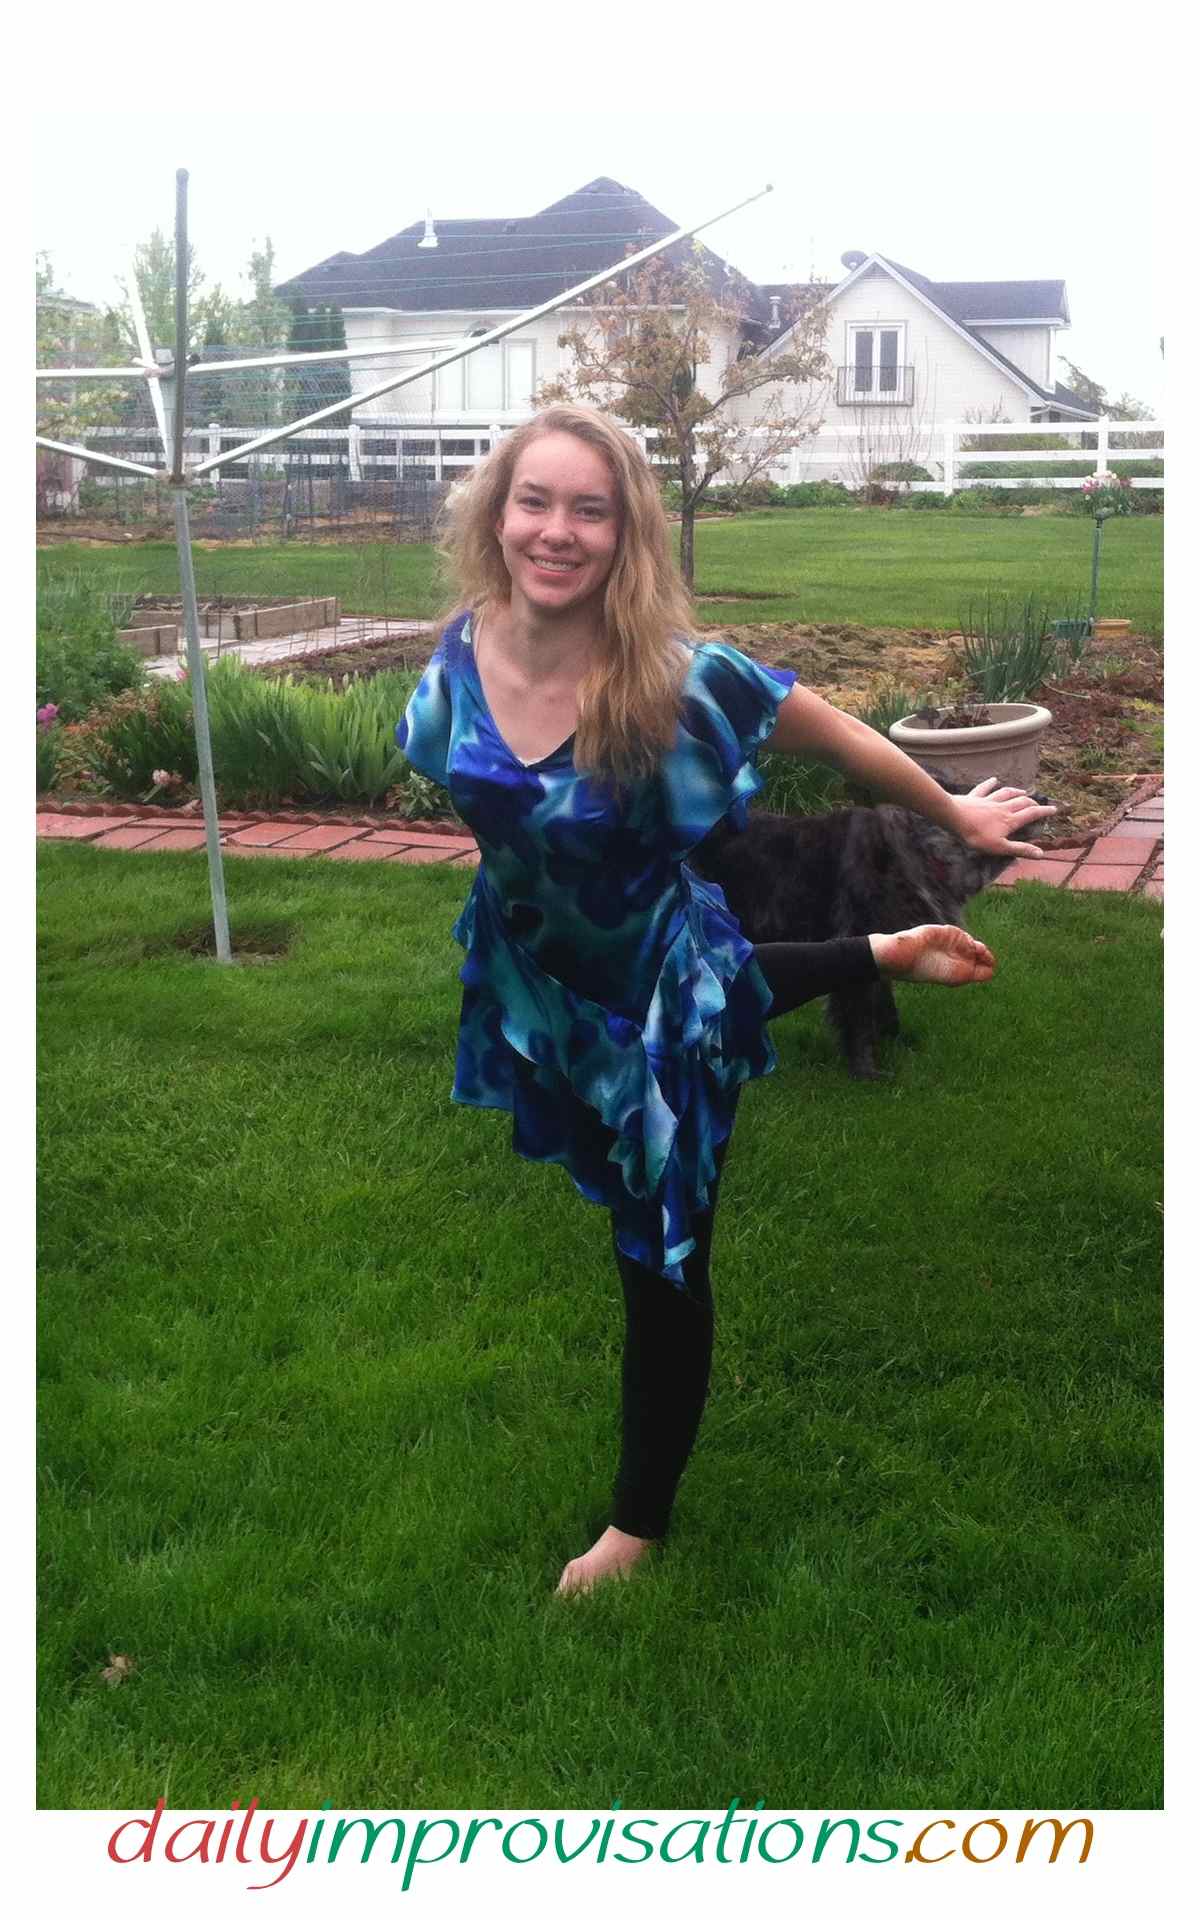
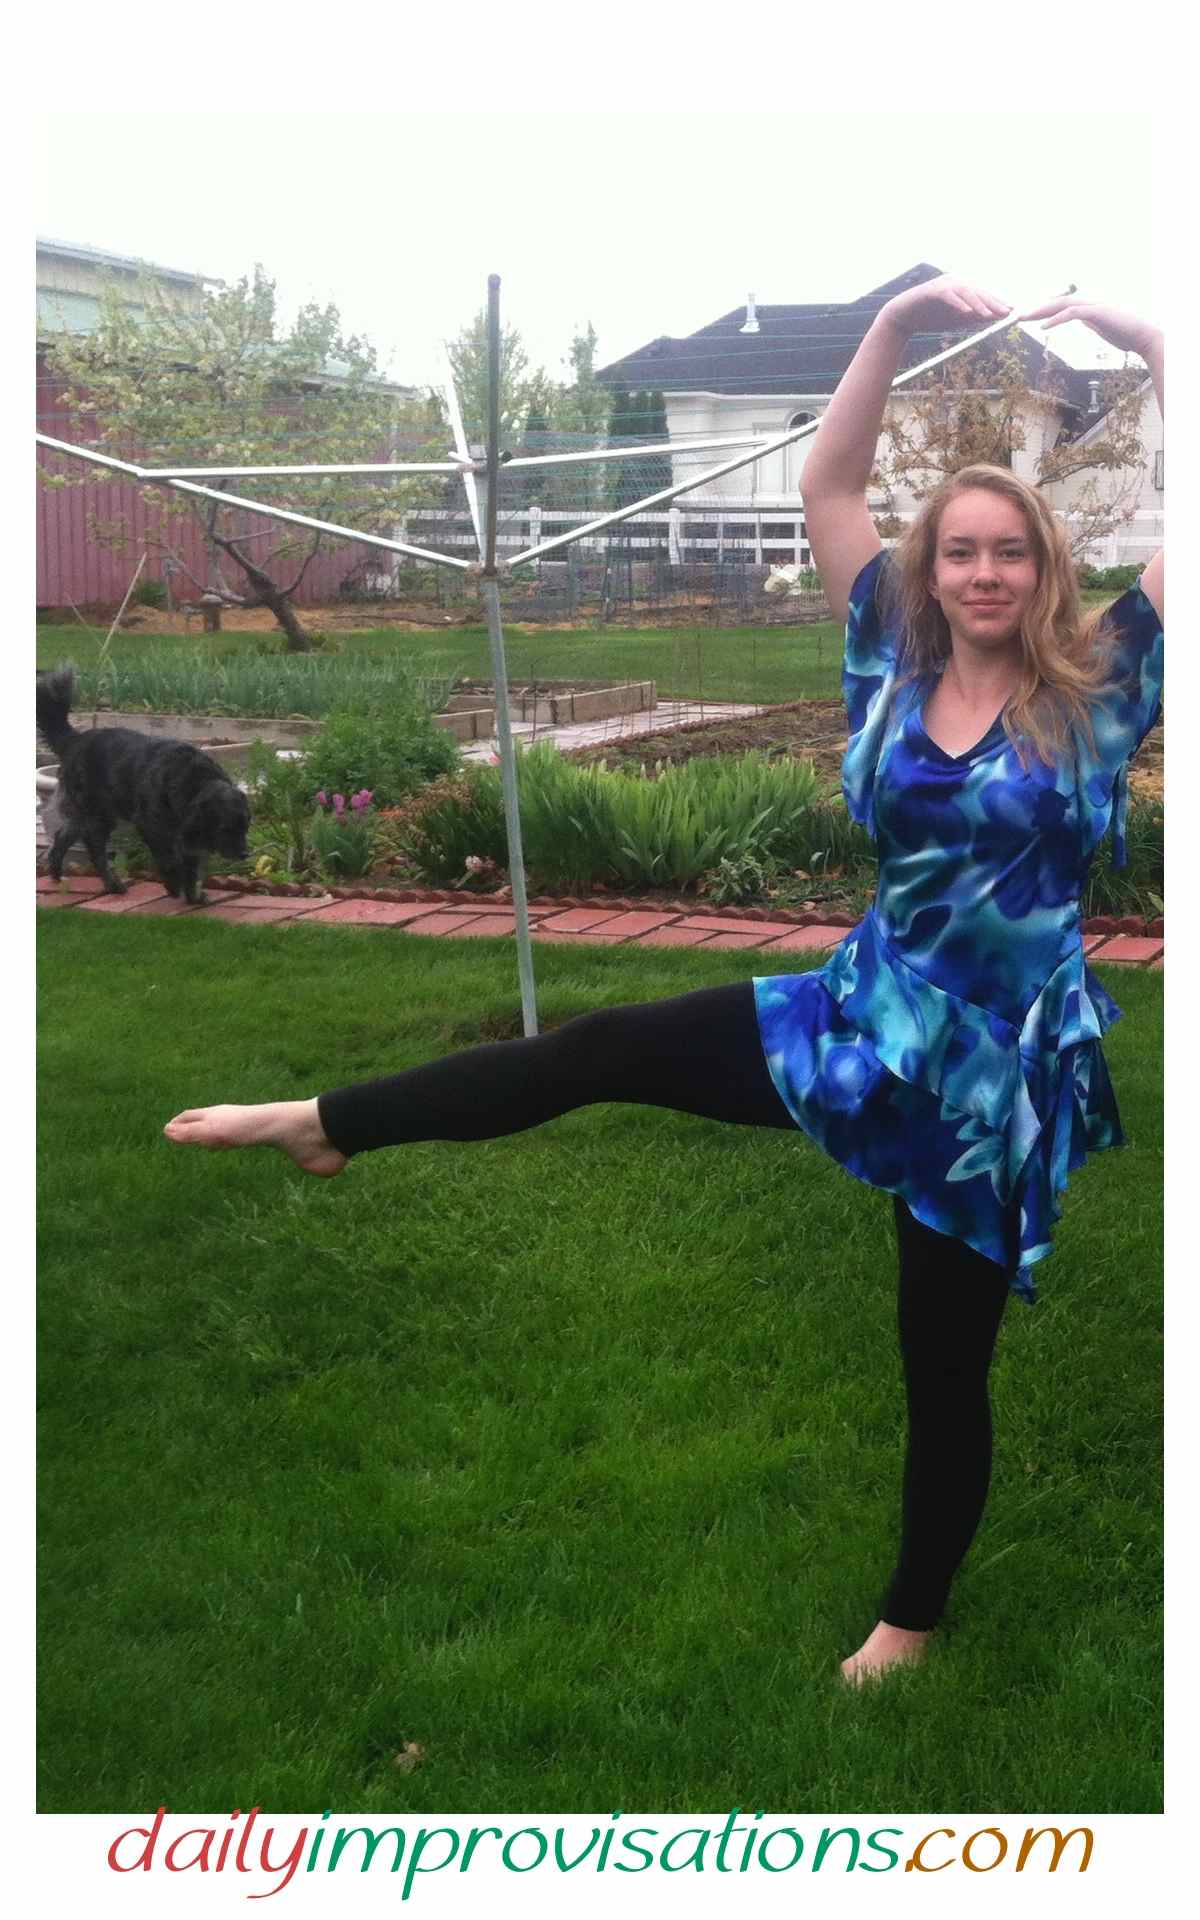
The goal was a fun, dressy top for my daughter for her senior piano recital. We have been waiting to use some special silk that we bought for her in Taiwan. I knew the importance of trying out a new pattern before cutting into the silk, but I needed something with similar silkiness and draping. I had such fabric in my stash. It was a melded swirl of blues. If it worked we would have 2 nice blouses. If it didn’t, the loss was not nearly as great as the silk. (click on any photo to enlarge)
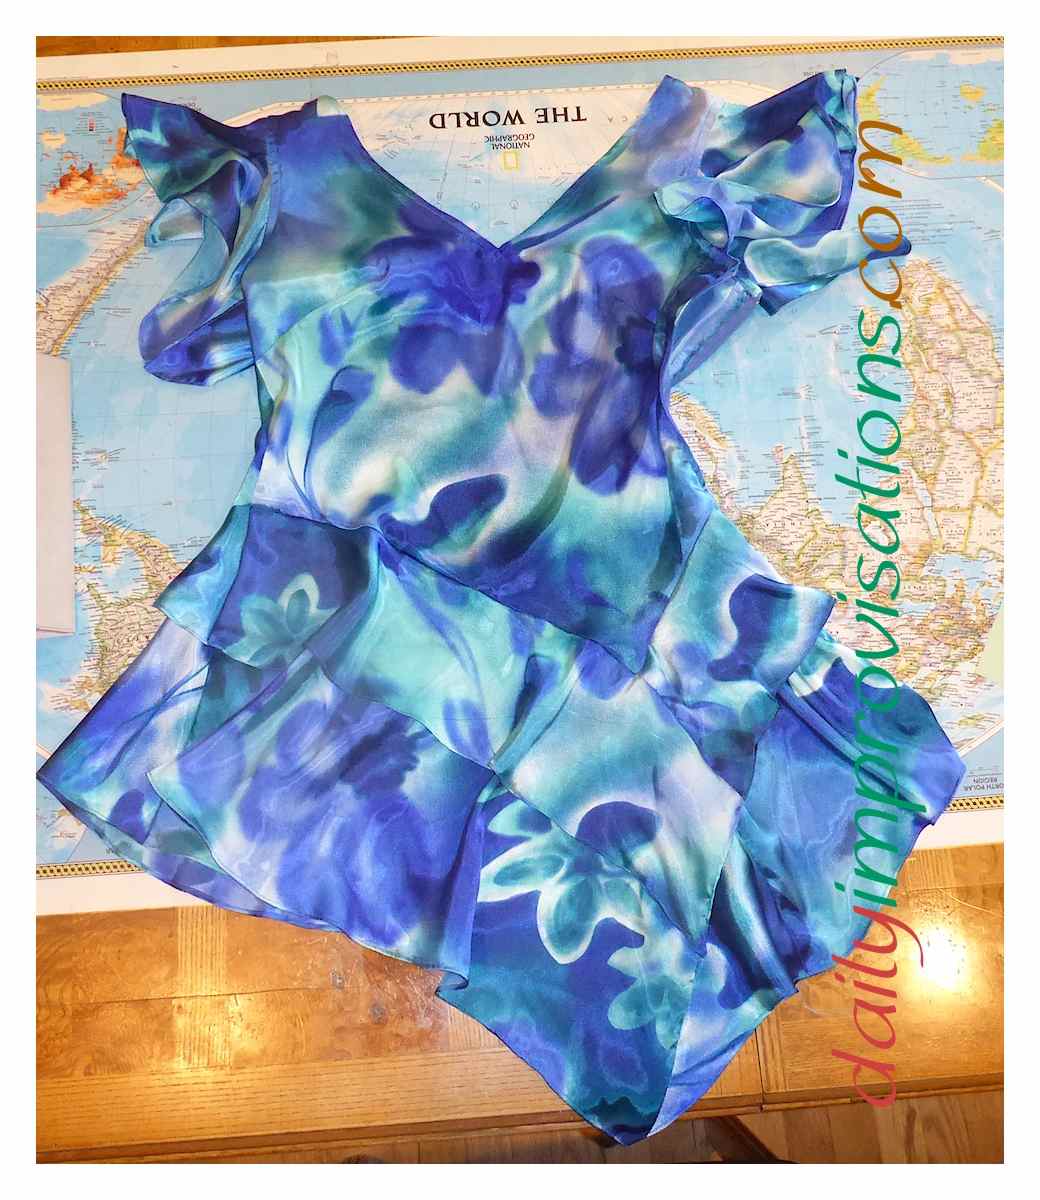
After some soul searching, I ruled out her original dress pattern choice. It had too many seams on the bias. For such a fluid fabric, I knew I would be asking for trouble. She understood. I told her the main body of the garment needed to be predominantly cut with the grain lines of the fabric, but flounces would be okay. She found McCall’s pattern M4659 in my stock of patterns. I told her I thought I could add another layer of flounce to it, to make it more dress-like and elegant. I did it, but not without bumps along the way. Explanations of problem solving are not necessarily in exact sewing order, but more according to sections and similarities of process on the blouse.
The pattern was a multi-size pattern, so I traced the size I wanted onto a non-woven pattern fabric, much like the texture of non-woven interfacing. I carefully labeled each traced piece and made sure to transfer markings and notches. Also, how many fabric pieces needed to be cut from each piece.
To make the new, longer under flounce, I traced the top edge of each original flounce piece onto the same pattern making paper. Both flounces would be basted together on this top edge before sewing them to the main body of the blouse.Then I used a ruler to extend the side edges of each piece such that the new, lower flounce. It seemed good to make the longer flounce twice the length of the original upper flounce. This should give the blouse a sense of proportion.
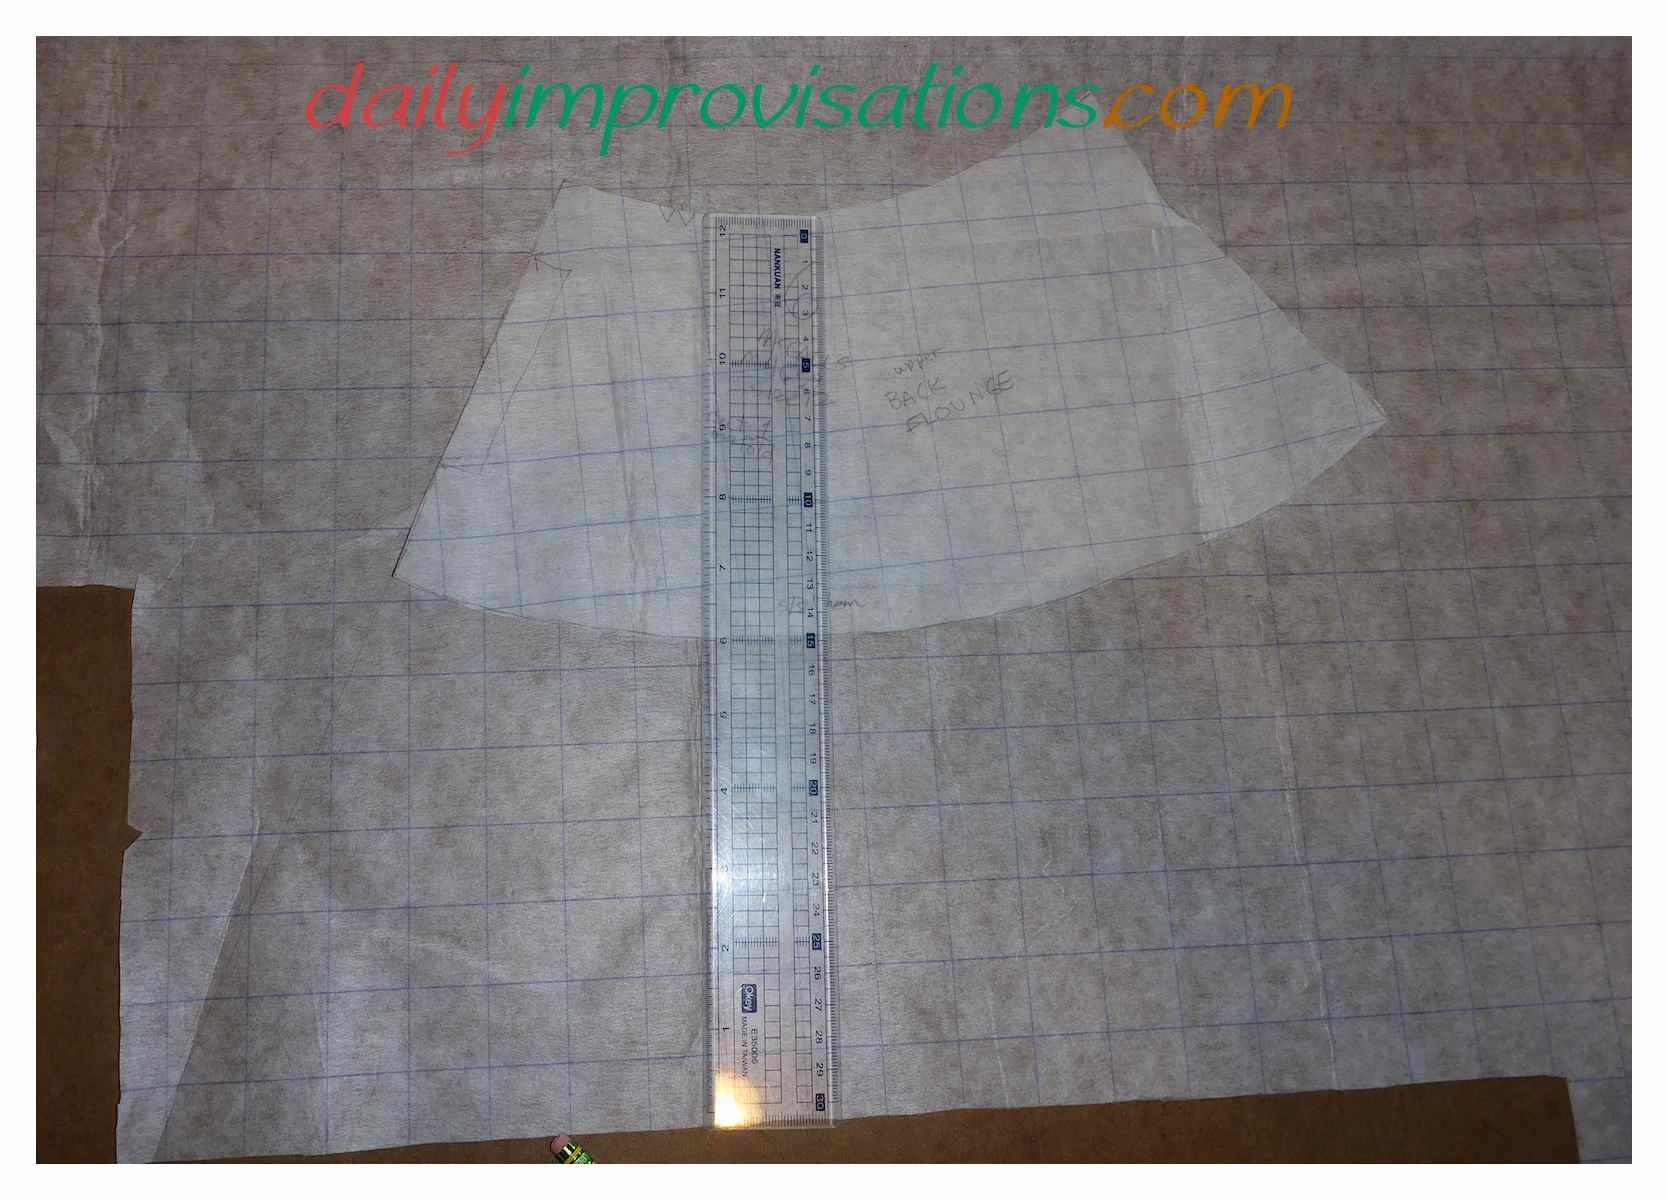
The bottom curve of the new, longer flounce was drawn by first measuring all along the lower edge and marking 6 inches from the bottom of the pattern piece for the original flounce. The make this as reliable as possible, I tried to make sure the ruler was as perpendicular as it could be to the bottom edge of the pattern I was measuring from. I made small marks, or dashes, in this manner every 1-2 inches between the ends of the extended side lines.
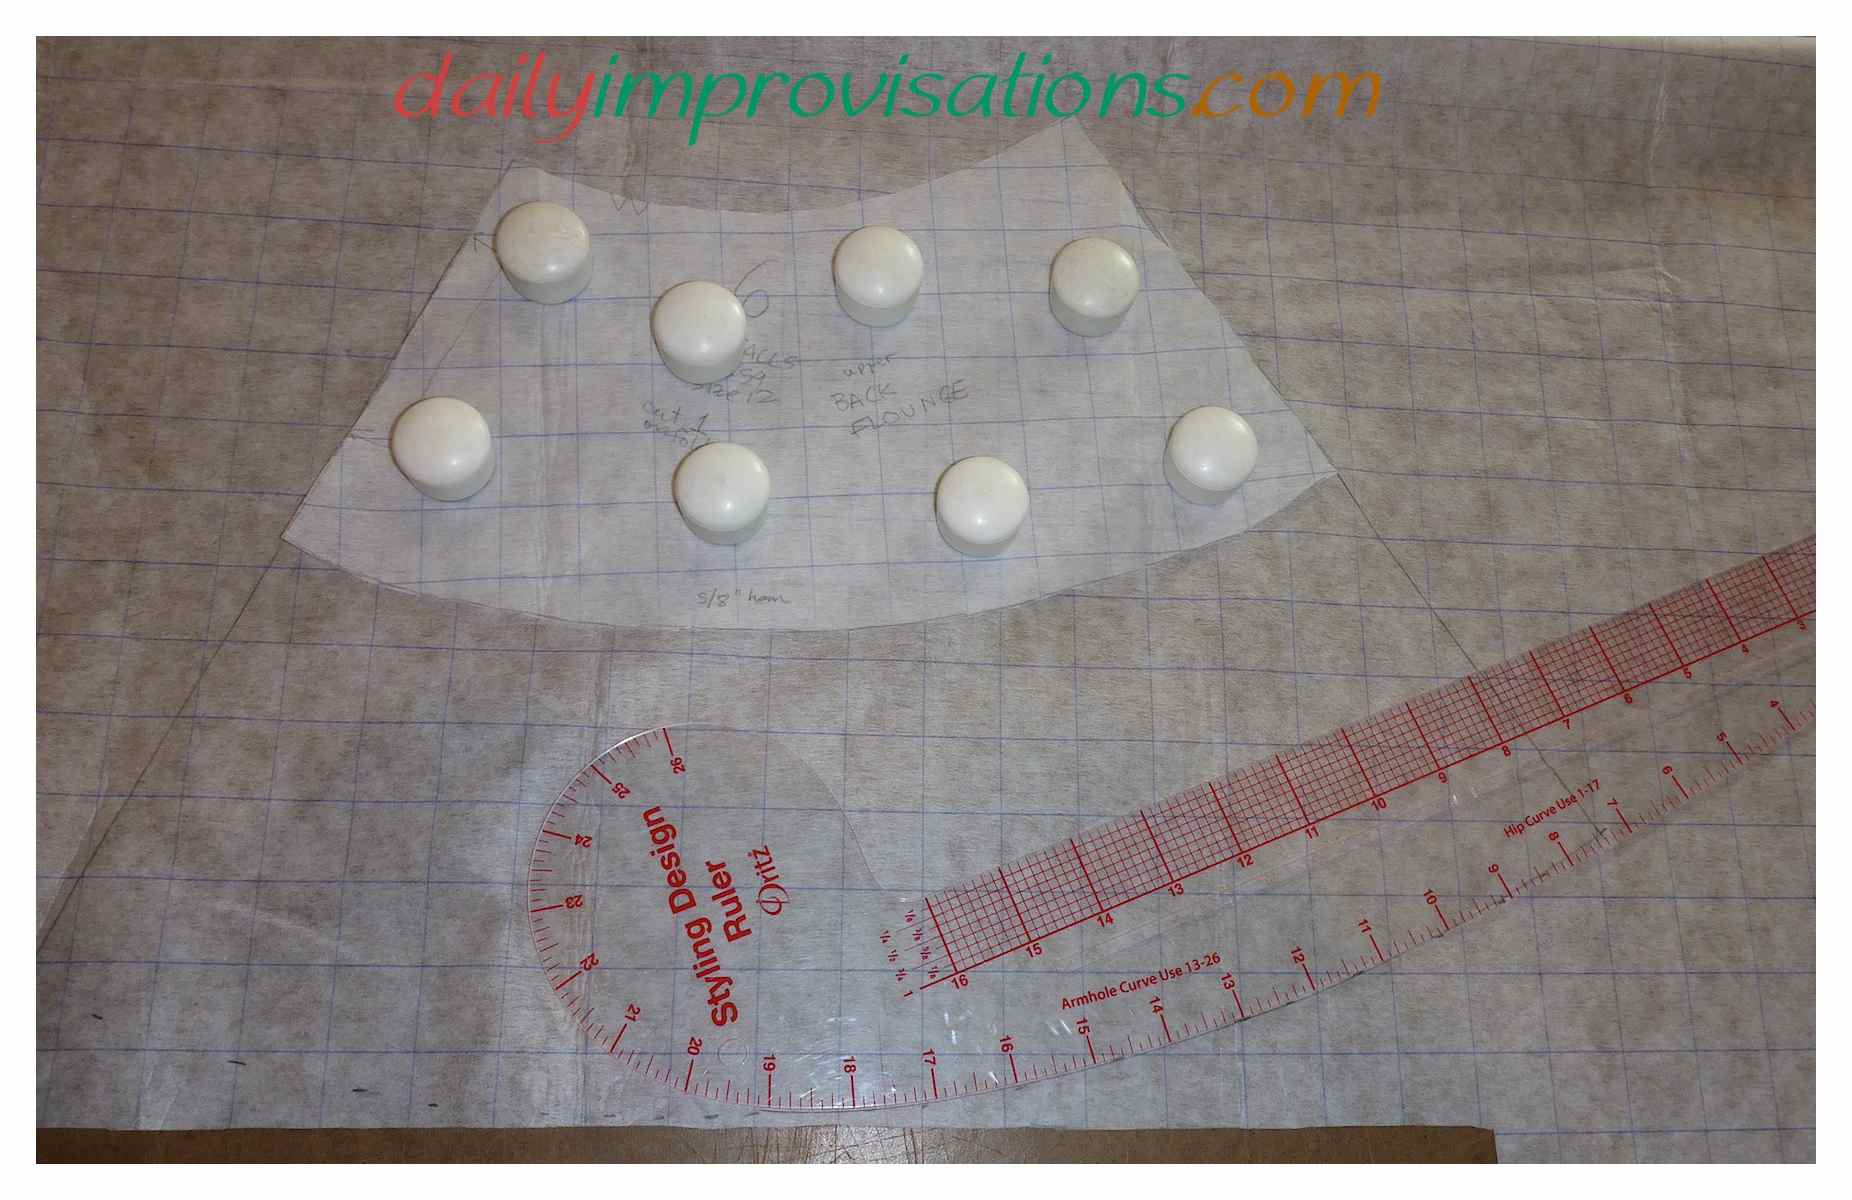
At this point, I remembered that I bought an interesting curved ruler last year. The curve along it change all along it, making it possible to use any small section over and over to trace a certain curve. I think I could have eye-balled connecting my marks, but I wanted to try this curved ruler, so I did. I had to adjust a couple of places here and there, but it wasn’t long before the resulting curve looked like the one I was trying to mimic. It was time to actually cut some fabric.
When working with any fabric that “flows,” the first order of business is to make sure it is laying consistently straight while cutting. I constantly compared the selvage edge to the edge of my cutting board to do this. I think it also helps a lot to use a rotary cutter instead of scissors. Then the fabric isn’t being lifted and shifted by the scissors pushing under it. It might have been more stable if I had pinned the pattern pieces in place, but I just used my pattern weights like usual.
This is probably as good a time as any to explain that if all the flounce pieces had been typical, this method would have worked fine. As it was, this pattern sews part of the front of the flounce to a point. The way it does this meant I needed to go back and fix that section. Rather than try to remove the whole flounce, which may have left me with pulled threads and rips in the fabric, not to mention need for a straightjacket, I decided that the design allowed for adding another triangle of fabric to the end of that pointy piece. I was hoping this would be not be obvious when it was all done, and I can’t see it unless I look for it. So, definitely an improvisational success.
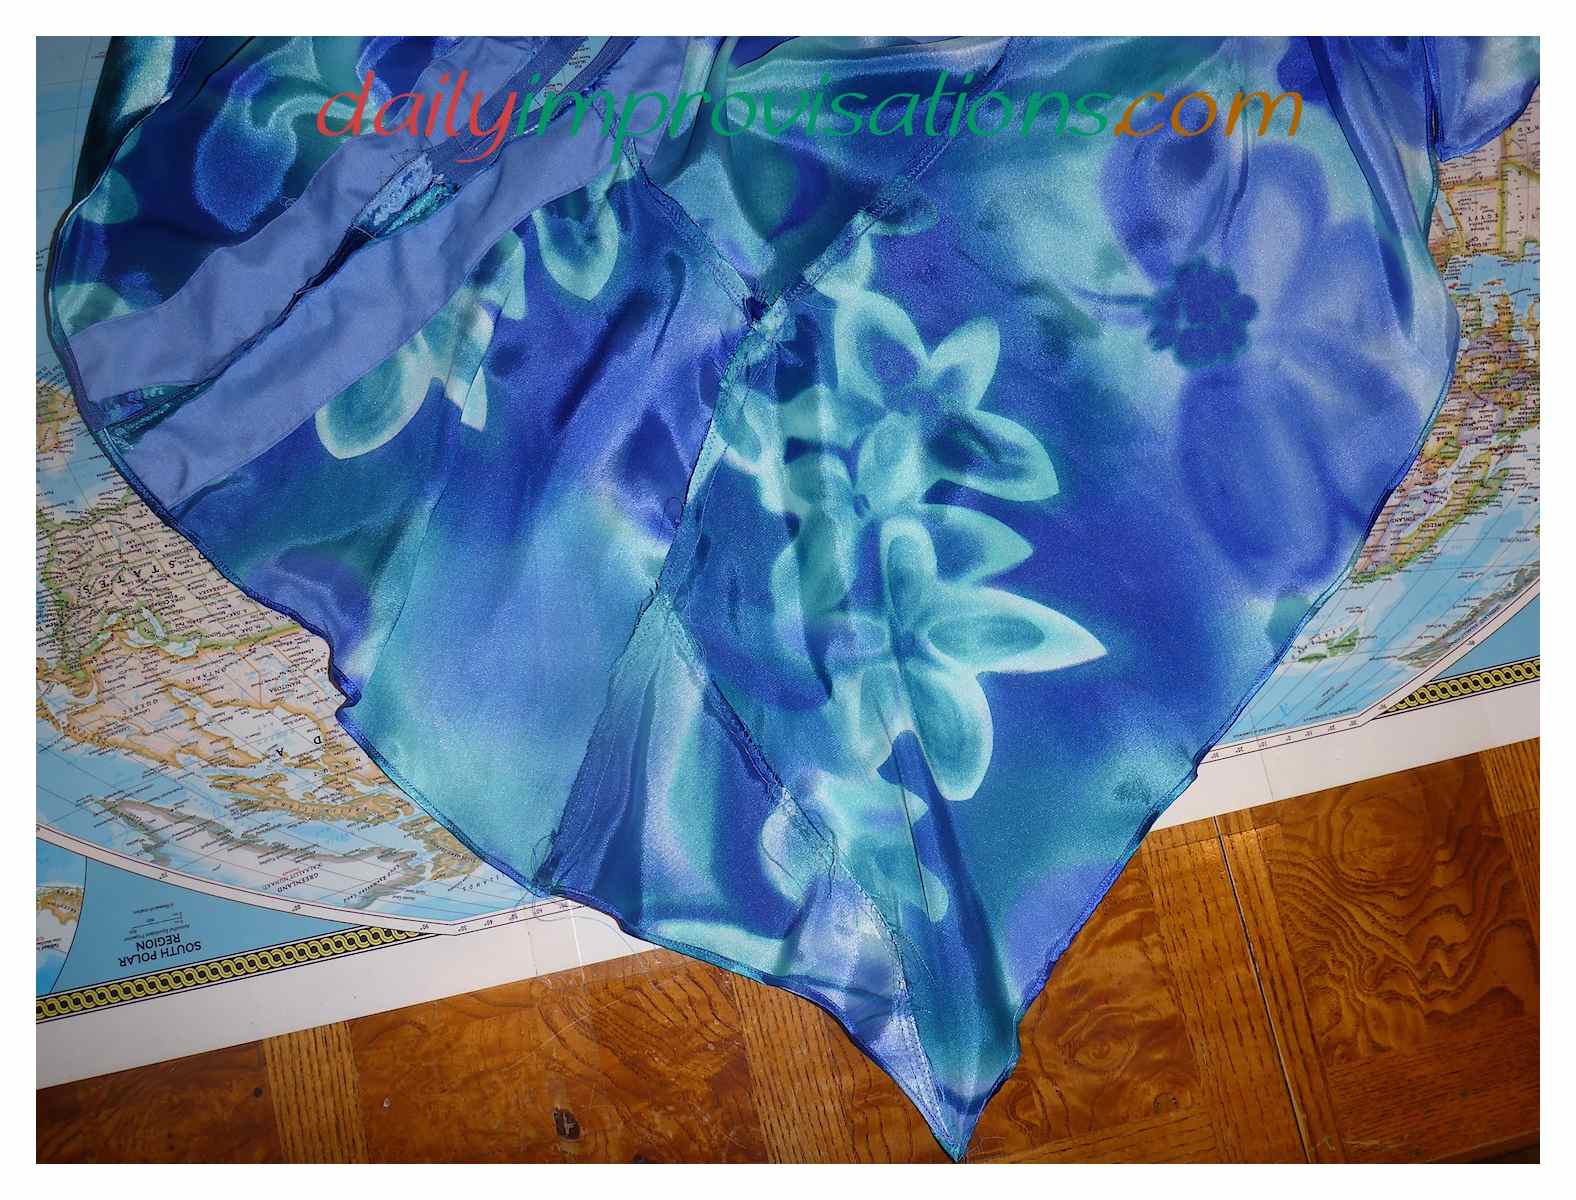
The directions for hemming the flounce were both good and bad. They were good because they really helped to get a narrow hem that does not weigh down the flounce or make it stiff. The difficulty came because there was no method suggested for getting around the hanging point. This was also an issue with the points on the draping sleeves. (We used view E, but only used the upper sleeve.) I do not think I could have managed this without significant stress if 1) I didn’t have years of sewing experience, and 2) this was not a trial garment. (It turns out it wasn’t the “trial” garment, but I didn’t know that then…)
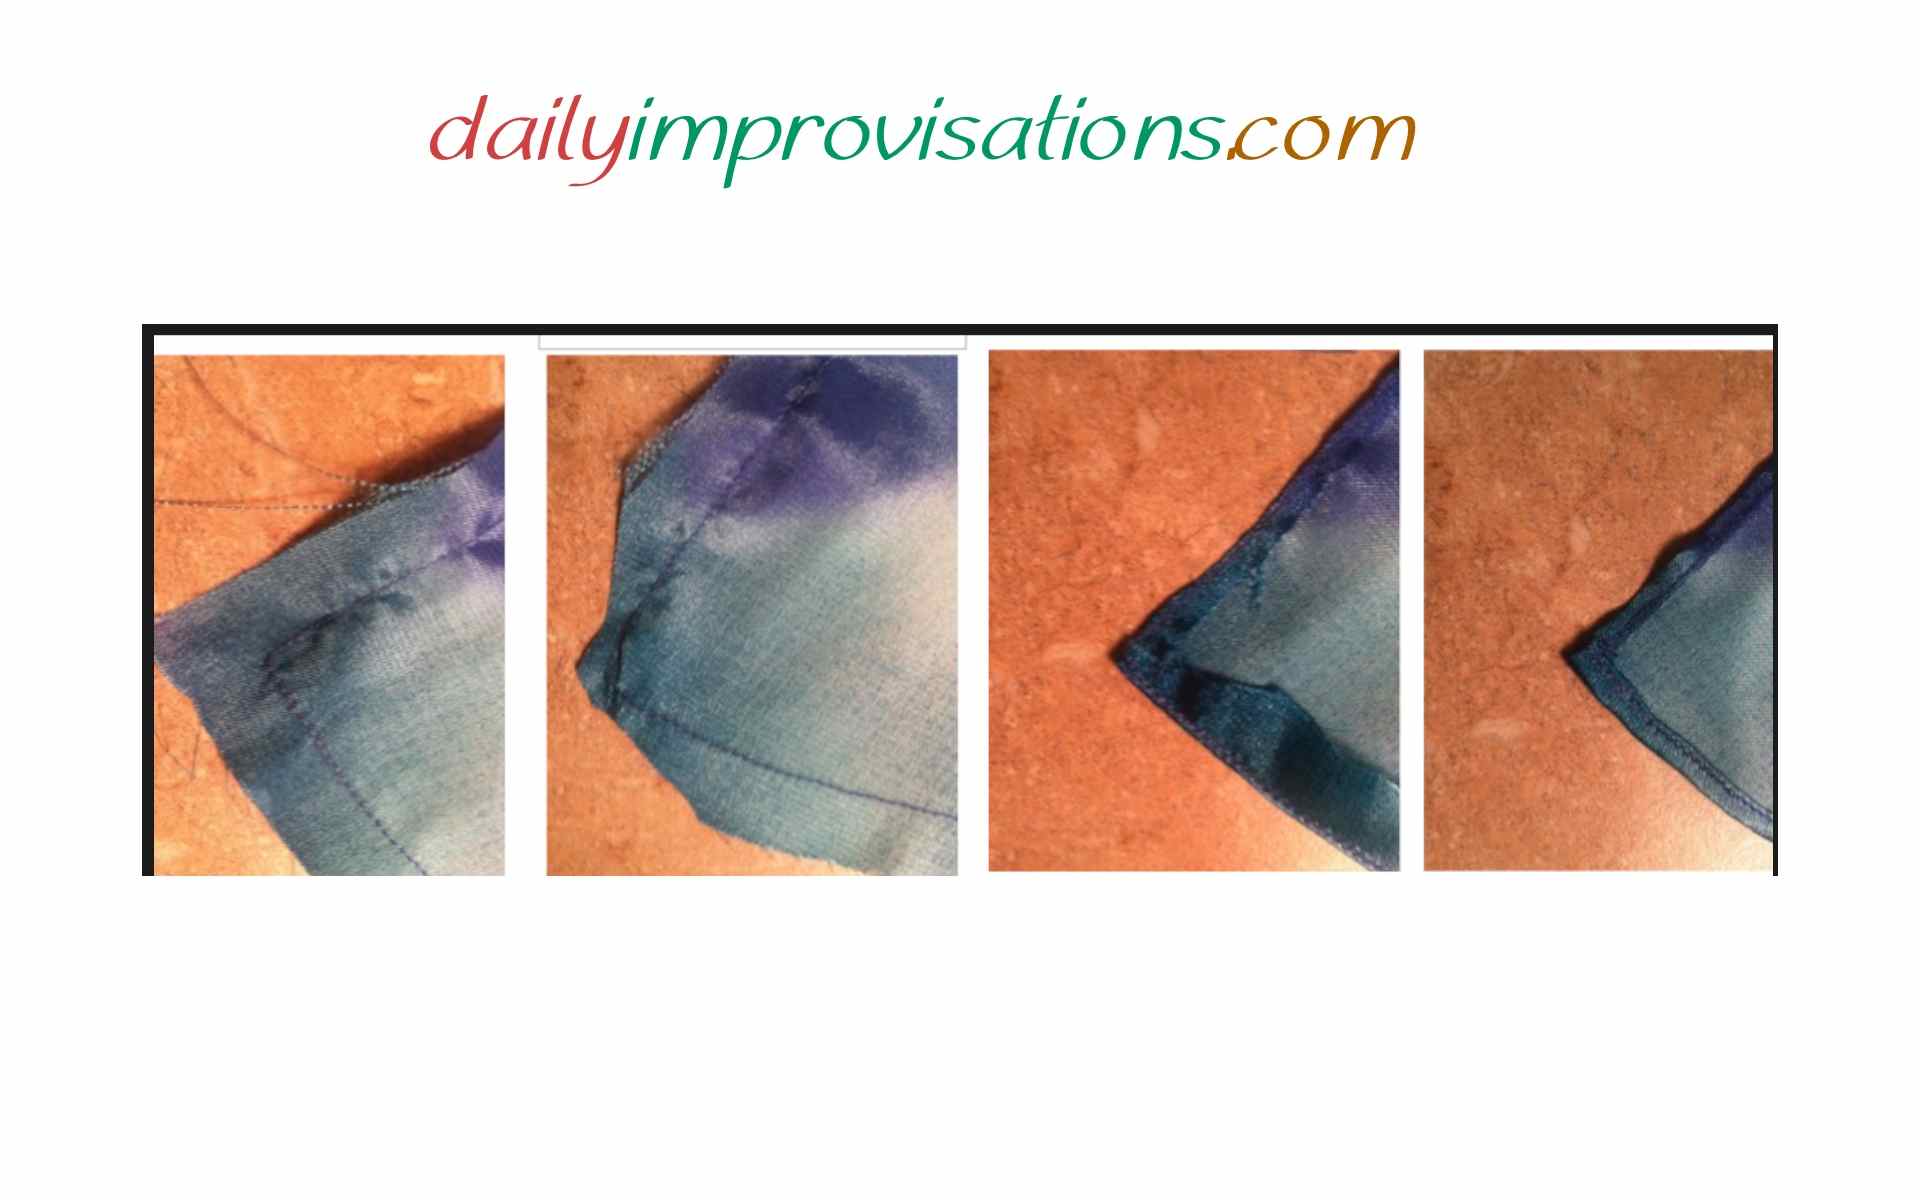
If the fabric had been a basic woven cotton, hemming these points would have been hard enough. Add the slippery, flowing fabric needing a very narrow hem into the mix and it took a bit of patience mixed with who-cares-I’m-doing-the-best-I-can attitude to get me through it. I followed the directions for sewing a guideline all around the edge to be hemmed. The step after that is to fold the seam allowance over and sew close to the folded edge. After some experimenting, I found that it was best to trim the point before folding it over. There was nothing in the pattern’s sewing instructions about this. It spoke of trimming the seam allowance after sewing this fold, but by then I had a bunch of fabric in that corner that was even harder to work with.
So, before I folded the seam allowance over, I trimmed off all but about ¼ inch of the tip of the point (or corner). Then, I also trimmed part way down the sides of the point (or corner), about ¾ of an inch. This made it much easier to sew that fold down without catching all of that fabric, but it was still not easy to do that around the corner.
The final, narrow fold to hem the edges was still tricky when I got to the corner. I took to folding over the edge nearest me first, then folding the edge being sewn over that. This made it so that the sewing was always going “downhill” over the folded hems, never trying to make it up over a lump to the next hem. I could barely fit my fingers in close enough to hold it in place while sewing. Pinning would have been impossible.
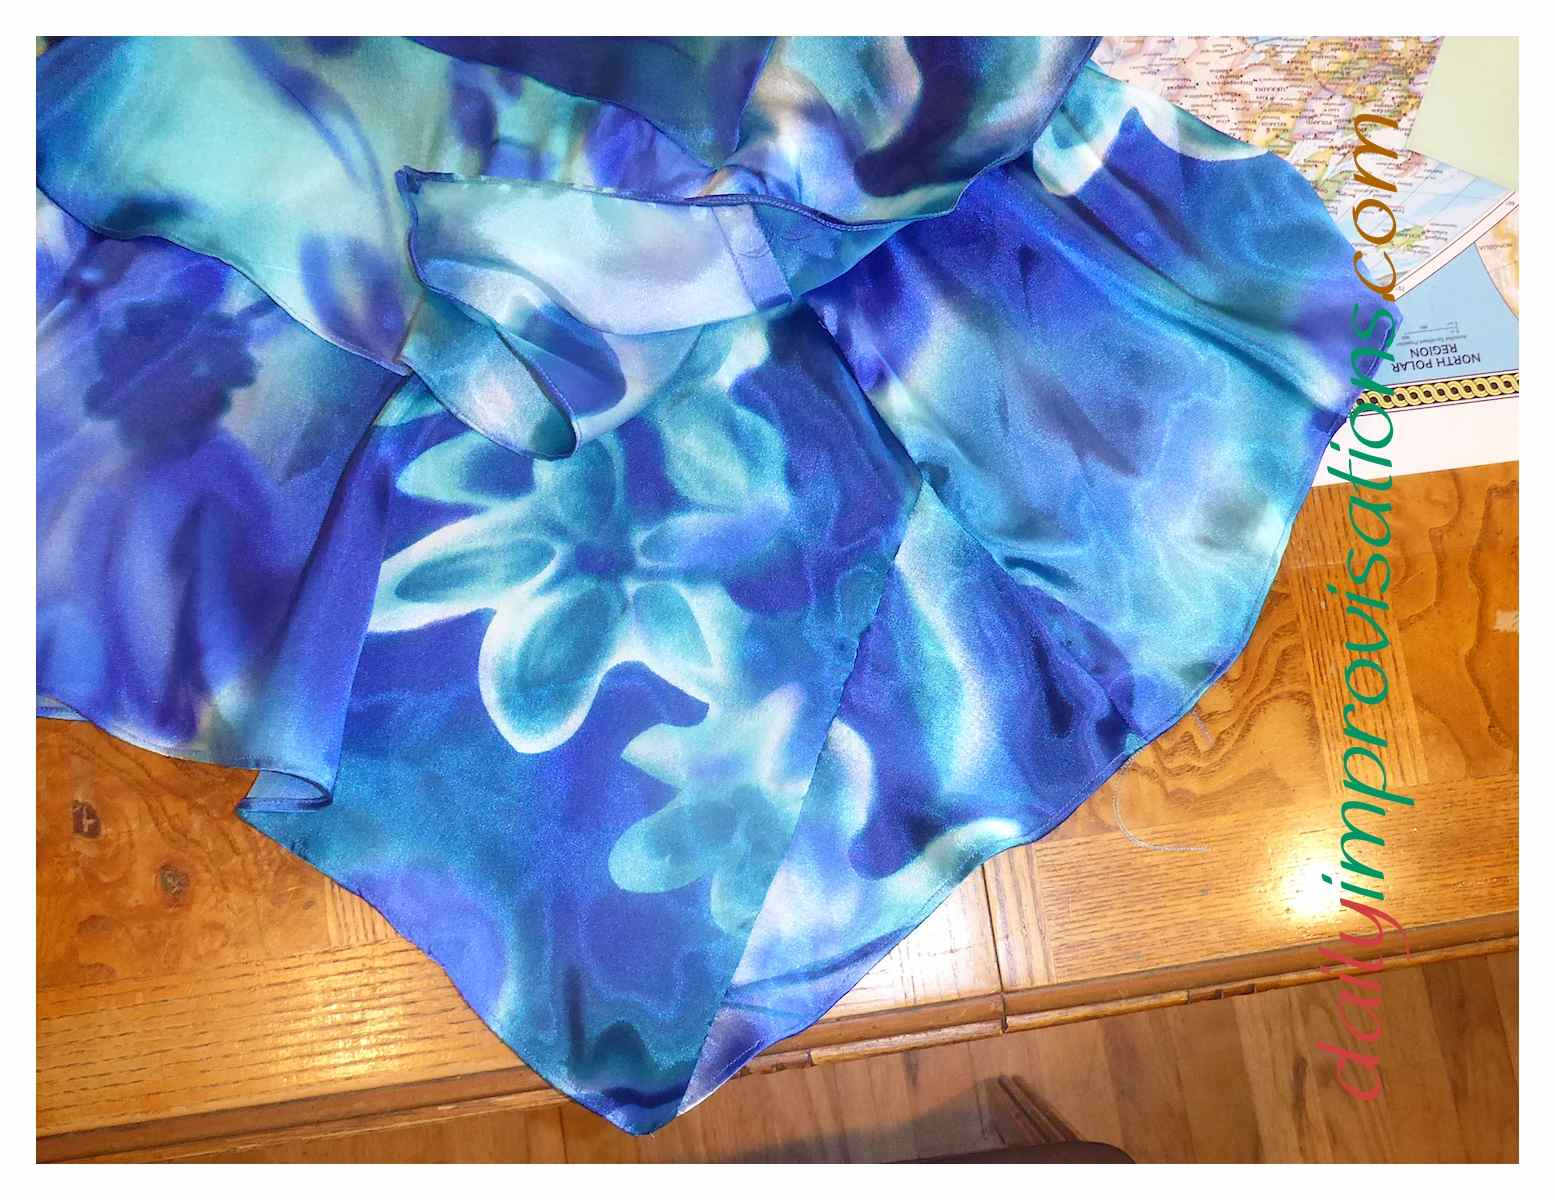
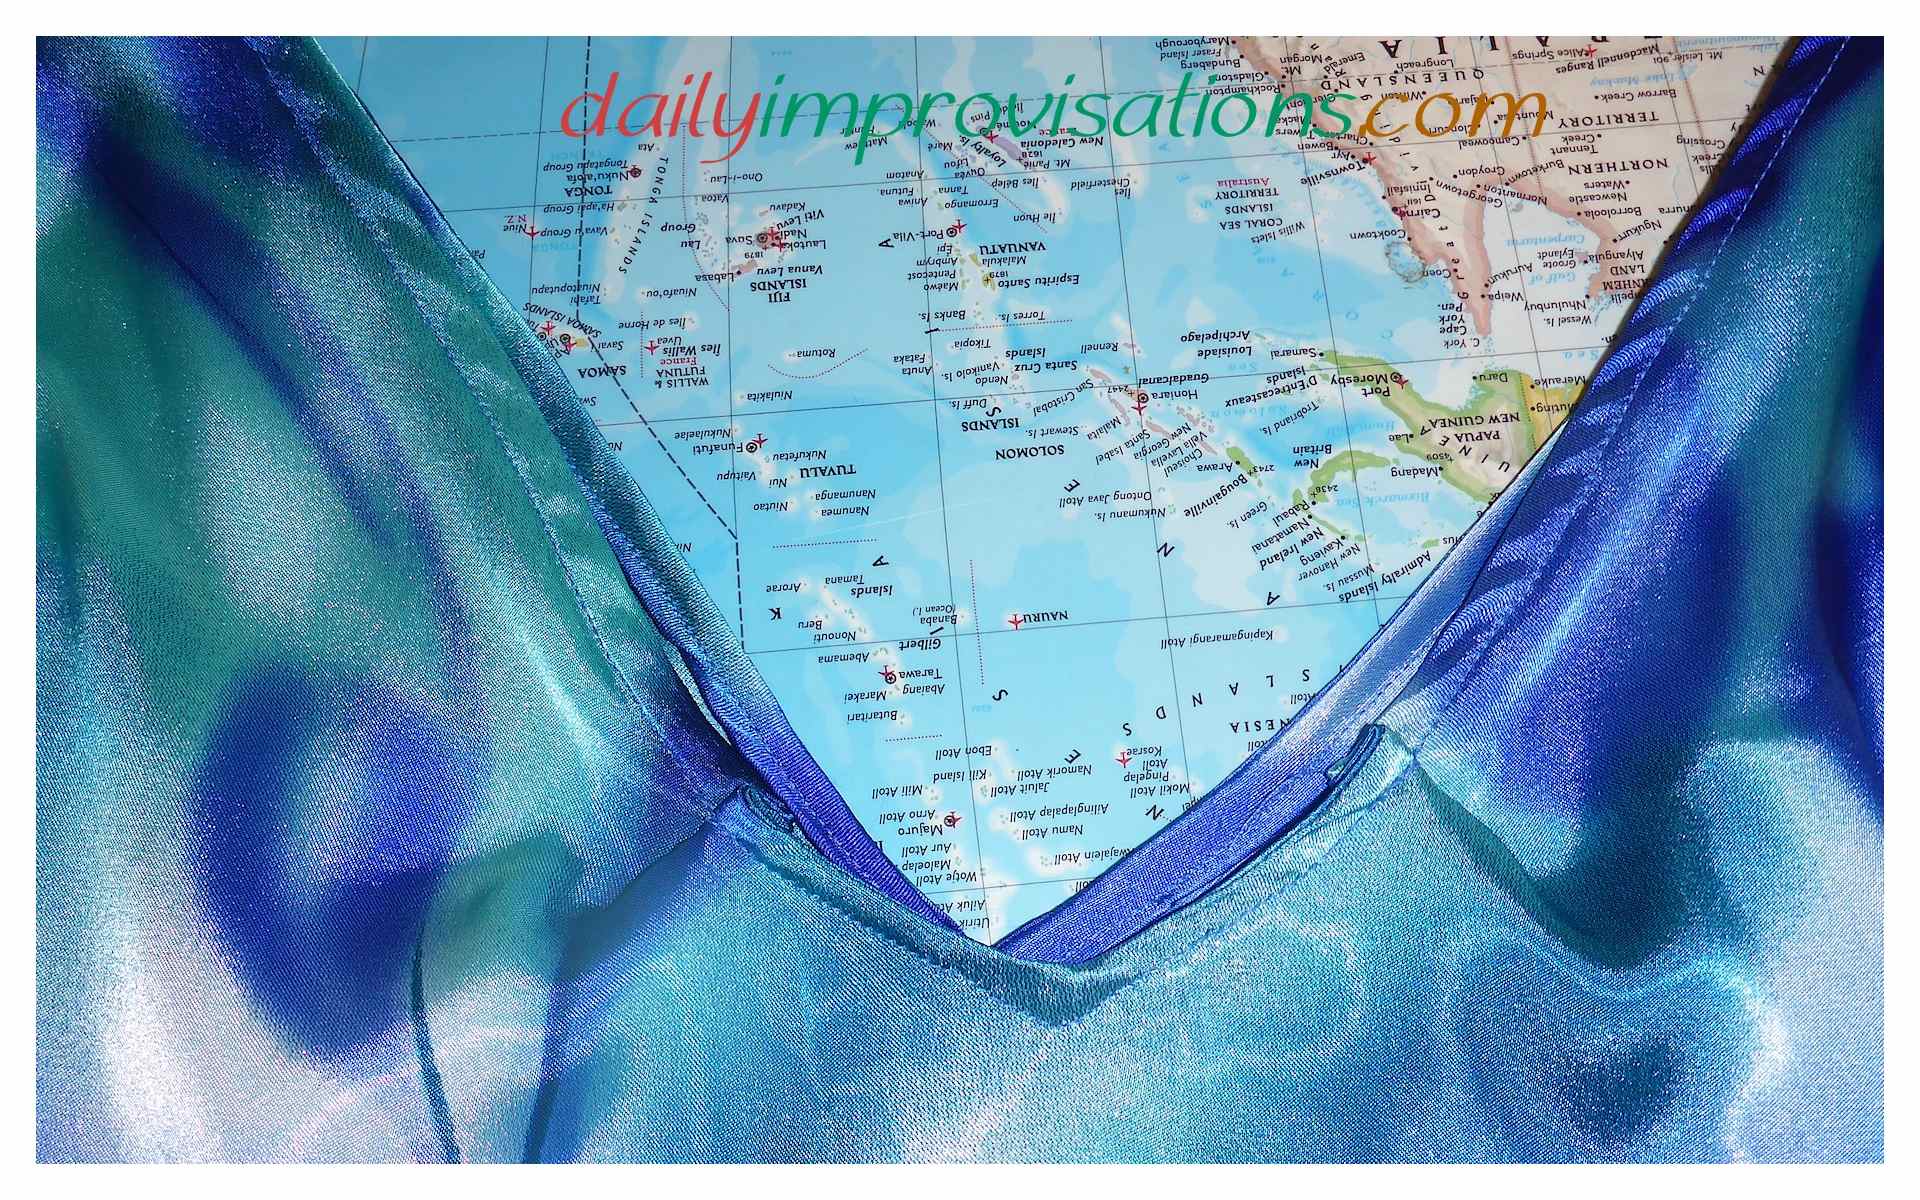
The other aspect totally missing from the sewing directions was how to sew the angle where the flounce connected to the main body of the blouse. Usually pattern instructions give some insight into how this might work best for that particular pattern. Not for this blouse. It just said, “sew the flounce to the the bodice.” Great. I made sure to baste it first, to see how it was going. It didn’t look hopeful. The mess on the wrong side of the blouse, where all those seams met was worse than any sewing junction I had yet created. Nothing wanted to lay right. It was bunching and pulling. With a sigh, I turned it right side out to see if I could get any idea of what to do different. Low and behold, the point was there. There were a few basting threads showing, but at this point (pardon the pun), Who Cared?! I sewed it with a regular stitch as much like the basting as I could and pressed the seams some on the inside, then the point on the outside. Maybe it is a miracle. Maybe it is a lesson in just doing the best I can and being happy with it.


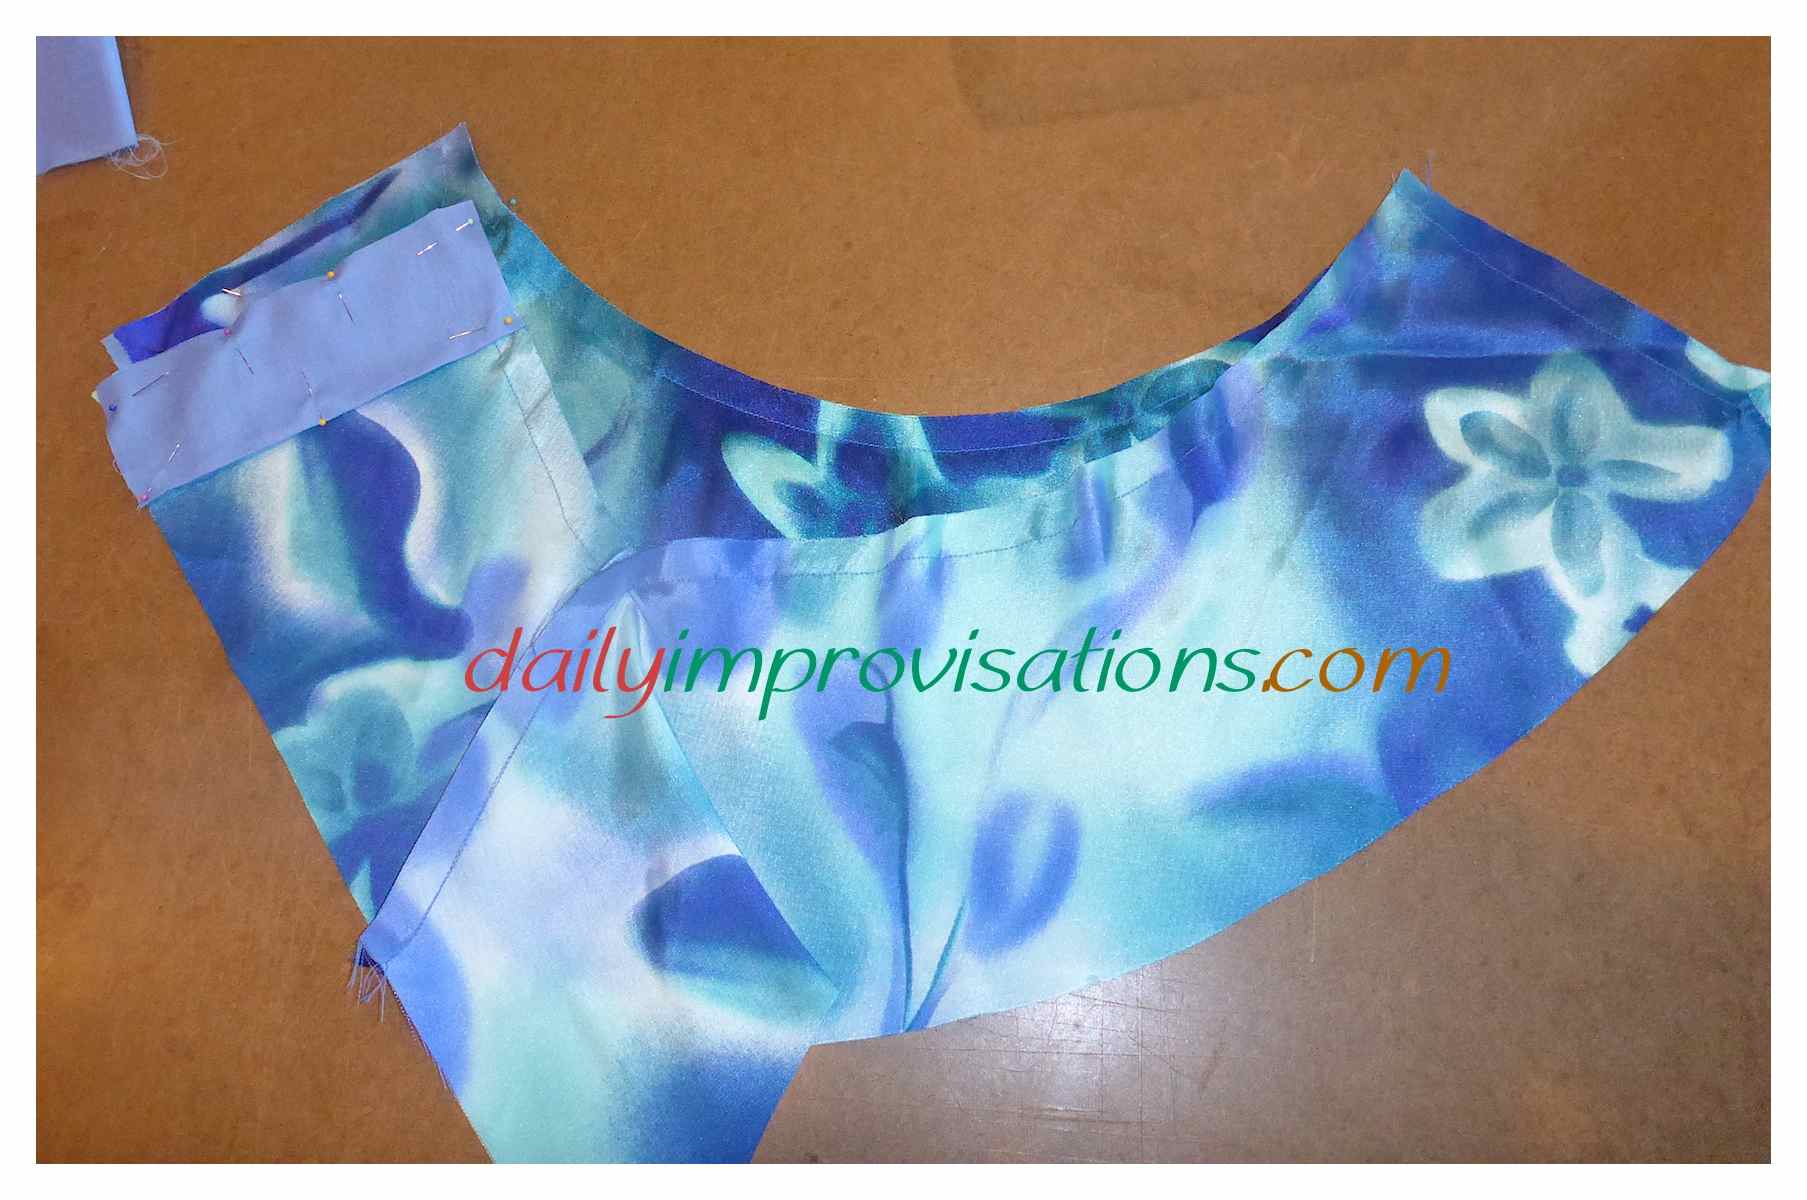
Another concern of mine had been the side zipper, which went under the left armhole and down into part of the flounce. Well, really, any zipper in the flimsy, silky fabric would not only be hard to sew, but also not very strong for long term use of the blouse. I decided to add a layer of some thin cotton along the edges where the zipper would go. I would need 4 pieces; 2 for each side of the blouse, and 2 for each side of the the flounce into which the zipper would be sewn. Each piece was cut to match the outer edge of the piece it would be sewn onto, and then about 2 inches wide.
I pressed a narrow hem on the cotton layer, so that when it was sewn to the main fabric piece it would not have frayed edges showing. Then, I pinned it onto the fabric and sewed it on, staying close to the seam line when around the outer edges, but edge stitching the folded edge in place. I also did a zig-zag stitch over the raw edges that would be next to the zipper, to help stave off fraying.
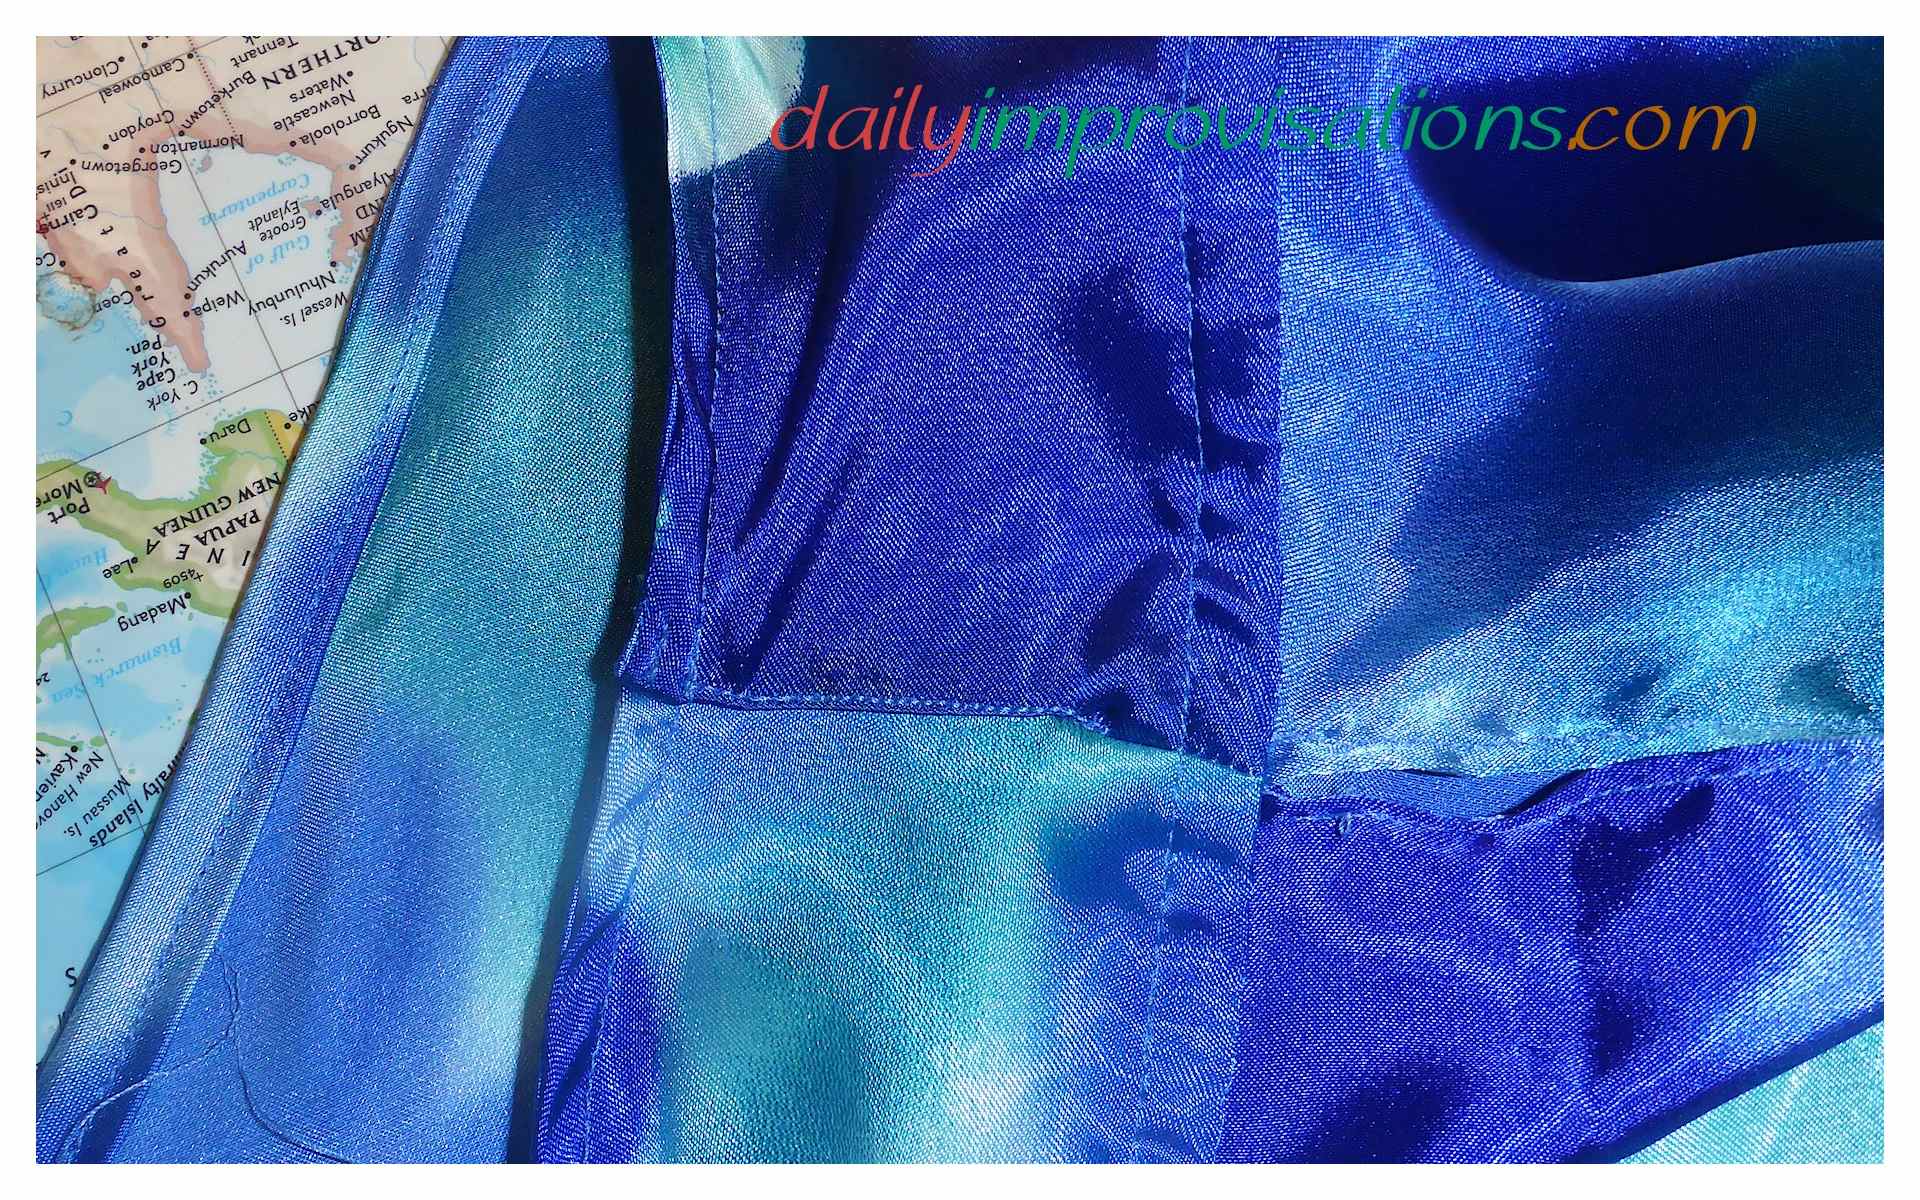
The only other trick to the zipper was dealing with the two layers of flounces. In retrospect (or if I ever use this pattern with a double flounce again), I should have worked out a way to attach the ends of the upper flounce to the under flounce in a way that kept them out of the way of the zipper opening. They could have been trimmed a bit, hemmed, and sewn onto the under flounce, and not had anything to do with the zipper. As it was, I just sewed the two flounces separately there, but not quite as far up on the under flounce. Then, I sort of laid them flat together when it came time to sew the zipper on, keeping the under flounce kind of out of the way. Nothing puckered or bulked and the zipper feels very stable. Score.

I had tried the main body of the blouse on my daughter as I went along, trying to verify fit, but after all the flounces were on and all the necklines faced, the rather extensive neckline was not laying right. The bias cut of the neckline had resorted to lengthening slightly somewhere in the process. One side was threatening to slip off of her shoulders while she played. This would not have been a crisis of modesty, as she was already planning on wearing a camisole due to the low neckline and energetic piano playing. It would be distracting and disappointing.
A couple of small darts were sewn in the back neckline, which helped take up some of the slack. What I really needed to do was pull up one side of the front, too, though. I decided to try folding a dart into the should and making it as invisible as I could. Amazingly, it worked.
The blouse fits just a touch loosely, which would not have been hard to fix by sewing a bit more of a curve in the right, un-zippered side. However, since she will also be singing selections from the opera Carmen at her recital, we agreed that the little bit of breathing room was most important. She will wear it with black leggings for the recital. Yes, she will be wearing the “trial” blouse. We will use the silk for something else. But not until I make a sample with other fabric. 🙂
Edit May 6, 2014: Recital a success – more later.