Sewing pins kept in their original plastic box containers is handy enough for storage, but after a few times of picking 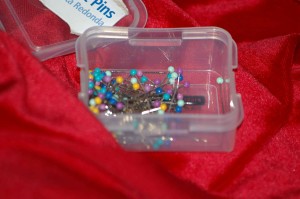 them out of there, my fingertips begin to feel as if they are undergoing some sort of electric shock treatment. There are many cute pin cushion ideas out there, yet one thing has held me back. Dust. I have one pin cushion that someone gave me and I have watched it collect dust. Well, not just sat there and watched minute by minute, but I can see the development of the dust layer every time I go into my sewing room. Fabric can’t be simply wiped down like wood furniture and I don’t fancy regular vacuuming of my pin cushion. Don’t call me OCD. I refuse to give in to labels that messy people make up for those of us who strive for order!
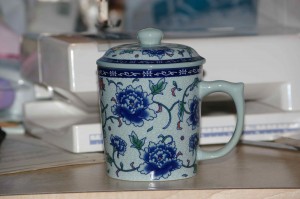
Last week, I began a serious scouting for what I might have in the house to solve my problem. I found this lovely covered tea mug that my husband had brought me from China. With his permission, I began it’s transformation.
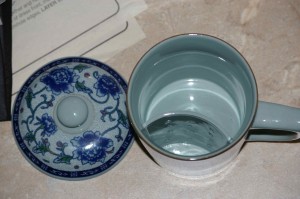 Since it is opaque, I didn’t have to be concerned about the finished look of the bottom. I just cut a wide circle of some washable red velvet, stuffed it with scraps of polar fleece and stuffed it as tightly as I could down into the mug. I think I will try using plain old polyester fill next time, since the polar fleece seems to have become too compact in a few places, making it harder to insert pins.
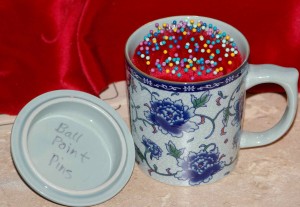
 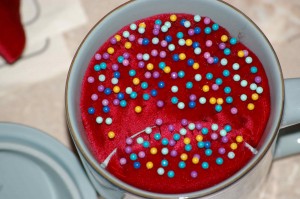 I didn’t want to use any harder substance like rice or sand that might damage the smoothness of the pins. I would also probably try to position the cushion just a bit lower in the mug, but not low enough that it was hard to reach in for the pins. I had fun filling the mug with a bunch of my pall point pins, then checked to see if the lid still fit. Success! It looks like an exotic drink with sprinkles on top. 🙂
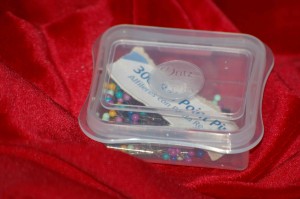
Since one of the goals is to be able to keep types of pins separate, I labeled the inside of the lid with permanent marker. I thought of taping the original label in there, but there are still some pins in the box, so I kept that label there.
 I will be on the look-out for another covered container,
  like a tin or glass dish. If it is glass, I will need to come up with a neater finish for the bottom of the pin cushion. I think just gathering it, then slip stitching a small circle of fabric will suffice. If the tin needs to be weighted for stability, I’ll put some dried beans in the bottom. I expect there are similar mugs sold at places like Cost Plus, but I’ve been trying to only use things I can find at home, not make special purchases for this project. I love it when practical solutions turn out beautiful.

Beautiful! Love the tea cup too esp the lid with the knob. How did you affix the velvet to the cup? or does it just stay stuffed by itself?
Cute!
That is a very cute and practical use of a very special mug, I like that it has a lid also and the pins sit a little below the lip of the mug, I’ve had fabric catch on the top of the pins in my cushion.
Jan, yes, I just stuffed the stuffed velvet in! A no-sew pin cushion!
I love this idea, I think I will try it! Thanks for the inspiration.
Very cute and practical. 🙂