My grow light stands have worked very well for years to provide light for my seedlings which were destined to grow to their full size in the outdoors. But this year, when I decided to try growing tomatoes to harvest in my greenhouse, I knew I would need something different. I presented the situation to my engineer, and now I have a hanging grow light system that will accommodate the tomatoes as they grow taller, in their larger pots. I even helped some with the manufacturing. This is how it was done:
He didn’t want as heavy of a pipe as what he had used to make my new laundry room rod. Also, the span in the greenhouse is longer. He decided to try using PVC pipe that would be supported to stay straight by the addition of metal conduit for a spine. The metal conduit was only available in 10 foot lengths, so he dented a smaller diameter conduit to form a connector piece for the two wider pieces that would go all the way across. The dent kept the little piece from sliding into the larger pieces ineffectively.
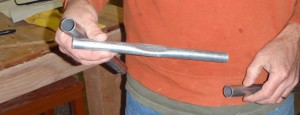
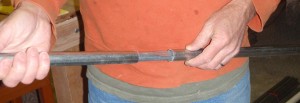
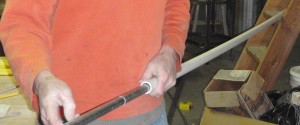
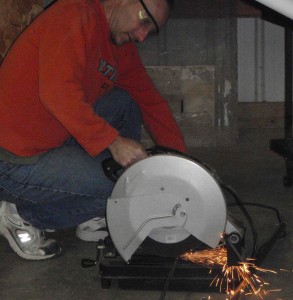
Now, it was time to cut and bend some more metal! My engineer had some flat steel strips that he had purchased at Pacific Steel & Recycling, left over from another project. A chop saw, something I discovered only a couple of weeks ago that exists and lives in the shop, was used to cut the steel into the desired lengths.
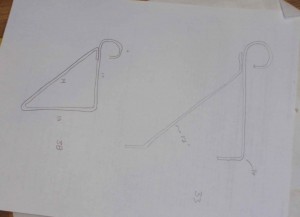
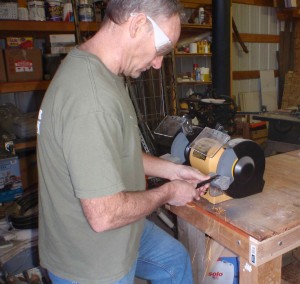
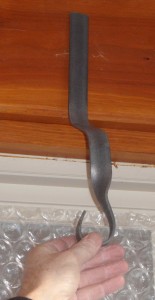
The metal was bent by using thick bolts in a heavy chunk of wood. By placing the metal strip between the two bolts, he would bend it a bit at a time, moving the strip along as needed. Within just a few seconds, he had formed smooth curves in the metal piece that would soon be and end support for the greenhouse light rod.
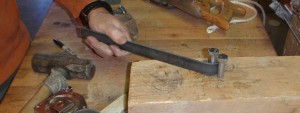
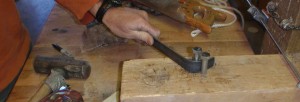
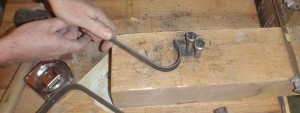
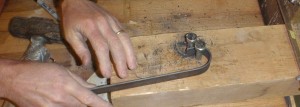

The above bending was for the vertical hanger that would attach to the wood of the greenhouse wall post framing. It would also need some bends in it so that it could be screwed flat to the wall, while still having the circular section facing properly for the rod end to fit in it. This was done by putting it in a vice, holding it with a wrench, and pulling to one side. For something that feels so stiff to the bare hands, it bends amazingly quickly this way.
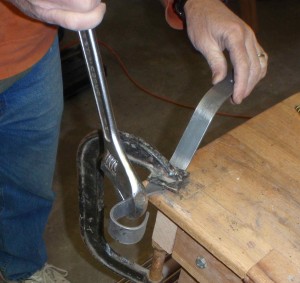
It would also need a couple of curves so that it fit around variations in the post framing of the window.
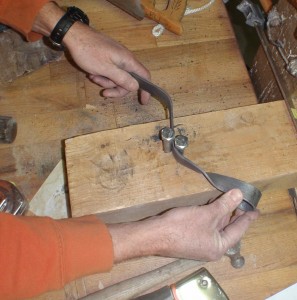
This is what it looked like when it was done:
The triangular supports that would hold the rod along the middle of the wall were made much the same way. They were a different shape, and they were welded where the end of the metal strip finished the triangular path. Then, everything was painted black with spray paint from Walmart. The Krylon Fusion can said the paint would bond on metal and PVC.
Once the paint was dry, it was time to mark screw holes and drill the first part of the holes so that the screws would go in more easily. Little details that would never occur to me and that I can’t seem to remember from project to project. It probably doesn’t help that I’m terrified of drills. However, I was not called upon to perform this step, so it was quickly accomplished and the engineer called in the crew to help put the hanging rod in place.
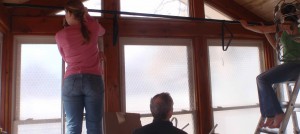
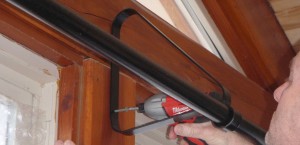
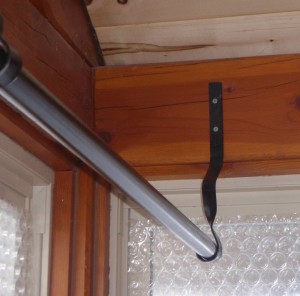
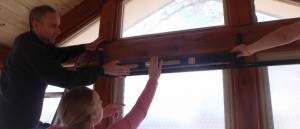
Now it is ready for phase two, which is actually getting the lights to hang from the rod. I was more involved in this part, as will be well documented. If you are wondering how my engineer can get two greenhouse lights to hang in a balanced way from a single round pole, look for part 2 of the story in a couple of days!

Wow, those curving hangars look great! They are artistic & useful at the same time.