In part one of this two part grow light project, I told how I learned to bend strips of steel and build a supportive spine for PVC pipe that would be used as a rod for hanging greenhouse grow lights. Hanging the lights from the pipe took less time, but was just as impressive.
- This phase began with a trip to D&B Supply for 9 feet of chain.
- We already had the two fixtures and the necessary light bulbs on hand.
- We would be able to use a scrap of 1/2 inch diameter pipe.
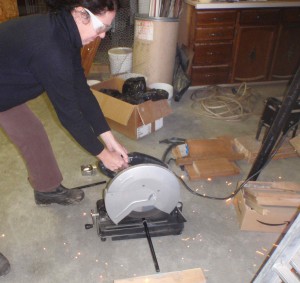
After verifying that I wanted to hang TWO long shop light fixtures from the bar, my engineer told me to get out the chop saw. He had already taught me to use it a couple of days ago, when we were cutting metal conduit for another project that I will write about later. He thinks it is diverting to watch me use the chop saw, so had the camera ready. With his well-scratched safety glasses on my face, I grimaced as the sparks flew. One hit me by my nose, but I am proud to say that I didn’t scream or kick the saw in panic. I successfully cut two 10 inch pieces of pipe.
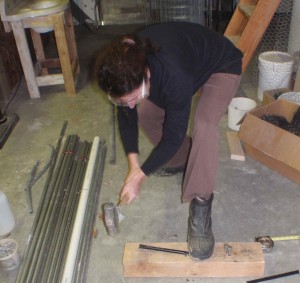
The next step was to flatten the ends of the pipe so that holes could be drilled in them. A heavy sledge hammer and a impact absorbent surface were required. The same chunk of wood used to bend the metal was good for this, as long as I kept my fingers and toes clear of the bolts sticking out of it, which I did. It takes me about 25 strokes to flatten about 2.5 inches into the end. My engineer does it in 5 whacks, even with a bum right arm. It is always humbling to be reminded that I am so much weaker than he is, and makes me appreciate his patience with me. 🙂
Since I will have my hands up against these pipes on a regular basis, when I have to adjust the height of the hanging lights, the grinder was used to file away sharp edges. He offered to let me do this, but the sparks would have flown closer to my hands and face than with the chop saw, so I declined this time around. Maybe when I become a hardened shopwife.
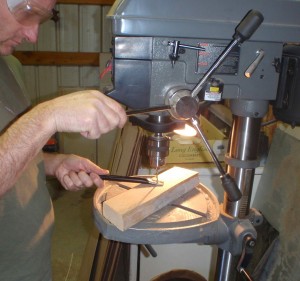
The drill press was employed to put two holes in each end of the two prepared pieces of pipe. The holes were diagonal to each other on a given end, meaning one was closer to the cut end and one was up closer to the still rounded section, but on the opposite side of the flattened section. This arrangement would make it easier to hook it from both above and below, while leaving it stronger. A regular drill works, but is not as fast or easy. My engineer completed this step without me.
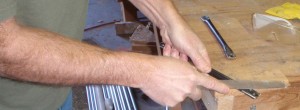
Next, he pulled out a simple, but huge file (at least it was much larger than a finger nail file!) in order to smooth out the metal around the newly drilled holes.

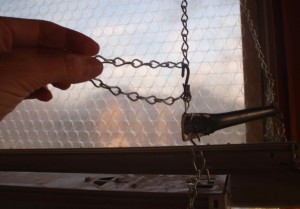
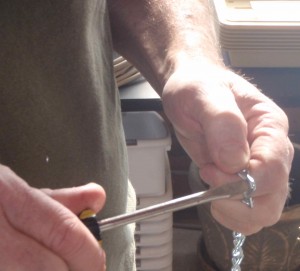
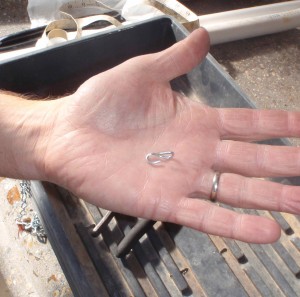
The final secret to his idea was in the multiple uses for chain. My engineer had gotten enough chain so that we could make hooks out of links and have enough to wrap around the rod to make it hold itself in place. I was able to use a screw driver to remove a few links of chain for:
- the hooks to attach to the lower rod
- the hooks to hold the chain together just below the rod
- the hooks that will be used to attach sections of chain along a section and shorten it (not shown)
A flat screwdriver end was adequate for all but the tightest links. I just had to stick the end of the screwdriver into the open part of the link, then twist until it opened enough. It took a pair of pliers to manipulate a couple of the links. The links were closed up again once they were inserted into the lower rod, so that they wouldn’t constantly slip out when I adjust the chain length.
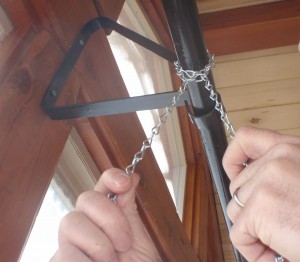
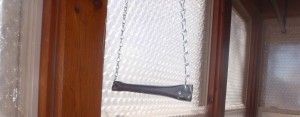
I watched as he wrapped the chain twice around the upper PVC pipe system, making sure that the lower ends of the chain hung evenly. The chain on both sides was hooked together just under the PVC pipe, to help keep it from slipping. Then, the shop lights were put in place one at a time. The shop lights that we have came with hooks that fit into the top of them, and about a foot of chain for hanging. These chains were hooked up to the specially made rod. The lower rod stayed horizontal and the chain stayed in place even while only one light was attached, attesting to the engineering of the project.
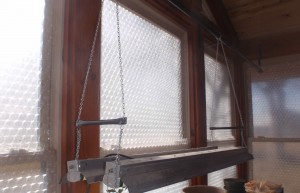
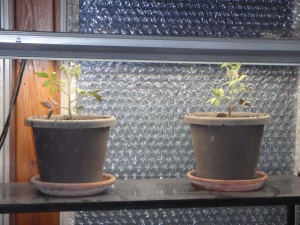
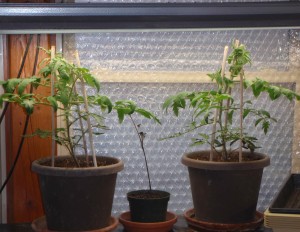
Now my rapidly growing greenhouse tomatoes have some much needed head space. Soon it will be time to remove the bubble wrap from the windows, so they will benefit from some sunlight, but most of their light will be from these lights. They don’t have any blossoms yet, but they look very healthy. It seems that fresh tomatoes in May may be a possibility!
