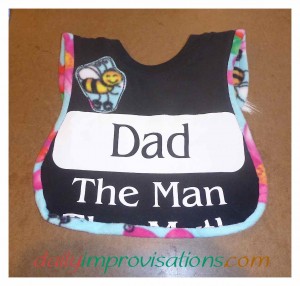
This is the third DIY baby bib using this basic pattern and idea. This time, I also kept the t-shirt neck ribbing attached to some of the t-shirt fabric, like for the first reversible bib. However, the goal with this baby bib was to preserve the fun saying on the front of the t-shirt and use the polar fleece as lining. (click on any photo to enlarge)
My thoughts on polar fleece as a lining are that it repels moisture, so serves the same function as the PUL lining on the first bib. It also does not require much attention to finishing edges, as it does not unravel. Although not a knit, exactly, it does have a fair amount of stretch that can be worked with, too.
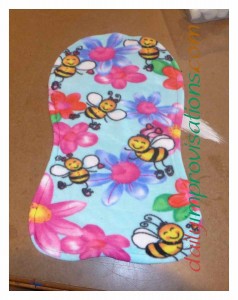
Even though I liked the saying on the black men’s t-shirt, the black by itself seemed too stark for the baby bib. This was another advantage of the polar fleece. I have plenty of colorful scraps.
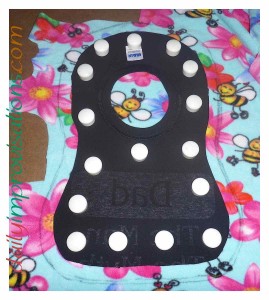
I decided to try cutting the lining slightly larger around than the bib pattern, actually using the piece I had cut out of the t-shirt already as my guide. (Read about bib model #2 here to learn how I problem solved cutting out the not so flat t-shirt portion) I estimated a 1/4 inch seam allowance and wanted the polar fleece to turn over about 1/2 inch to the front. The concept was fine, but next time I would cut this extra somewhat narrower, say 5/8 inch, instead of the nearly one inch that I did. It worked, but it was more challenging than I would have liked to stretch the t-shirt fabric to sew to it. The larger polar fleece self-binding also wanted to curl and pucker, which I think could be avoided if it is narrower.
This approach would not have worked it the smaller shape had not been cut out of stretchy fabric (like a t-shirt knit). I don’t think the lining has to be stretchy for it to work, but it may have helped to work out the kinks of this one that was cut so wide.
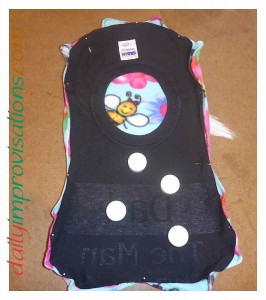
Once the lining was cut, I placed the two pieces, lining and main bib fabric (t-shirt fabric in this case), right sides together. I started pinning them at four extreme points first: the back edge, the lower front edge, and both shoulder edges. Then, I chose mid points of curves to pull up to meet and pin. And now it was more straightforward to pin the rest. Again, I stretched the t-shirt fabric some to see how it would fit, but the real test would be sewing.
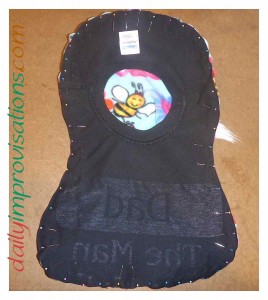
A narrow zigzag stitch was again my stitch of choice for sewing the two pieces together. I began at the back edge and patiently worked my way around, pulling on the t-shirt fabric as needed to make it fit. My pinning was very close in order to hold everything together, so I often pulled a pin partially out as I was getting close to it, so that I could reach the head of the pin to remove it more easily when it was almost under the needle. This kept everything in place quite well.
Since there was already the neck hole to the t-shirt portion, there was no need to leave an opening for turning, such as is done for many lining projects. I just reached in the neck and pulled the polar fleece lining through. I finger pressed the seam some. Polar fleece does not lay that flat, due to its pile and the slight stretch it has, so I flattened the two layers, t-shirt fabric and polar fleece lining, from the center, pinning some as I went. This allowed me to adjust the fold-over, self-binding.
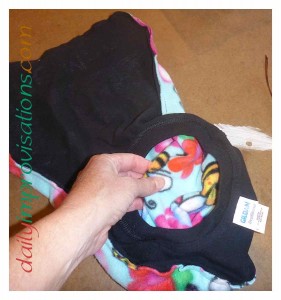
It was going to be necessary to topstitch to get this self-binding to stay in place. With the two layers pinned in place, I also pinned right up against the seam on the front side. I used a narrow zigzag stitch to topstitch just inside the black fabric, right alongside the seam line.
Now it was time to work on the neckline. I smoothed the fabric flat again, specifically around the neck opening. In order to keep the neck opening from shifting, I pinned just beyond the seam holding the ribbing to the main t-shirt fabric. While one hand pushed over one section of the neck ribbing, I used a relatively fine point marker to trace around the neck hole opening just a little to the ribbing side of the t-shirt neck seam. After I had unpinned things, I was careful about pulling the polar fleece out of the way of the t-shirt fabric and neck ribbing to cut out the circle I had traced.
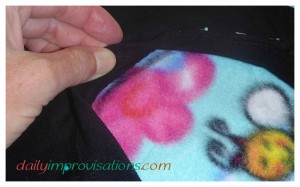
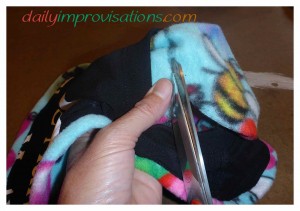
My original idea had been to simply flat fell sew the polar fleece to the neckline. This would have worked, but I could see that if I folded the polar fleece neck edge under just 1/8, it would still fit quite well around the ribbing, look neater, and make the bib semi-reversible. I say semi-reversible because the polar fleece will not absorb any spills, there is no pocket to help with this, and the applique’ that I would do last on the t-shirt side would make it less than perfect. If I had figured out the applique’ earlier in the project, I could have sewn it on before attaching the two pieces and the stitching would not show on the polar fleece side. By the way, I stitched the neck edge of the polar fleece right along the folded edge with a narrow zigzag stitch.
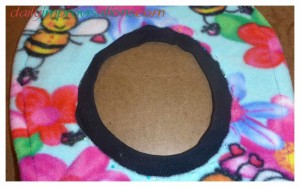
Speaking of pockets, I did not put a pocket on the front of this bib because it would have obscured the fun writing that I was trying to highlight. Hopefully, the t-shirt fabric around the neck will be absorbent enough that this is not a big problem.
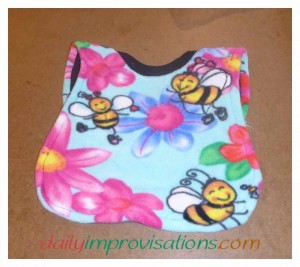
I had chosen the polar fleece scrap that I did because of its bright colors, and because it had some black outlining in the design that I thought would compliment the black t-shirt. When I was done, I didn’t think enough of this black outlining was showing to visually pull the two color schemes together. To help do this more, I cut out around one of the black-outlined bees to use as an applique’ on the black front of the bib. It makes a cheery addition without detracting from the words on the bib. (see top photo)
The polar fleece lining should be cuddly soft for the baby, and not any warmer than having a PUL lining inhibiting airflow at that location. I definitely learned some things making this model of bib and it has even given me some ideas for how to line some clothing for cold weather using polar fleece scraps. But for now, summer is just starting, and I am ready to try the next variation!
