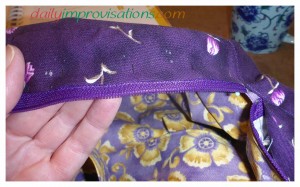
A good bag for a toddler
This is called “The Day Out Bag” in the book Fabric-by-Fabric One-Yard Wonders: 101 Sewing Projects Using Cottons, Knits, Voiles, Corduroy, Fleece, Flannel, Home Dec, Oilcloth, Wool, and Beyond, but from the moment I saw it I thought “duffle bag.” I had it picked out before I saw that it was designed by the same person whose book I have used as a guide for several other bags I have sewn.
It is, however, the first thing I have made using the One-Yard Wonders book and I think the instructions would be challenging for a beginner. I’m sure it is partly a matter of the limits of costs of the printed page, but since I had to read and re-read to understand, and since I altered the approach some, I thought I might as well write some helpful hints about how to sew this cute mini duffle bag. Please, note that my hints are supplementary to those in the book, and not complete in and of themselves. (click on any photo to enlarge)
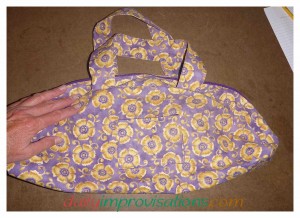
12 Helpful Hints can make a big difference
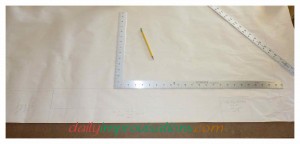
1. I used some old craft paper to draw out the pattern pieces for the rectangular pieces. The only pattern piece in the book is the semi-circular main body of the bag. The other pieces are not hard to draw, especially if you have a square cornered ruler, and I thought it likely I would make more of them. It is also easier to mark on some paper, than on draw rectangles on most fabric. I might also add that after having made this, I feel well prepared to make a duffle bag of any size I choose!
2. I decided to use a different fabric for lining the duffle bag. This has two particular advantages. One, you can use even smaller scraps of fabric. Two, you don’t have as much thickness to sew through if you use a regular, shirt weight woven cotton, like I did.
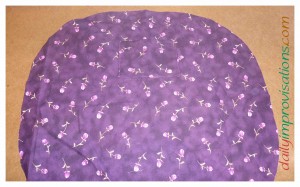
3. For a beginner, I think it might be helpful to make a pattern piece that is the whole almost circle of the duffle bag. It makes it a little more straightforward to lay out for cutting. It also makes it easier to visualize where the pocket is going to be placed on the side of the duffle bag.

4. When positioning the zipper on the zipper panels (the strips of fabric that are sewn to both sides of the zipper), keep in mind that the seams that will be enclosing the ends of the zipper panels and zipper itself will only be 1/2 inch. Anything beyond that distance will show in the finished product.
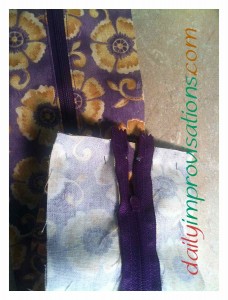
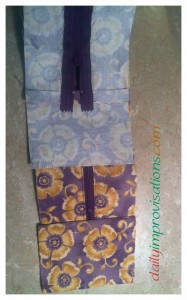
5. To sew around the zipper pull tab, unzip it a couple of inches out of the way when starting at the top. Then, when you need to proceed sewing dow the zipper tape, keep the sewing machine needle in place, life the presser foot, pull the tab to close the zipper, then put the presser foot down and continue to sew. This makes it much easier to sew a neat, straight line along the zipper tape.
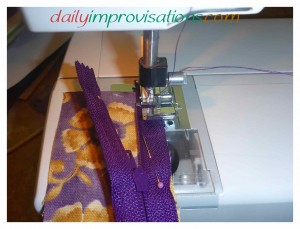
6. When it is time to sew on the second zipper panel, make sure the ends of the zipper panels are even with each other.
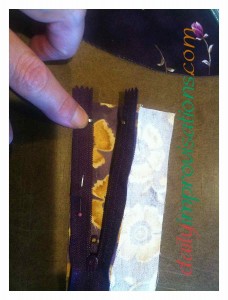
7. For topstitching the zipper to the zipper panel fabric, use the same method of moving the zipper pull out of the way to avoid funny lumps in your sewing. The instructions in the book say to topstitch 1/4 inch from the edge of the fabric near the zipper teeth. This is an unusual distance for a single line of topstitching and does not look quite as neat, in my opinion. I altered it to about 1/8 inch from the edge.
8. Pinning the curves of the top of the duffle bag to the zipper panel fabric is probably the most trying part of this project. The instructions say to “notch the zipper panel seam allowances to ease (it to fit) the curves. The usual stay-stitching is not suggested. I now suggest it to you. Stay stitching along the seam line (re: 1/2 inch from the edge) before you do any clipping or notching will make it less likely that your notch or clip too far, as well as prevent clips from tearing into the main body of the fabric. I tried originally clipping a scant 1/4 inch, to avoid problems, but found this to not be enough to make the straight edge fit the curved one.
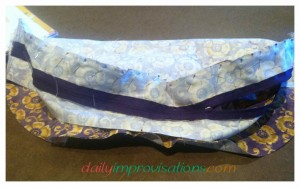

9. As there was no continuous seam all the way around the corners of this inserted panel, I decided to turn the bag over so that I could sew on the other side of the seam, seeing the corners and working my way around them to reinforce them. This was done without much trouble by keeping the needle in the fabric when I reached a corner, lifting the presser foot, rearranging the fabric so that the fabric would not be caught in the stitching, and continuing down the next straight section.
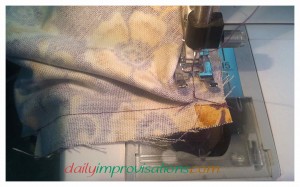
10. There are also no references to pressing (ironing flat) the seams. I get the impression that the top stitching is assumed to take care of that, but there is no mention of topstitching the outer seam (the one on the curve). It will look much nicer if it is pressed. To do that, I recommend this useful tool, called a Clothing Care Seam Roll. It has made pressing during a sewing project much easier many a time. Then, I went ahead and topstitched it, but only to the end of the zipper panels. I didn’t bother trying to work into the narrow corners of the little “side” panels, which I tended to think of more as “end” panels.

11. The instructions in the book say to “hand tack” the lining to the main bag. This seemed like it would be unnecessarily hard to do. Instead, I pinned the most outer edges of the “side” panels of the lining and the main bag together. Then, I machine stitched them together about 3/16th of an inch inside the seam allowance AND ending the stitching about 1/4 inch away from the corners. Back stitching is recommended so that the stitching will not pull apart over time.
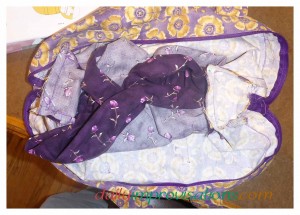
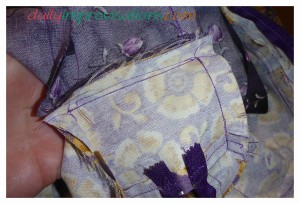
12. I also passed on hand stitching the lining zipper panels to the main fabric zipper panels. I find hand stitching relaxing in the right circumstance, but pushing a needle by hand over and over through a thick zipper tape is not one of them. What I chose to do was:
- Turn the bag completely lining side out in order to pin the lining to the zipper tape. I used the top stitching along the main fabric along the zipper as my guide to align the folded edge of the lining zipper panel.
- However, I pinned the layers together with the pins on the main fabric side of the bag, since this is were I would be sewing.
-
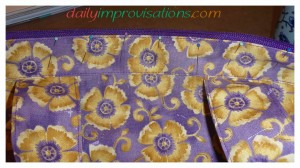
What the pinning looks like from main fabric side, the side I will be working on as I sew. Now, I turned the bag right side out and sewed another line of”topstitching” line about 1/8 inch in from the original topstitching. Along the way, I checked to make sure I had pinned the lining so that it was being caught in this new stitching. Again, back stitching at the ends is almost always recommended.
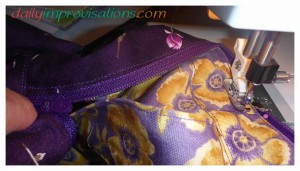
Checking my lining as I go along. Notice that the straps are being kept out of the way.
What would you put in your duffle bag?
And there you have it. One mini duffle bag for my one year old granddaughter. It’s still a little big for her, but her mom says they will find uses for it until said granddaughter is big enough to come up with her own ideas. It is just about the right size to carry around a baby doll when she goes to visit her Lulu…

