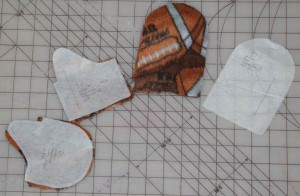
 Dear Grandbaby, I am so full of ideas for you. The new life that God has created in you is such a gift and my heart is bursting with love waiting to
 smother hug you. We don’t know if you are a boy or girl yet, so I’m just practicing lots of things. One recent project is these little mittens which are sized to last until you are about 2 years old. (I’ll make some out of “girl fabrics”, too) I got the pattern from the book: Oliver + S Little Things to Sew: 20 Classic Accessories and Toys for Children. I already made a very soft polar fleece bib using one of the book’s patterns.
The directions in the book are good, but I’m adding a few things I did to help me, just in case you want to make them for a doll or a teddy bear someday. 🙂 First, one of the keys to making mittens is to pin the pieces for both mittens at the very start to make sure that both a right and left are being made. Once the sewing begins, it is difficult for me to visualize which one I am working on! Next, I have noticed the seams are less bulky if the 3/8 inch allowances are zig-zagged.
 You will probably find it easier to use pins with balls on the ends. I use some extra long ones that were sold for use with quilts. Otherwise, the pins tend to get lost in the soft pile of the fleece. With the ball ends, time isn’t lost trying to grab hold of them. However, you will want to spend some time finger pressing the seams open after sewing them, before you go on to the next step. That will help everything to lay better and sew together more smoothly.

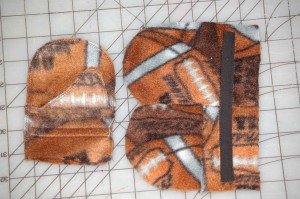
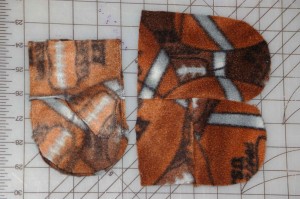 In the left hand picture below, you can see the process of the thumb seam. Then, on the right one stair-stepped below, notice that only one side of the mitten is sewn. It is much simpler to put the wrist elastic casing on before making the tiny circle of the cuff.
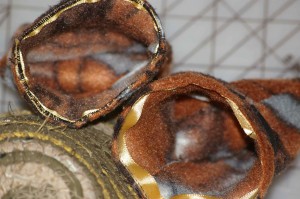
For the casing, I have used both store bought single fold bias tape or made my own. I bought my first bias tape makers for this project. The size for the various bias tape makers seems to refer to the finished width of the tape. Such a small amount of casing is needed for your little wrists, that it is a good way to use up odds and ends of cotton fabrics.
The directions said to draw a line before pinning the casing in place, but as much fun as it 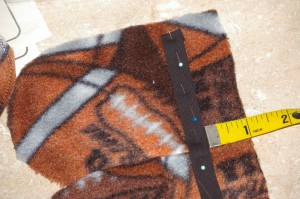 is to write on fabric, I had trouble getting something to show up on the polar fleece. I decided to just use the measuring tape as I went along. For the first pair of mittens, I tried just sewing the elastic in when I sewed the other side seam, but it made a lump that I thought would be bothersome for your tender skin. I also noticed that keeping the elastic totally on the outside makes it much more adjustable.
 It wasn’t too difficult to sew the other side seam while keeping the casing open. Then, elastic was inserted using the time honored tradition of safety pins. Probably the hardest part of the whole project was getting the ends of elastic together and under the needle of the machine to sew. I’m wondering about doing that part by hand next time, especially if the elastic needs to be tightened up to get the mittens to stay on. I don’t want them too snugly around your wrists, but a lost mitten is always sad.
Lastly, a pseudo satin stitch was recommended for edging the cuff. The polar fleece tended to bunch and stretch when the zig-zag stitch was done that close to the edge, so on one pair I used some narrow satin ribbon to stabilize it. This should be very soft for you.
Once again, Mr. Bear has agreed to model for me, even though 6 month to 24 month size mittens give away his diminutive size, looking more like boxing gloves on his graceful figure. He chose the plaid pair, as it contrasted better with his fur coat. Sadly, he does not have thumbs.
Looking forward to nibbling on your fingers when I help you put your mittens on.
Love, (Grandma) Lulu
