I estimate it took me 6 hours to complete the child’s play cape. That includes creating durable, reusable pattern pieces for the project, because I have five more little granddaughters that will get one of these for their birthdays this year!
Although there are directions in the book, I discovered some things along the way that I think will be very helpful to be aware of when you make one. So, below I will cover:
- Where this pattern comes from
- Tips for transferring the pattern
- How to choose your fabric
- Sewing tips

Where this pattern comes from
This cute children’s cape is from the book: Growing Up Sew Liberated. There are patterns included in the book on large pieces of sturdy paper.
The sizing is for young children, with two options, small or large. Size small is suggested for ages 3-5. Size large is for ages 6-8. I chose size large because this granddaughter is a growing 5 year old. In the case of capes, I judge a bit too big to be best.
Tips for transferring the pattern
The the large sheets of paper with the pattern outlines are in an envelope in the back of the book. However, the patterns are all overlapped on those sheets. Printing them all as separate pieces would both increase the cost of the book and make it much more bulky.
You can trace the patterns on semi-transparent pattern tracing paper. It should be available at any fabric store or it is here on Amazon: pattern tracing paper.
However, this is what I used: medium manila pattern paper. I happened to have some already from another sewing project. The challenge with this is that it is not transparent. If you are cutting out a tissue pattern piece and it doesn’t affect other patterns, that is no problem. You can just trace around the edges.
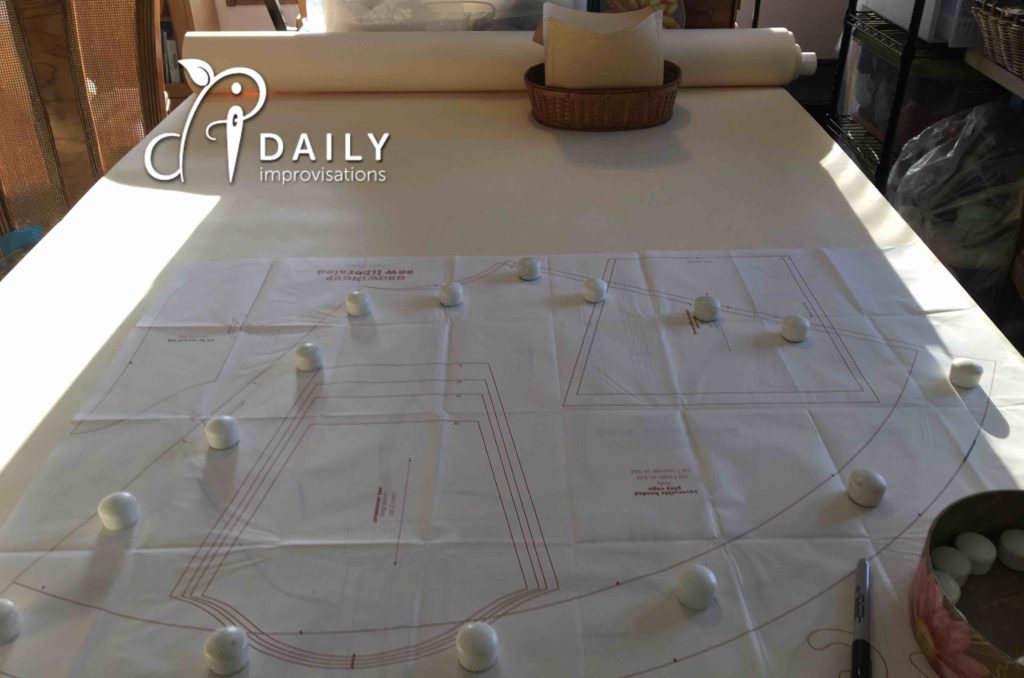
Although it would have been possible to cut out the pattern pieces, then maybe tape them back together for other patterns, I didn’t want to do that. So, I decided to experiment with Sharpie marker outlines.
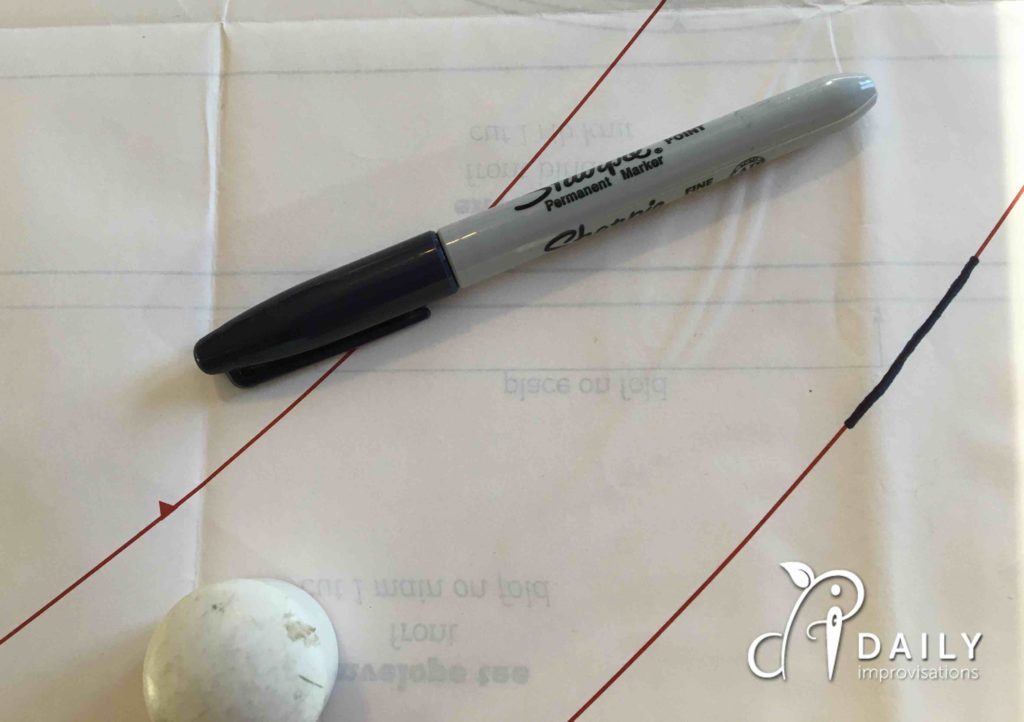
First, I ironed the original paper pattern sheets on low heat. This didn’t take out all of the wrinkles, but it did help it lay much more flat. Then, I unrolled the manila paper and blocked it with a couple of things to keep it from spontaneously rolling up on me.
Next, I placed the original pattern on top of the manila paper and secured it with pattern weights. Some rocks or cans or other small heavy objects should work, too.
I tested a short segment by slowly tracing the original pattern outline. After looking to see if that was showing through to the manila paper adequately, I traced the rest of the large size for the two original cap pattern pieces.
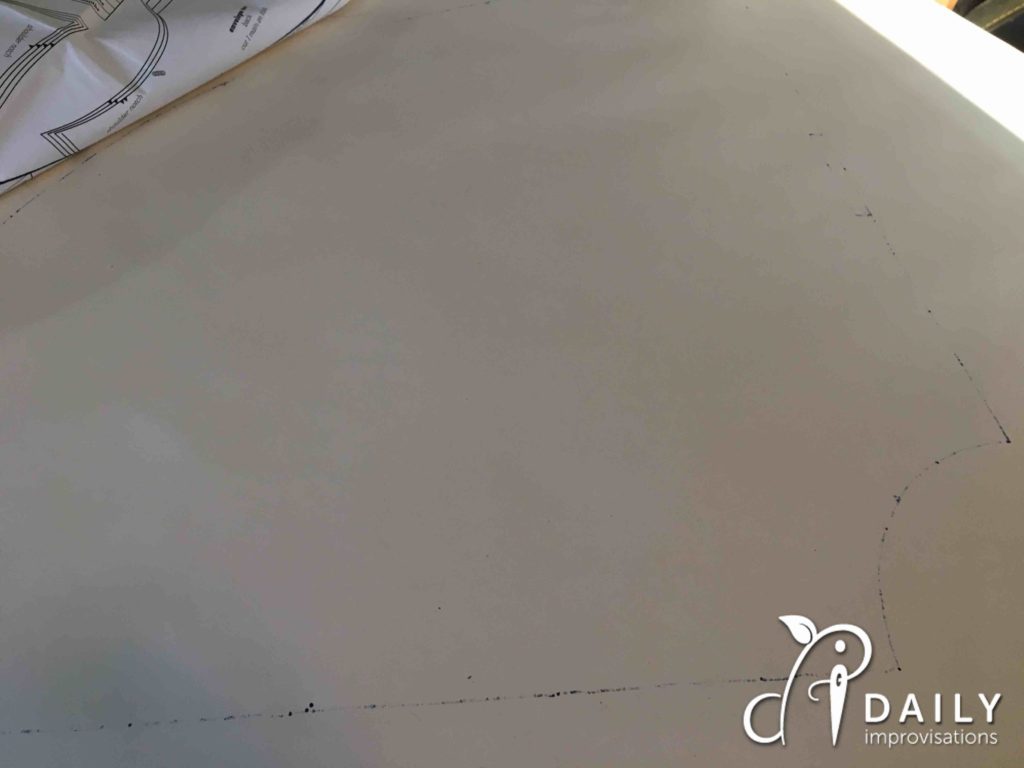
Moving the Sharpie marker slowly made a big difference. Moving it quickly didn’t let it bleed through enough to be seen. I did use a thick marker, as that was all I had. Since the sizing in this case is not precise, it didn’t matter as much. Still, since the marker line was thicker than the original pattern line, I did try to stay consistent with where I traced in comparison to the original pattern line.
For the hood pattern pieces, I used a ruler to guide the Sharpie tracing. The ruler had to be placed a fraction of an inch away from the line I was tracing to get it to work right. Also, I found that with the straight edge I tended to trace faster and had to go back and do it slower for the bleed-through.
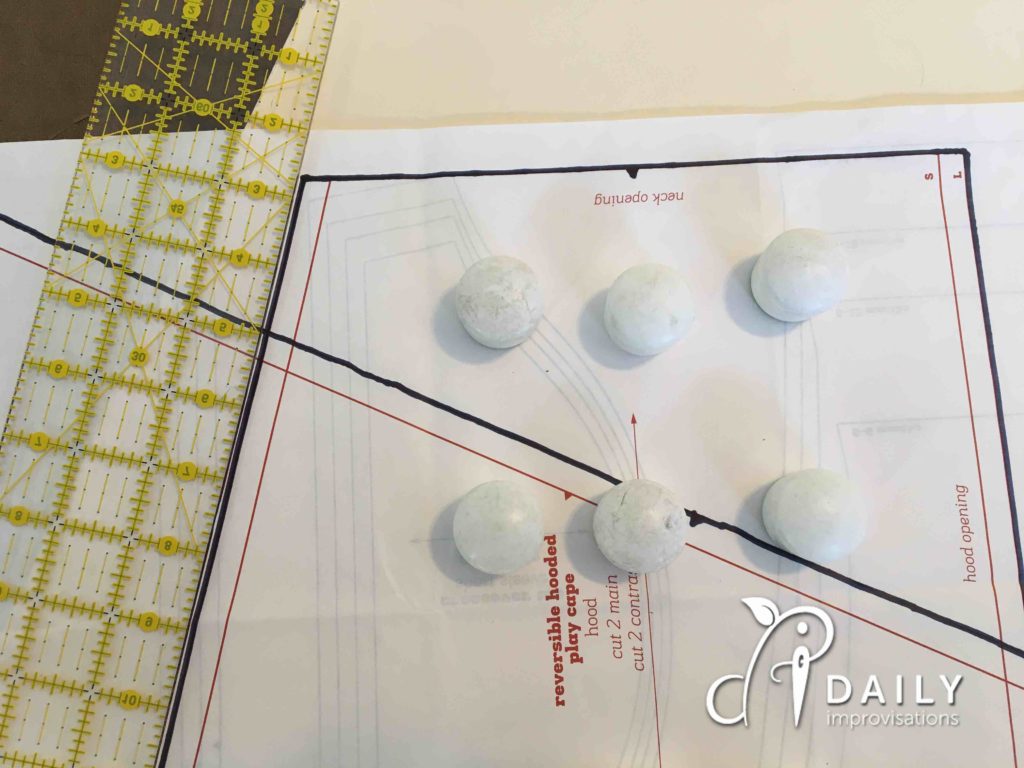
You can see in the photo above how the original pattern for the main body of the cape is overlapped with the original pattern for the hood piece. The black Sharpie line down the middle of the hood was from tracing the pattern for main body of the cape. It was NOT traced on the hood pattern piece.
You do NOT want to use your nice fabric scissors to cut out the manila paper. I used my Cutco scissors.
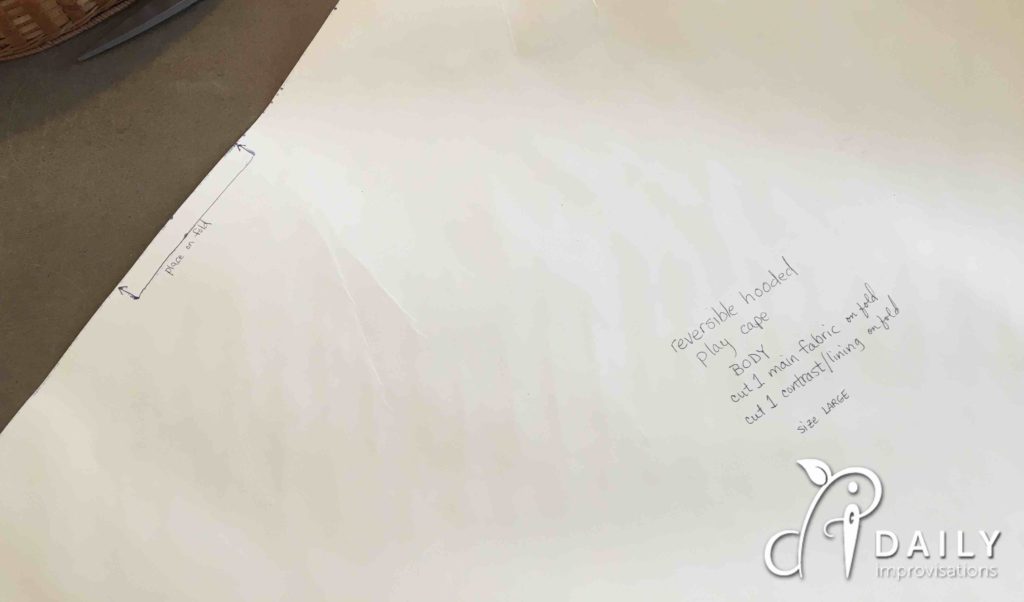
Although I had traced the notches and grain line or fold placement arrows through the original pattern, I darkened those shapes on the manila paper pattern. I also labeled each piece with pertinent information such as size and piece identification.
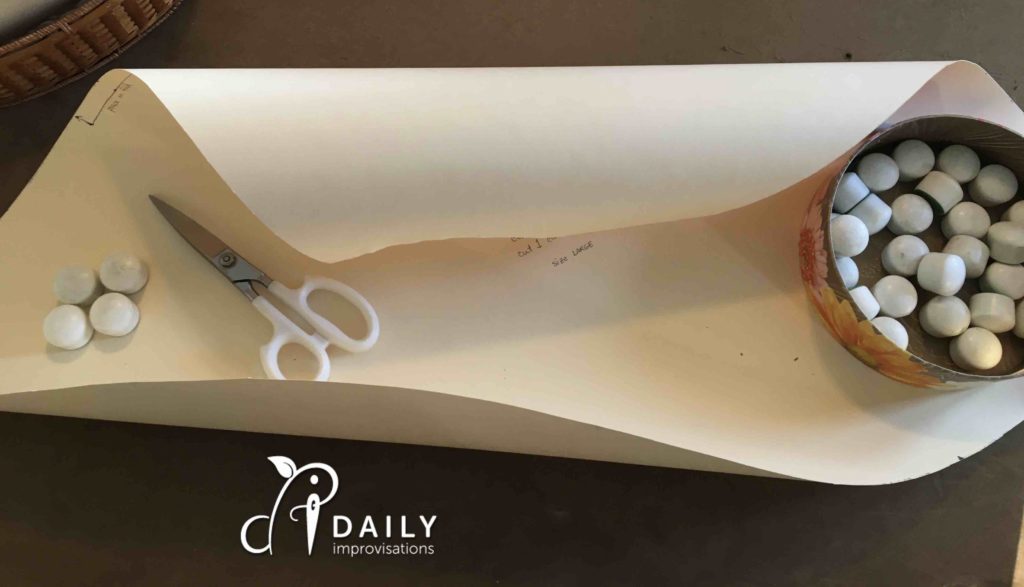
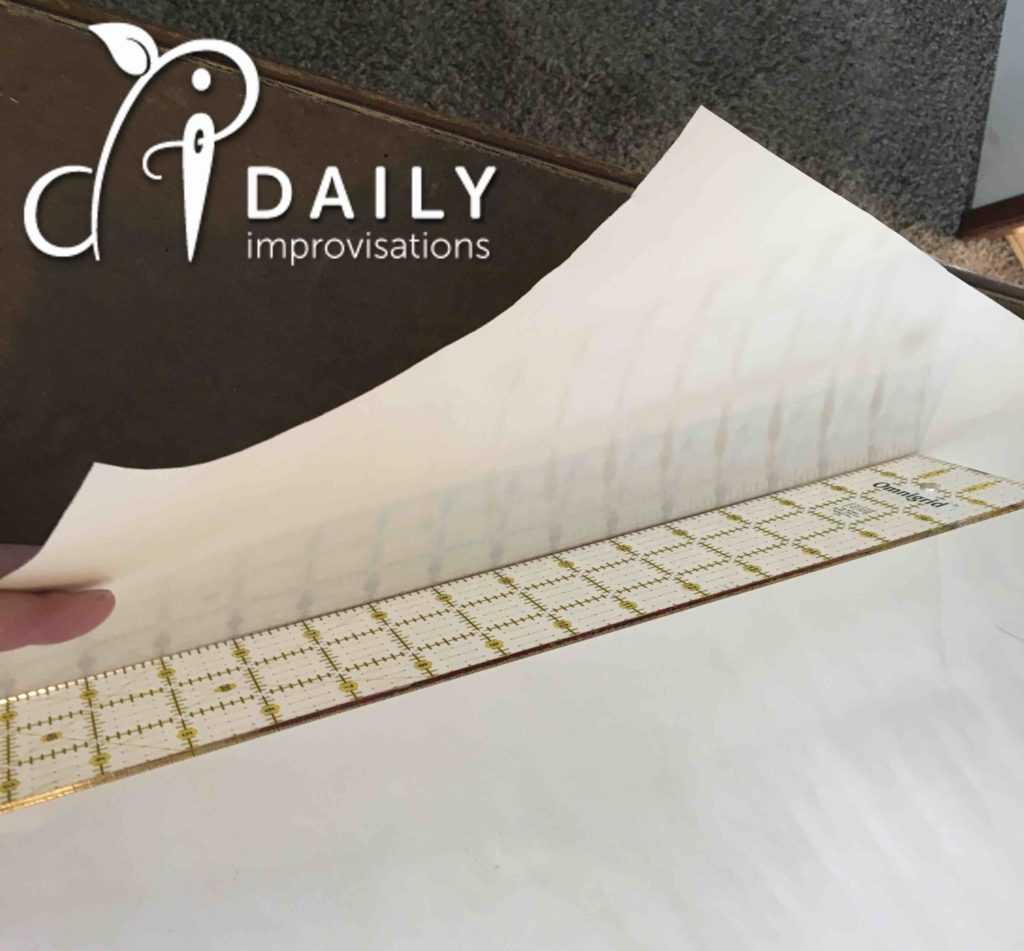
The next challenge was that the manila paper pattern pieces still wanted to roll up. I used the edge of the ruler to “counter roll” them, much like is done to curl ribbon when wrapping a gift. I tested this in stages, gradually increasing how much pressure I applied the counter pressure, so I wouldn’t end up with it rolling too much in the opposite direction!
How to choose your fabric
The book shows the cape made out of a silky fabric. It drapes prettily. However, if you don’t have much sewing experience, I recommend you try making this out of more firm woven fabrics. This might be anything from light weight cottons to medium weight denims.
On the other hand, if you have a fair amount of sewing experience and want a project for learning to deal with the challenges of sewing with slippery silky fabrics, this is a low risk way to do that.
The dark blue fabric I chose was from remnants of a fancy blouse I had made a teenage daughter. It was the trickiest to work with. The lighter, more flowery print is a slightly stretchy knit. So that combination presented some unique challenges.
If you want your silky fabric to have the right shape, you need to pay careful attention to how it is laying on the cutting surface. I find it helpful to align the edges of the silky fabric with the edges of the cutting surface. I also secure the edges of the silky fabric in quite a few places with weights to keep it from shifting as I place the pattern piece.
Even doing all of this, I ended up with the main body pieces from each fabric not matching completely, but more on how I handled that below.
Sewing tips
These are in addition to the directions in the book. You will need to read the book for the complete directions.
The sewing directions in the book are clear on the basic construction. Still, being a book, they never print as many photos as would be really helpful. Here are some extra insights and some problem solving that was important.
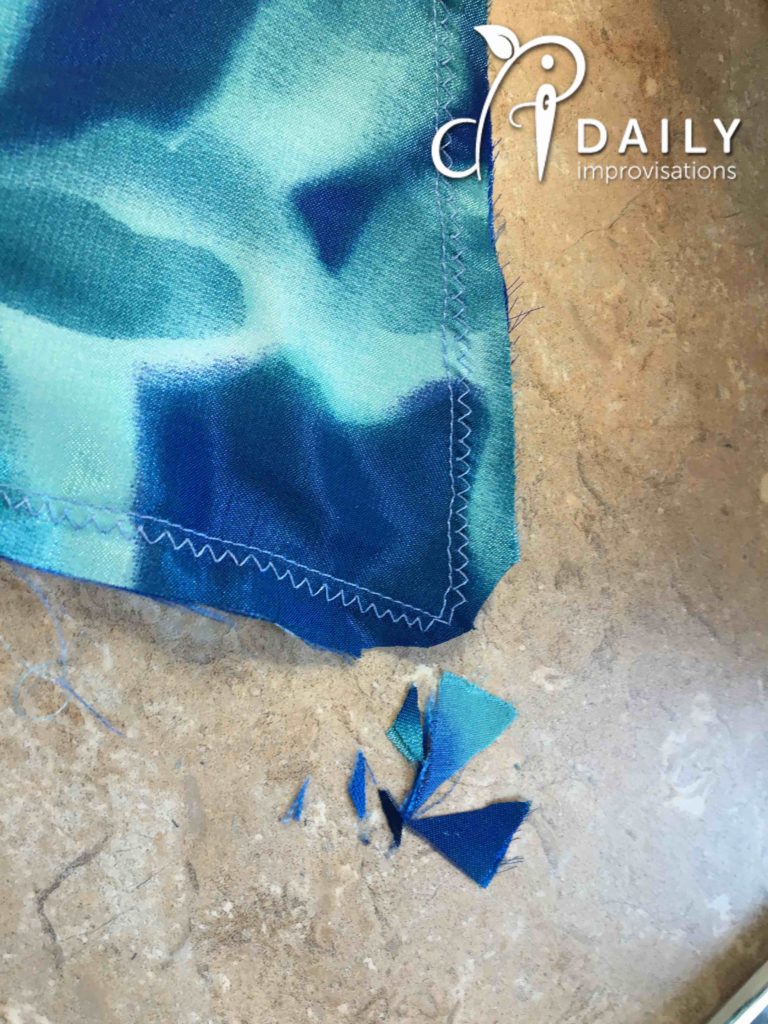
Reinforce the seams! I always reinforce seams, especially on items for children. I used a narrow zig-zag stitch right next to the main straight stitch of each seam. To keep points turning as crisply as possible, I worked the zig-zag around the corner so that it ended up flat there. Hopefully you can see that in the photo of the point of the hood below. Here I have already trimmed the tip of the corner off, and then a little bit more down the seam line of both sides.
Ease stitch the main body neck edge before pinning the hood and main body pieces together. Sew a medium length basting stitch about 1/8 inch inside the seam allowance. Don’t go all the way to the sides of the neck. Keeping the ease stitching away from the side edges makes adjusting it easier and keeps you from accidentally puckering the ends.
Pull one of the strands of ease stitch thread to slightly tighten the ease stitching until the hood and neck edge fit. If there is a bit of gathering, that does not matter, but that is not the goal either. The goal is to make the edges of the hood and cape line up so that both sides of the reversible cape will go together neatly.
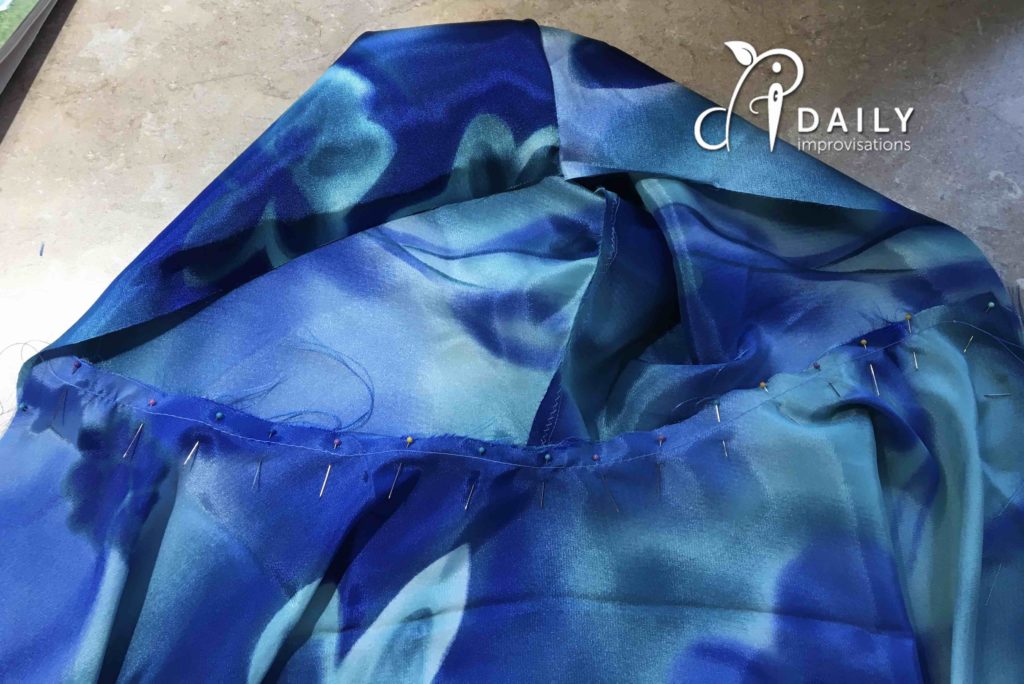
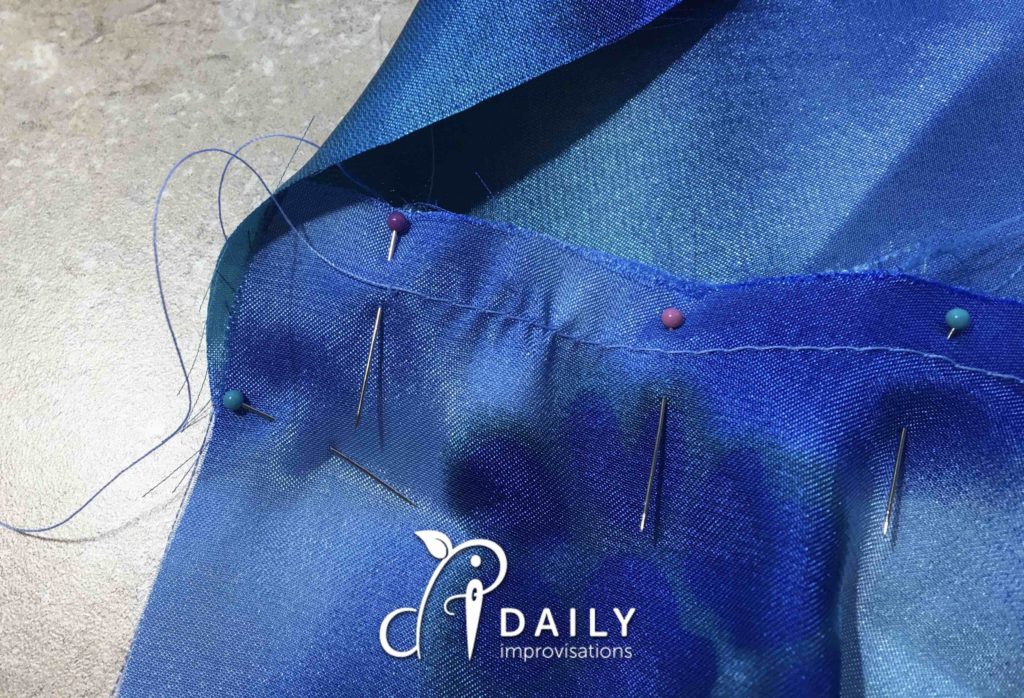
Edge stitch the neck seam. I pressed the neck seam first. I ended up only being able to press the dark blue seam toward the hood. The knit fabric seam was pressed down toward the cape. I like this because it distributed the bulk of the seams more evenly.
After pressing, I made a edge stitch about 1/8 inch from the seam, on the side with the seam allowance. This both adds extra strength to the cape and makes it look more finished.
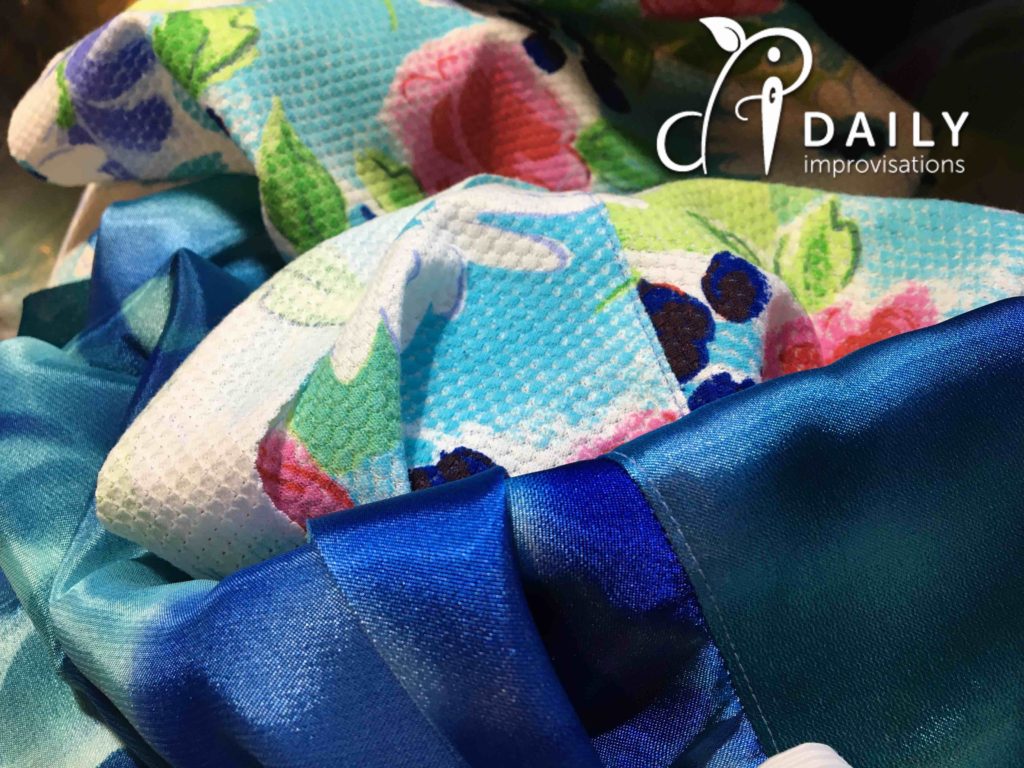
Lay the two sides of the cape as flat as possible for pinning them together. Even with woven fabric, you will get some stretch in the fabric because of the curves.
I recommend pinning from the point of the hoods down to the neckline on both side first. Go ahead and sew those sections. Below you can see the seam allowances of the neck seams both going opposite directions, as I mentioned.
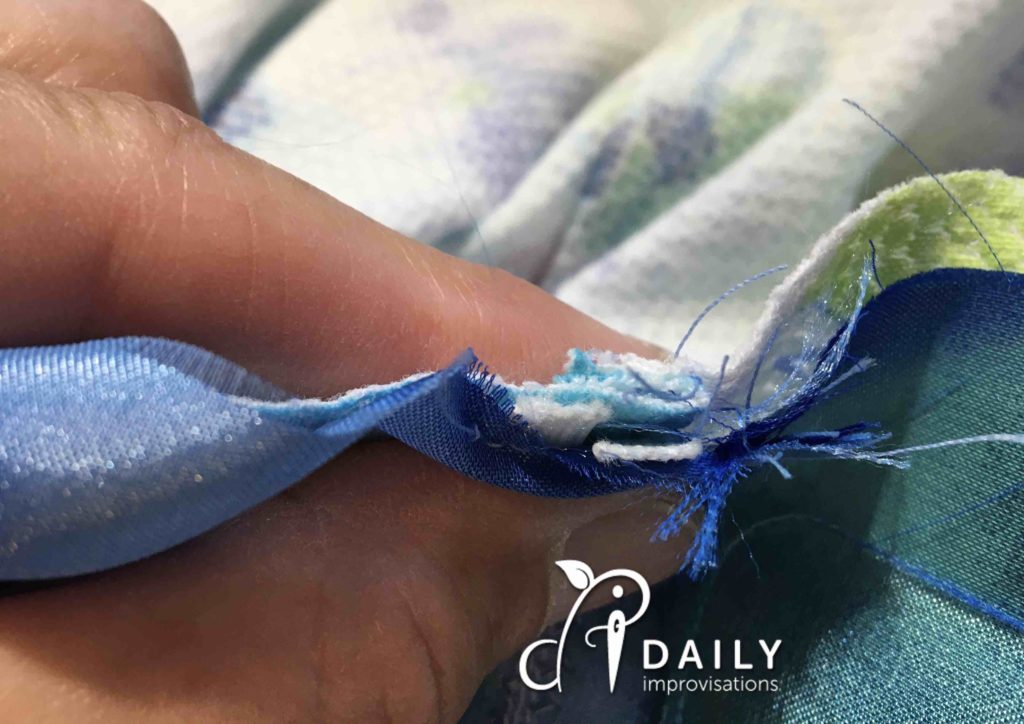
Then, lay the whole cape (right sides together, per instructions) on the flat surface. Match the neckline seams and do something to hold them in place.
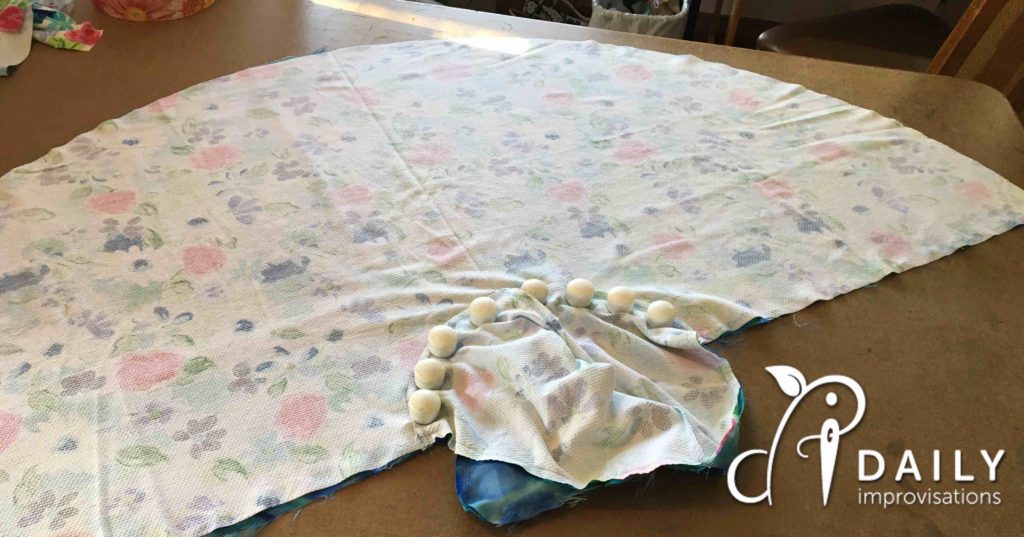
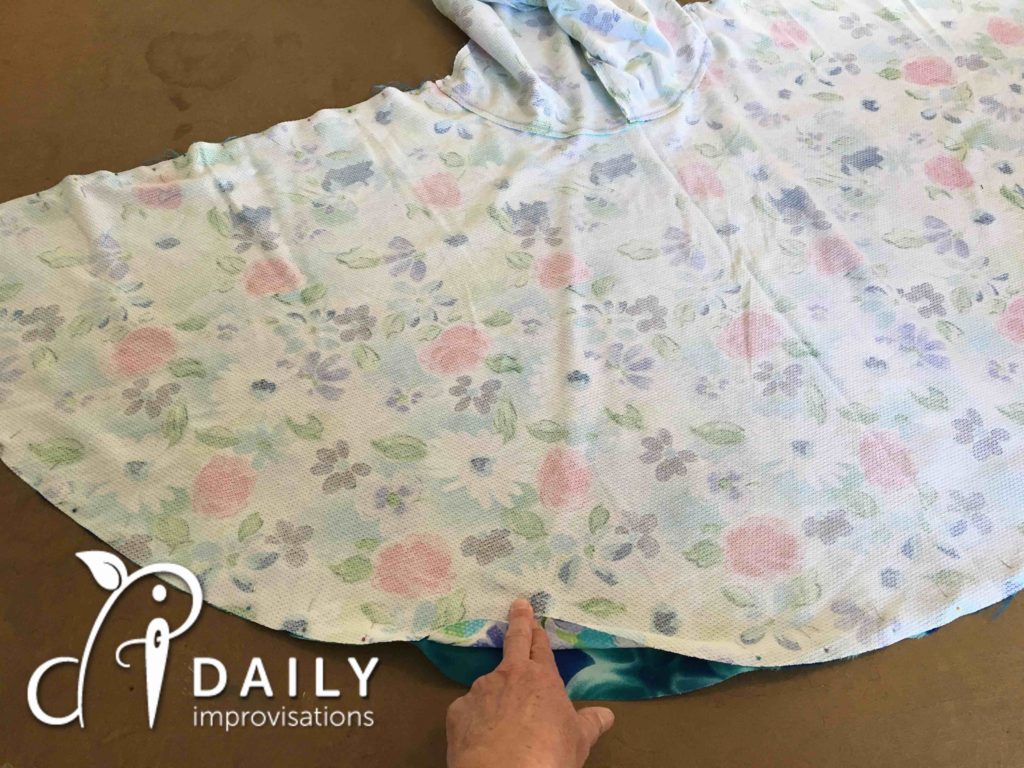
Next, gently and patiently line up the other cape edges and make the fabric lay smooth and flat. Pin it, but don’t forget to leave an opening for turning!
Truth in reporting: I tried to pin the cape the first time without doing this and it ended up not matching well at all. I had sewn the two side seams of the cape before I noticed how bad it was. So – I carefully picked those seams out and did what I am recommending. It made a HUGE difference.
Some minor trimming may be needed. With it all pinned flat, I still ended up with the two bottom corners of the knit fabric being oddly longer than the blue fabric.
Sew from the neck edge down. I decided it would be best to sew each side of the cape separately, starting at the neck line each time.
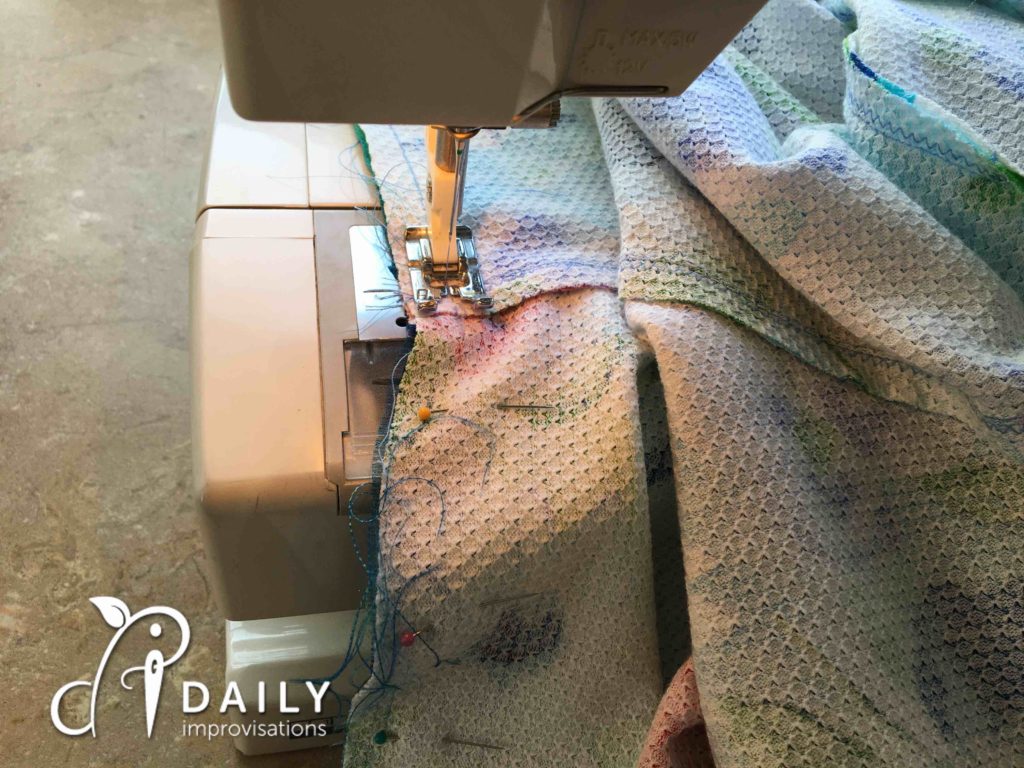
This allowed me to ease the two pieces together as much as possible, then see just what I might need to do at the bottom. I decided a minor trim was the way to go.
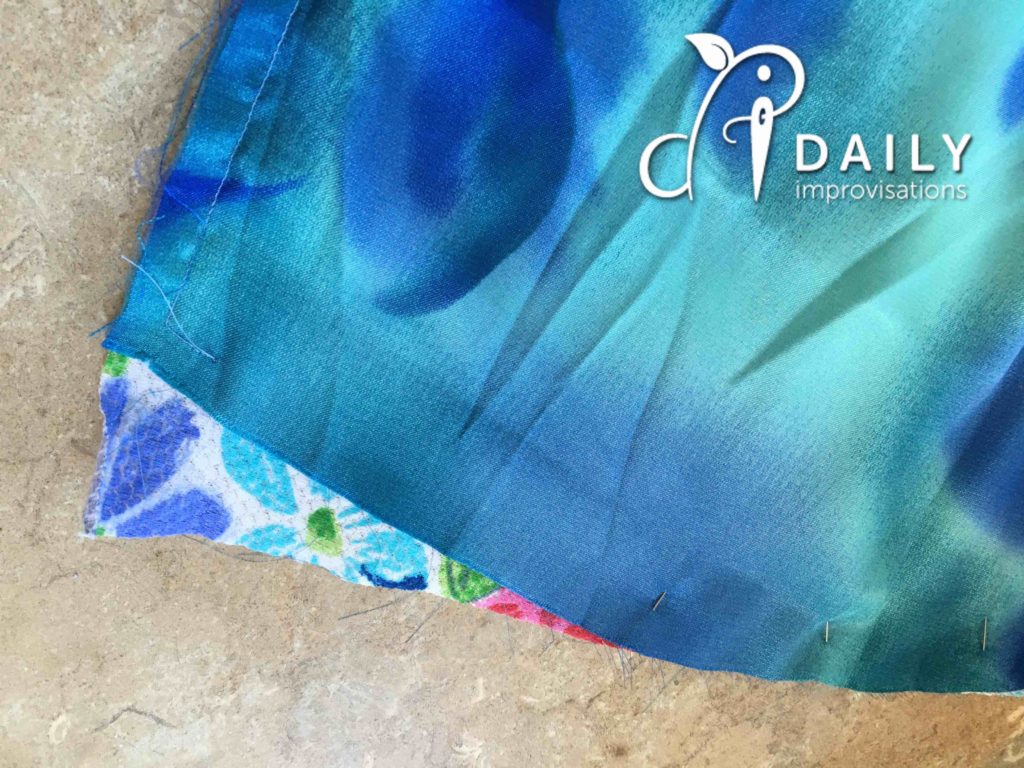

Finally, I did continue sewing down around the bottom curve until I reached the opening for turning. Back stitching is almost always best in places like this, to avoid the seam being pulled open when the item is turned right-side-out.
Press the seams “open” after turning right side out. It will be easier to do the finishing edge stitching if the seams are pressed what I will call “open” first. That is, press the seam so that the fabric goes off to each side. Do this as far down to the corners and points as you can.
There is no easy way to press the seams this way after turning, but if you just keep working on one section at a time, you can get most of the seams fairly pressed without introducing hard creases to places you don’t want them.
I started trying to then press the seams flat, into the shape for edge stitching, but found that finger pressing as I was sewing was more efficient and reliable. The instructions in the book said the stitch 3/8 of an inch from the edge, but I think 1/8th inch looks better and is actually easier. It also hold the turn opening closed better, so no other hand stitching is necessary.
I did end up doing the final edge stitching before I finished sewing the opening, but it could be done all a once.
Stitch and press just inside the seam line to guide finishing the opening. After turning the cape right side out, the curved bottom opening can be a little tricky. If you sew a guide stitch just inside the seam line, this will both help you press it in a nice curve, and guide you when you pin it closes.
The guide stitch line doesn’t have to be all the way to the ends. If you know where you want the opening ahead of time, you do it more easily before pinning the pieces together. I don’t recommend this all along the bottom, as it might slightly stretch the curve.
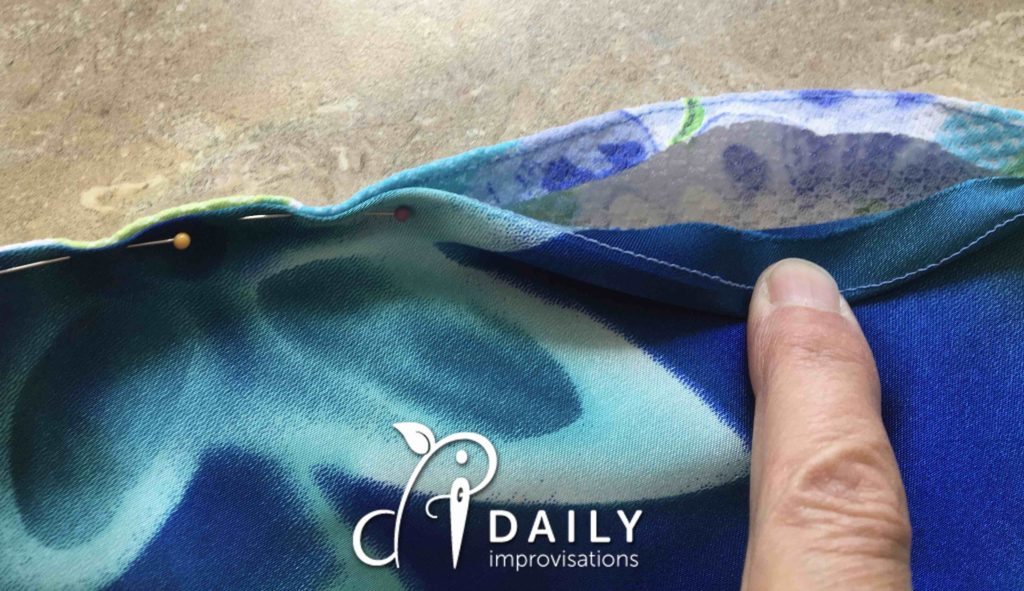
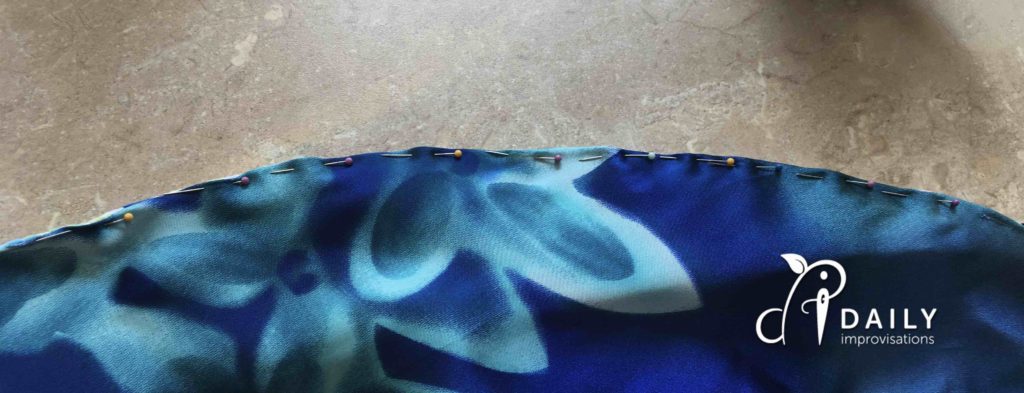
Next, pin the curve closely. Then, edge stitch the opening to match the other
And it is done! I didn’t have access to a child to model it, but might get a photo of that soon to add. Meanwhile, here is the play cape posing by itself. Then, there is me showing it’s size.
