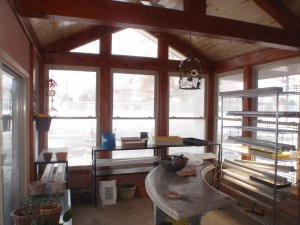
Sometimes I feel like I’m the last person to find things out. Apparently, using bubble wrap for insulating greenhouse windows has been going on for YEARS. I still wouldn’t know, except that as dear hubby was cleaning out the garage from all of the work on the pool he was deciding what to do with the huge roll of bubble wrap he had purchased to help insulate the pool. He came in and kindly remarked that he had heard that “a lot of gardeners use it to cover their greenhouse windows in the winter, would you be interested?” I suppose that is one of the attributes that makes him such an inventive engineer. He’ll research what people do with bubble wrap, then formulate his own ideas!
To be honest, if I had run across the idea in the past, I might have thought of it as tacky. Plastic is not highly thought of by those with *ahem* discriminating tastes. But here I was being offered a big roll right in my own kitchen, and it had been down to 8 degrees Fahrenheit outside at night. I’m supposed to be cold treating my greenhouse tomatoes, but not at temperatures quite as low as the greenhouse has been the last couple of nights. Some quick research showed me how we might apply it.
My 6’2″ son was home on college break from classes and doing some work for me. He is also studying engineering and loves to be precise in measurement. I know. It’s not fair. He listened to my plan, then added a couple of good ideas of his own. We were pleased to note that my bubble wrap was that with larger bubbles, which is supposed to provide better insulation than the smaller bubbles. I think it is also easier on the eyes.
- First, he wiped down the inside of the windows just enough to remove any grit that might keep the bubble wrap from making good contact with the glass. I may not have the standard glass house, but I have plenty of windows in my greenhouse!
- Then, he measured the first window.
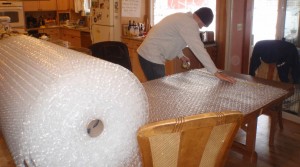
- Next, he rolled the bubble wrap out on my new cutting board (for sewing) to measure and cut it. The bubbles are lined up in a way that makes cutting a straight line simple. He wanted to try attaching bubble wrap pieces the entire length of one window, which meant fitting it over the ledge in the middle (where one window section slides over the other). He also cut the bubble wrap large enough that it would flare out some around the edge, providing an extra bit of barrier to air coming through.
- Just before putting up the bubble wrap, he used a spray bottle to mist the glass. Then, he gently pressed the bubble wrap in place, bubble-side to glass. It seemed to work like a sheet of suction cups.
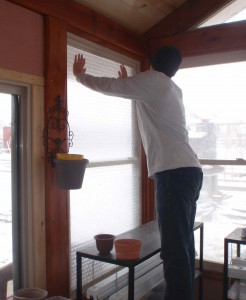
- He tested the non-moving part of the sliding glass door with a scrap of bubble wrap and found that the piece was too thick for the moving section of the door to slide over. We also skipped trying to cover the little triangular windows near the roof line.
When all was covered to our satisfaction, it reminded him of a kaleidoscope, but not as colorful. It made me think of a lightly colored stained glass window or those stacking glass blocks used in bathroom walls. For one moment, all the bubbles looked hexagonal and I was trapped in a giant beehive… but that’s just me. There is still plenty of light getting into the greenhouse from the sun, such as it is this time of year. I’m relying on the grow lights for the plants anyway.
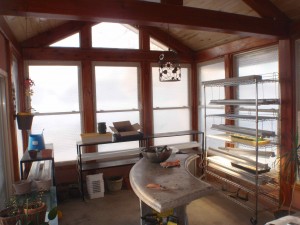
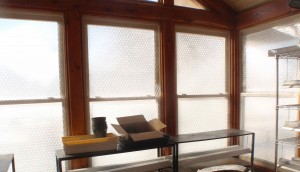
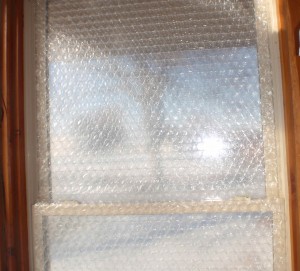
It has been up for one day, as of this writing. The greenhouse thermometer seems to be reading at least 5 degrees warmer than it was in similar outside temperatures. I don’t feel the same cold draft that I was feeling while in the greenhouse or the kitchen next to the open greenhouse. From what I read, it can be saved when taken down in the spring and used several years in a row.
I am considering using what is left of the bubble wrap on some of the bedroom windows in the colder part of the house. Bubble wrap for windows. Who knew? Apparently, everyone except me.
