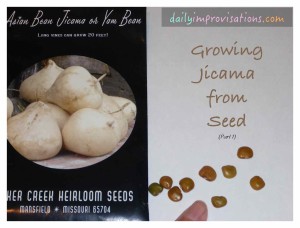
 My husband asked me to grow jicama this year. Something about it being crunchy and low calorie. My chef-daughter assures me that it is delicious in salads. Everyone I mention it to has had some and likes it, but I have never eaten it that I know of. However, I’m always up for trying to grow something new, so I ordered some seeds from Baker Creek Heirloom Seeds.
Research revealed that it is also called Asian Bean Jicama or Yam Bean. It is a long vine that can grow to 20 feet, each vine producing approximately 4-5 edible tubers, but they will likely be on the small side in my limited 4 -5 months of warm growing time. This website provided the best information on growing jicama. I will list some highlights:
1. The pods and seeds are poisonous
2. Pruning the vines to 3-5 feet and removal of flowers is recommended for more generous harvest.
3. Plants are sensitive to frost.
4. Can be propagated by tuber or seed.
I started my jicama seeds using my usual seed starting guidelines. Even though the website recommended soaking the seeds first, I skipped this step since I keep the soil very moist for a couple days after planting. There were not any specific planting instructions on the seed packet, so I went with the standard of a depth twice the diameter of the seed. This is about half as deep as the above website recommends.
Because jicama require such a long season and I didn’t know how quickly they would germinate, I began my seed in the middle of February. They sprouted robustly within a few days and almost every seed sprouted. (click on any photo to enlarge)
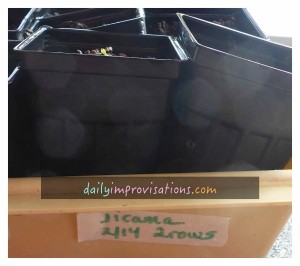
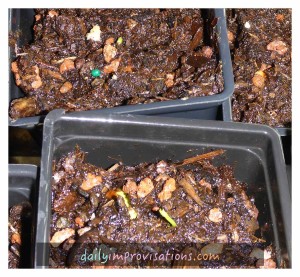
Within another few days, the broad, spade shaped leaves were multiplying and soaking up the greenhouse lightwaves. The plants immediately starting vine-like growth, but not to the point that they were attaching to neighboring plants.
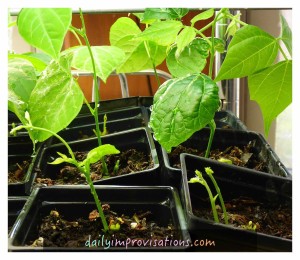
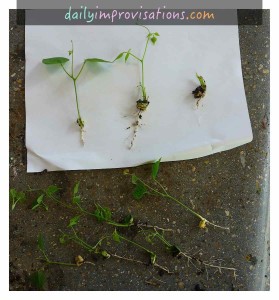
Soon it was time to thin the seedlings to one per pot. I tested gently pulling the “lesser” seedling from each pot, something that is not necessarily recommended since it can disturb the roots of the remaining plant. However, I had spaced the planting of the seeds such that, at this stage of growth, the roots did not appear to be intermingled yet. I expect some of the roots of the pulled plant were lost, but they still looked to be in such good shape that I prepared some other pots right away and transplanted them!
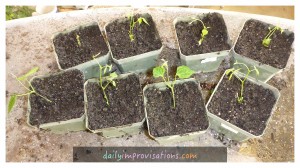
Now the obvious issue was that they were going to get too big for the greenhouse quickly. I had an unusually tall raised bed that I thought would have two things in its favor. It would heat more quickly than other soil and it would make covering them easier in case of near-frost night time lows. After a couple more weeks of letting them grow undisturbed, then hardening them off, I transplanted them into the raised bed. The weather was getting up into the 70’s regularly, and even low 80’s some (°F), so it seemed like a reasonable experiment.
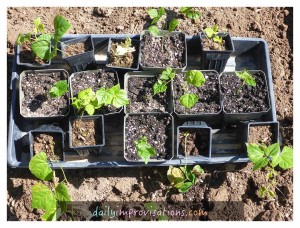
According to the same website above, the plants can be grown 12 inches apart. Since I was not dealing with standard rows, I positioned them all about that far apart in the raised bed and fit the 9 best looking vines in there. Then I stuck a couple of the more dubious ones off to the side, but still decently spaced.
For trellises, I put 4 tomato cages in the raised bed. I did end up removing the cages for a couple of nights, to make it easier to cover the raised bed with a blanket when the night time temperatures were going to be in the mid 30’s (°F).
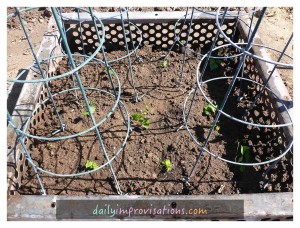
The jicama plants have been staying healthy outside so far, although will probably pick up the growth rate when significantly warmer weather comes next month. But what I can say for sure is that growing them from seed is uncomplicated. The rest of the story will have to wait for part 2.
